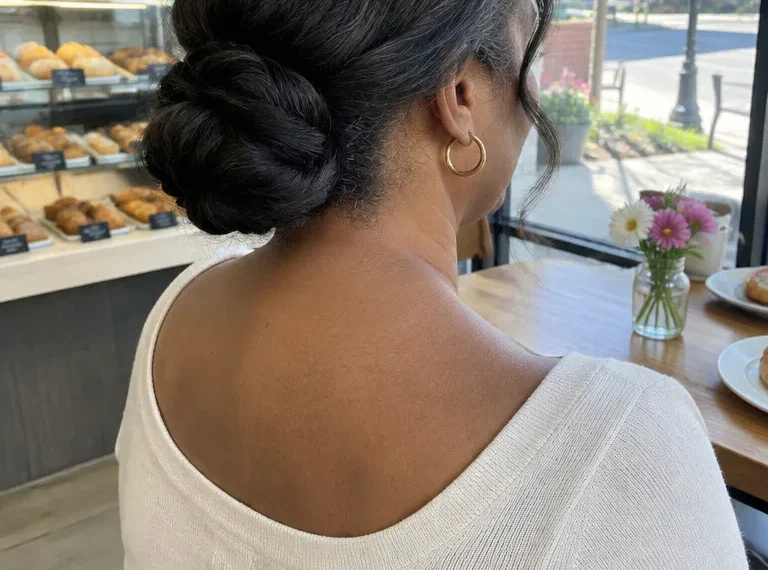
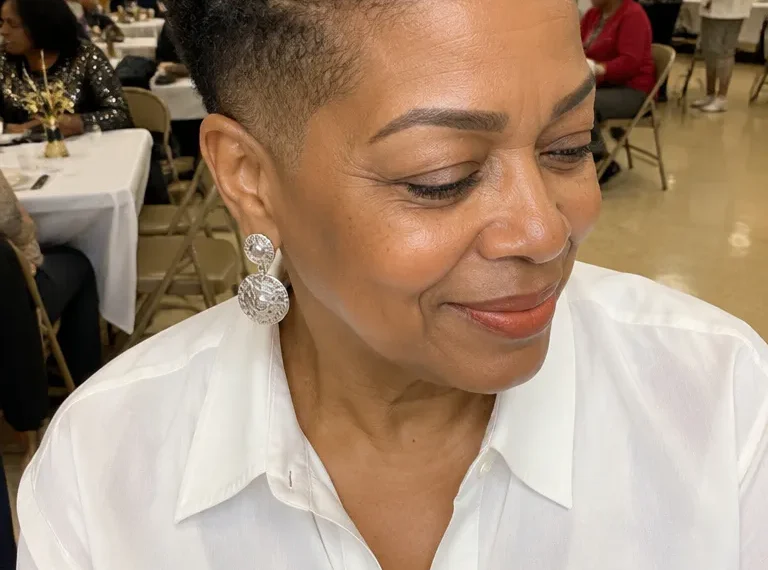
Gray hair rarely presses like the rest of your head. The strands at your temples, part, and crown can be wirier, drier, or finer, so a cut and heat setting that work on dark hair may leave gray frizzy, flat, or scorched. These twelve silk press looks are sorted by what your hair needs: density, humidity, scalp comfort, and how the press holds in week two.
Use one rule to narrow the list. If your hair is fine or thinning, start with the blunt and face-framing cuts early on; if it’s coarse and wiry, go to the layers; if your crown is thinning or your scalp feels sore, read number 8 before you book anything. Each section ends with something specific to ask for, so you can save a look and bring the exact request.
1. Chin-Length Blunt Bob
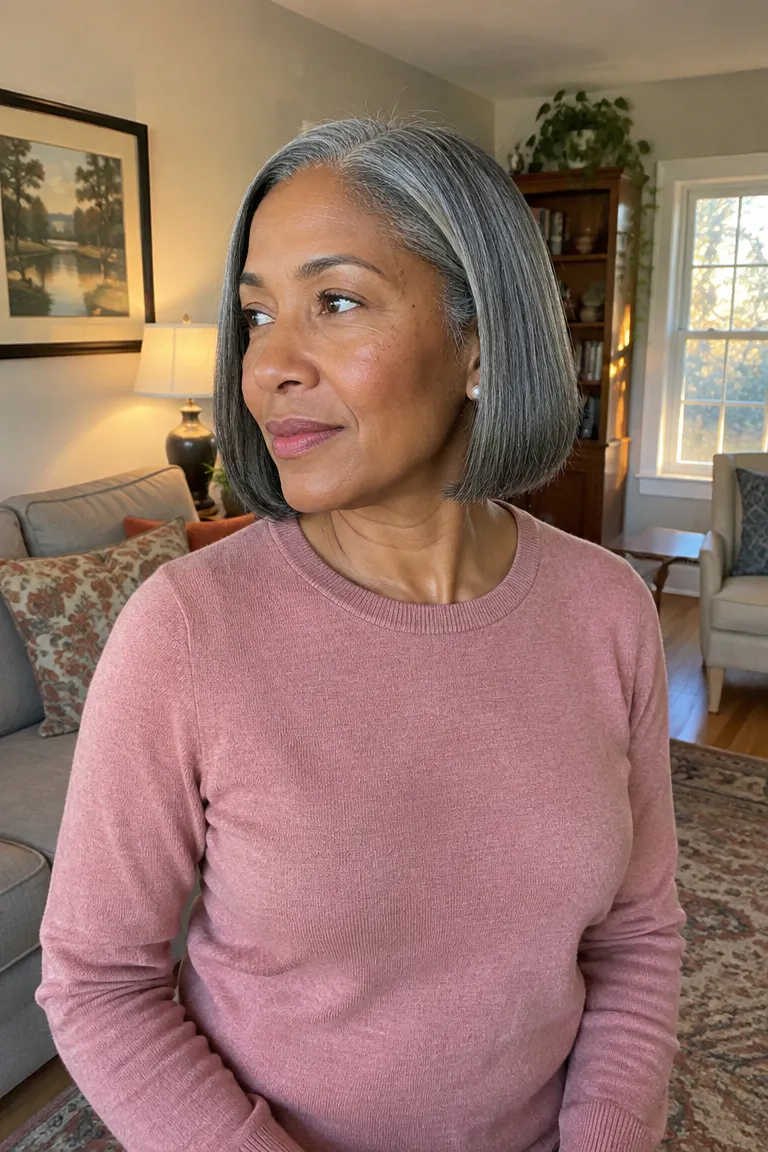
A one-length edge at the jaw is the strongest density move for fine or thinning gray hair. When every strand stops on the same line, thin ends read as thicker, and salt-and-pepper shows up as clean contrast along the edge instead of a wispy blur.
Book a trim with the press so the ends look crisp, and ask her to press a test section before the full head. For fine or color-treated hair, 300–340°F is a common starting range to discuss, not a rule, because gray can react differently from the rest of your hair.
If you’re still choosing a length, these bob styles for thin fine hair over 50 show how fringe and layering change the same chin-length shape.
Maintenance tip: Protect the ends at night with a satin bonnet. A blunt line shows frizz and splits fast, so check the ends at every press and trim at the first sign of splitting.
2. Collarbone Lob With Deep Part
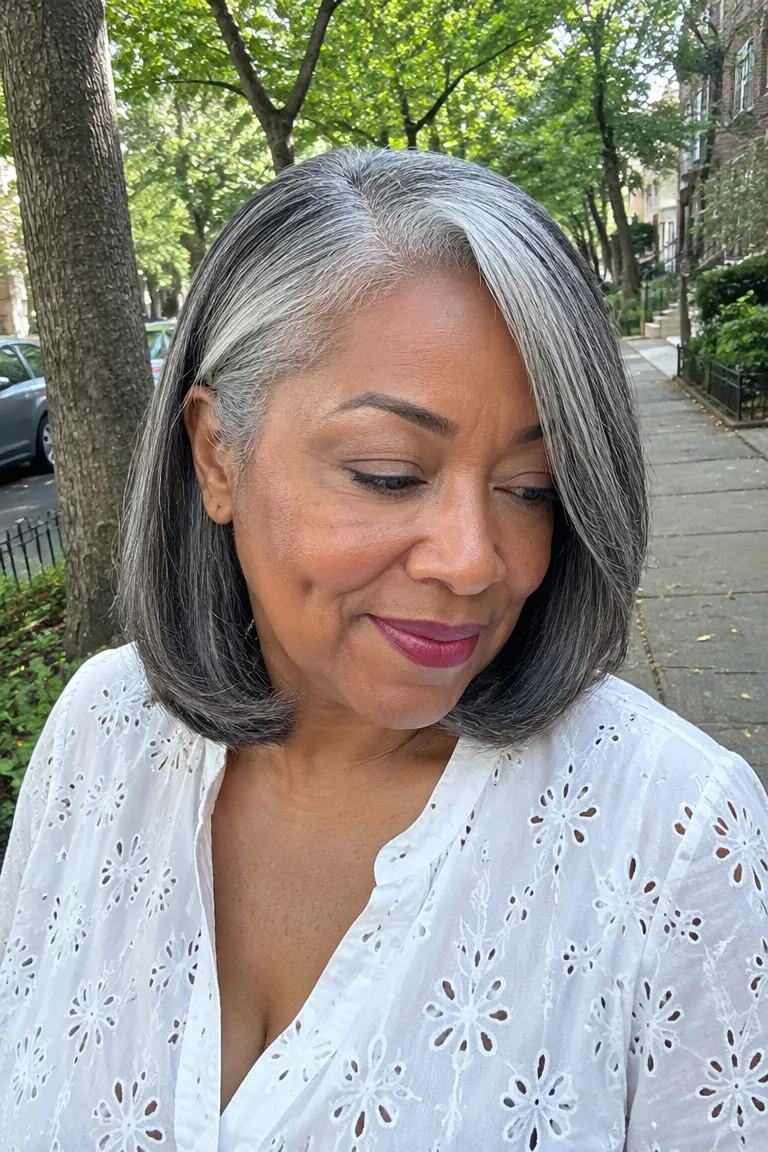
A deep side part sends length across one side of the forehead, which can soften a broad forehead or a strong jaw. This is a face-framing cut first, so the details of length and part placement matter more than the heat.
Gray often grows in differently at the part and temples, and those sections may react to heat faster or slower than the rest. Tell your stylist to check how they respond and to press them last, or with a lighter pass.
- Collarbone-grazing length, so the ends sit on the bone instead of flipping against the shoulders
- A slight inward turn at the ends
- The part set while your hair is dry and straight, with a photo so you can repeat it at home
Once the press is a week old, part it in a new spot. The shift changes how the length falls and hides flattening along the original part line, with no extra heat.
3. Feathered Shoulder-Length Layers

Coarse, wiry gray tends to sit stiff, and long, light layers with feathered ends take weight off so the hair can move. The layers should start below the chin and stay soft rather than choppy.
Prep matters more here than with other cuts. Start with a clarifying shampoo, because product residue can scorch under heat, then follow with a deep conditioning treatment. Blow-dry with tension first so the iron has less work to do.
Coarse gray may need a higher setting to straighten, and 380–410°F is a typical range for coarse hair. Treat that as the ceiling in your conversation, and ask her to start lower and go up only if a section stays wavy after the blow-dry.
If your hair is thin as well as coarse, ask her to keep the layers long. Short layers on thin hair leave the ends looking wispy.
4. Pressed Pixie With Textured Crown
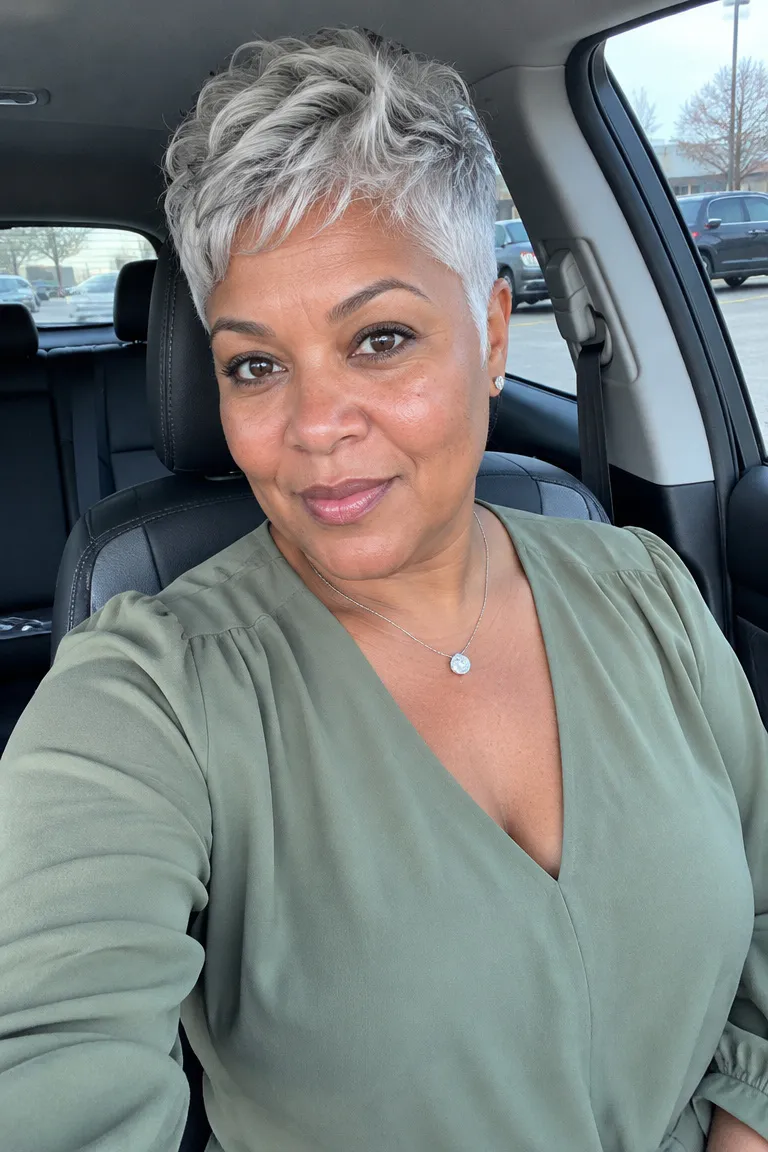
A short crop with a softly textured top takes less time to press and style, which suits you if you want low daily effort. The trade-off is the cut itself: it grows out and needs a shape-up every few weeks to keep the nape and sides clean.
For budget, one vendor analysis of US silk press pricing puts the median near $105, with a typical range of $85 to $132.50. The spread is wide and shifts by city, stylist, and length, so ask what’s included before you book: trim, shampoo, conditioning treatment, and finish.
Ask for scissor-cut texture on top, a tapered nape, and a light finish that keeps your edges soft instead of gelled flat. To see how the same crop looks without heat, compare it with these low-maintenance pixie cuts for Black women over 50.
5. Bone-Straight Silver Past Shoulders
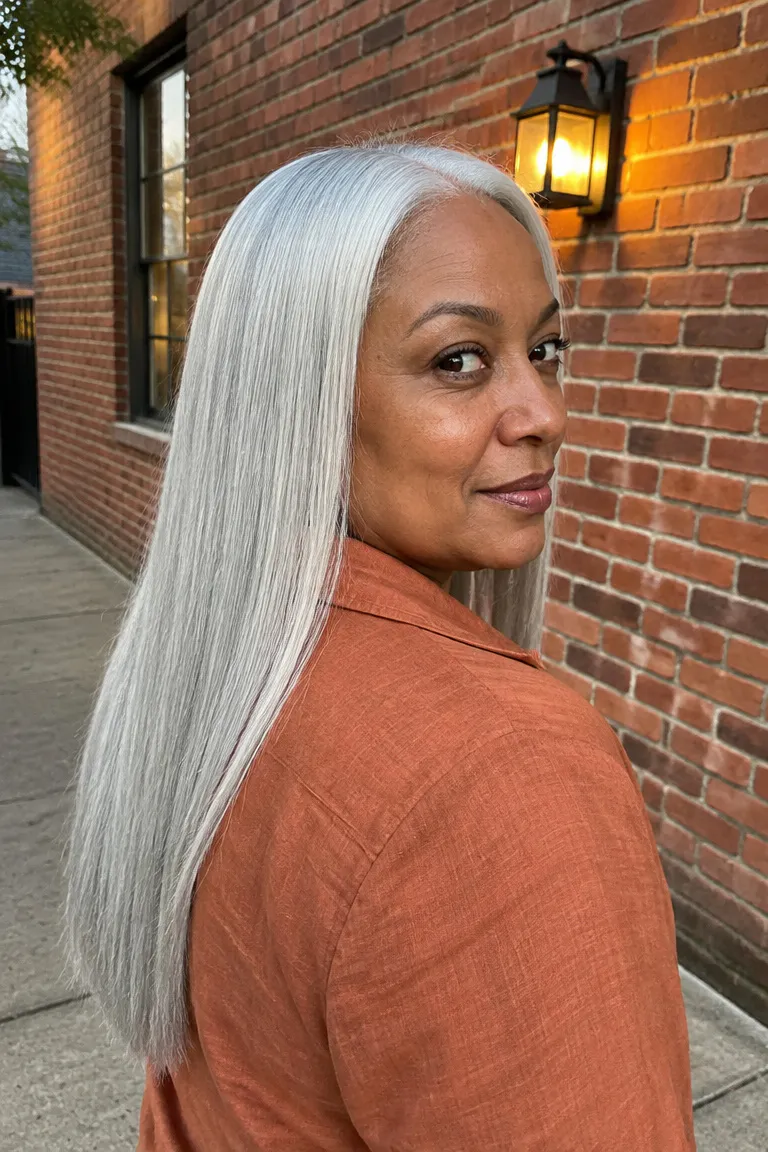
This is the high-maintenance, high-visibility option, so plan for it honestly. Solid silver or white hair that’s bone-straight and below the shoulders shows heat damage the most and tolerates humidity the least. Any rough or dull patch stands out against that glassy finish.
Lower heat is the trade-off that protects it, and it asks for patience. Ask for the lowest setting that straightens in one slow pass, with one or two passes per section, and a heat protectant rated to at least 400°F.
A Dominican-style blowout is another route to this look. It relies on very thorough high-heat blow-drying, and it carries more risk if the stylist rushes.
Block out about two hours, and longer if your hair is long and thick. A rushed appointment is where this style goes wrong.
6. C-Curve Bevel Bob

Ends beveled under in a soft C shape can tolerate some bend, so a little sweat, steam, or damp air won’t undo the look the way it would a bone-straight press. That makes it a practical pick if you’re active or spend time in humid air, though no press is humidity-proof.
Ask for a round-brush finish and a loose wrap to set the curve. Before you leave, check the sides with a hand mirror: the ends should turn under evenly, and the crown should lie smooth without a flat spot or a hot-comb crease.
Comfort check: A bevel needs no tight styling, so it’s easy on your edges and crown. If the stylist pins or tensions the hair to hold the curve, ask for a looser wrap.
7. Face-Framing Pieces for Thin Edges
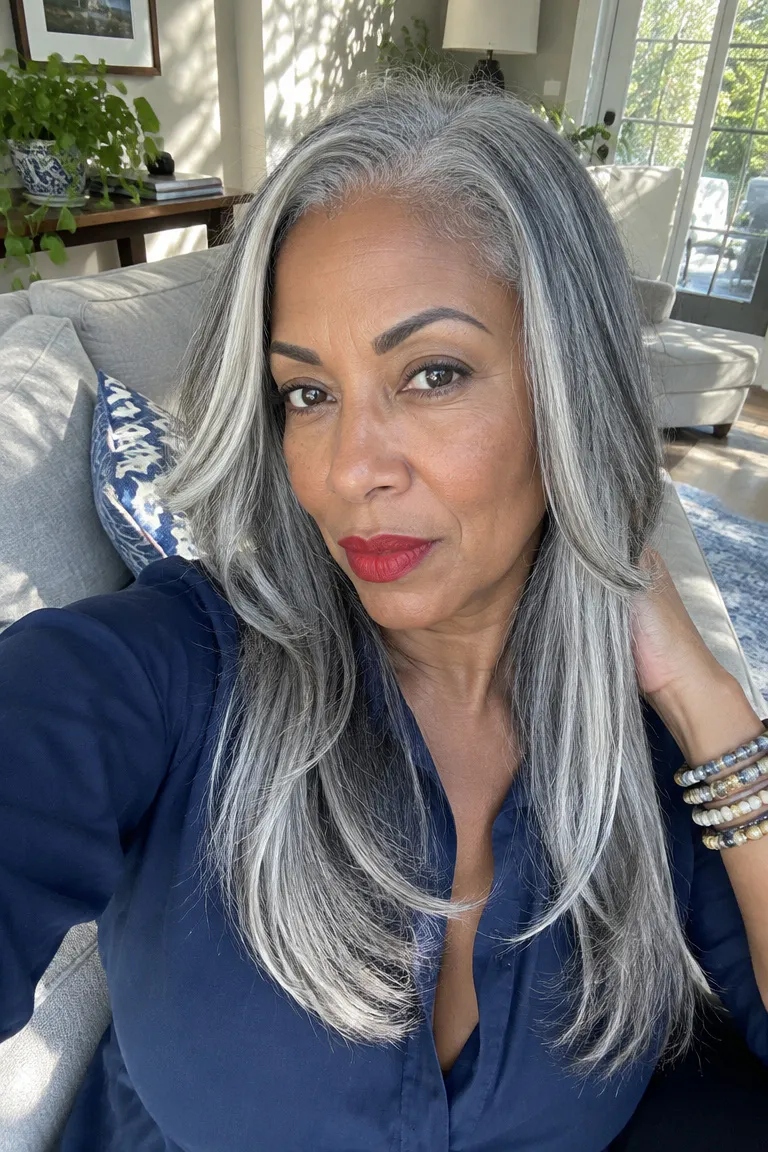
Sparse or fine edges look harsher when they’re gelled flat against the skin. Longer pieces at the temples and front soften the hairline instead, and leaving the natural edges soft is gentler on fine or thinning hair than heavy gel.
Ask the stylist to cut the pieces slightly longer than she would on dense hair, because fine pieces lose visual weight once they’re pressed. Her heat on the shortest strands should be a small amount, and a light, flexible product is enough to keep them in place.
Ask your stylist: The gray at my temples feels wirier than the rest. Can you test it first, use a lower setting or one lighter pass, and tell me if it needs extra moisture before the press?
8. Crown Volume With a Rod Set

A light rod set or pick-out lifts the crown without teasing or heavy tension. That matters because the crown is where many women first notice a change.
Kaiser Permanente’s health information describes CCCA, a scarring hair loss that starts at the crown and is common in middle-aged Black women. It doesn’t say silk presses cause it; it’s a reason to watch that area closely.
If you have itching, burning, tenderness, bumps, redness, patches, or crown thinning, see a dermatologist before booking more heat. One clinic claims about two-thirds of Black women notice thinning by 50, so you wouldn’t be alone in asking.
In the chair, ask for large rods, loose tension, and no hot comb at the crown.
9. Half-Up Pressed Style
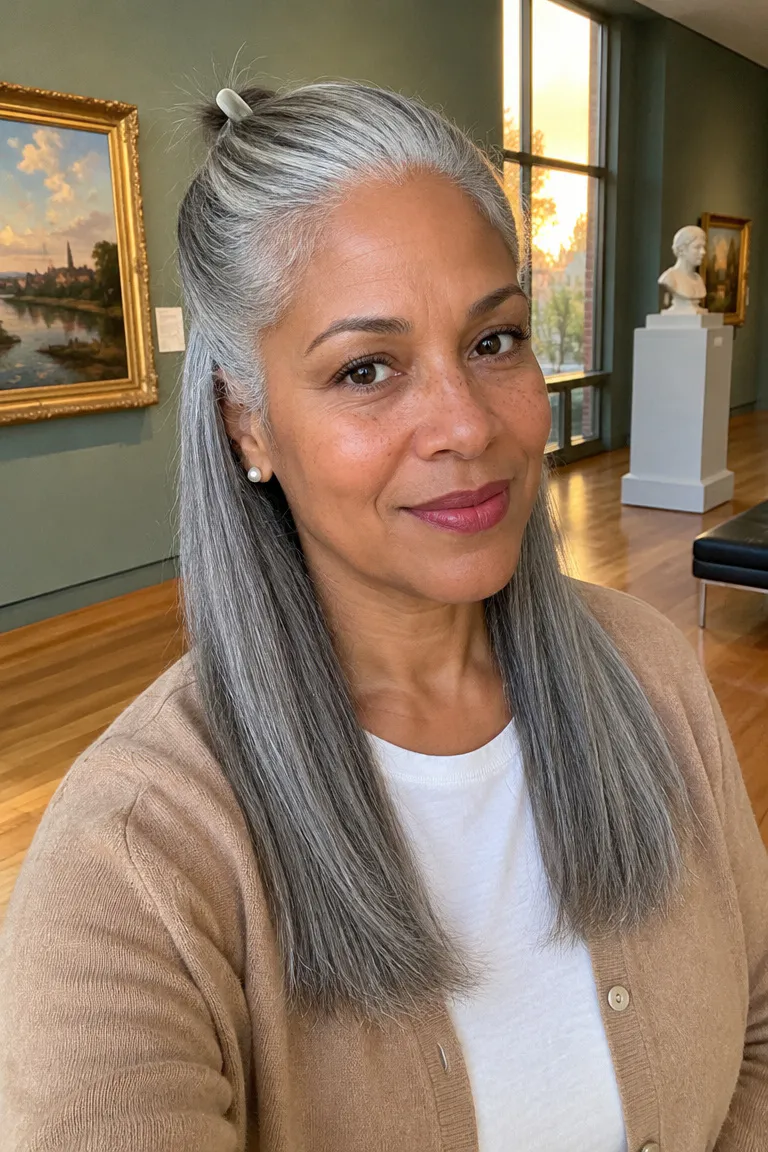
By days 8 through 14, the roots have usually flattened and the press has lost some bounce. Pulling the top section up gives the hair a new shape and covers thin or flat spots at the crown. Gather it loosely at the back of the crown and let the rest hang straight.
Use a loose clip or wide, soft pins instead of a tight elastic. Dust dry shampoo at the roots first to take down oil and add grip, concentrating on the part and crown, then brush it through.
Pick a clip with smooth edges and a wide grip, which spreads the hold across more hair than a narrow claw.
Comfort check: If the style pulls at your temples, it’s too tight. Loosen the clip or slide it back until your hairline feels slack.
10. Low Sleek Ponytail or Bun
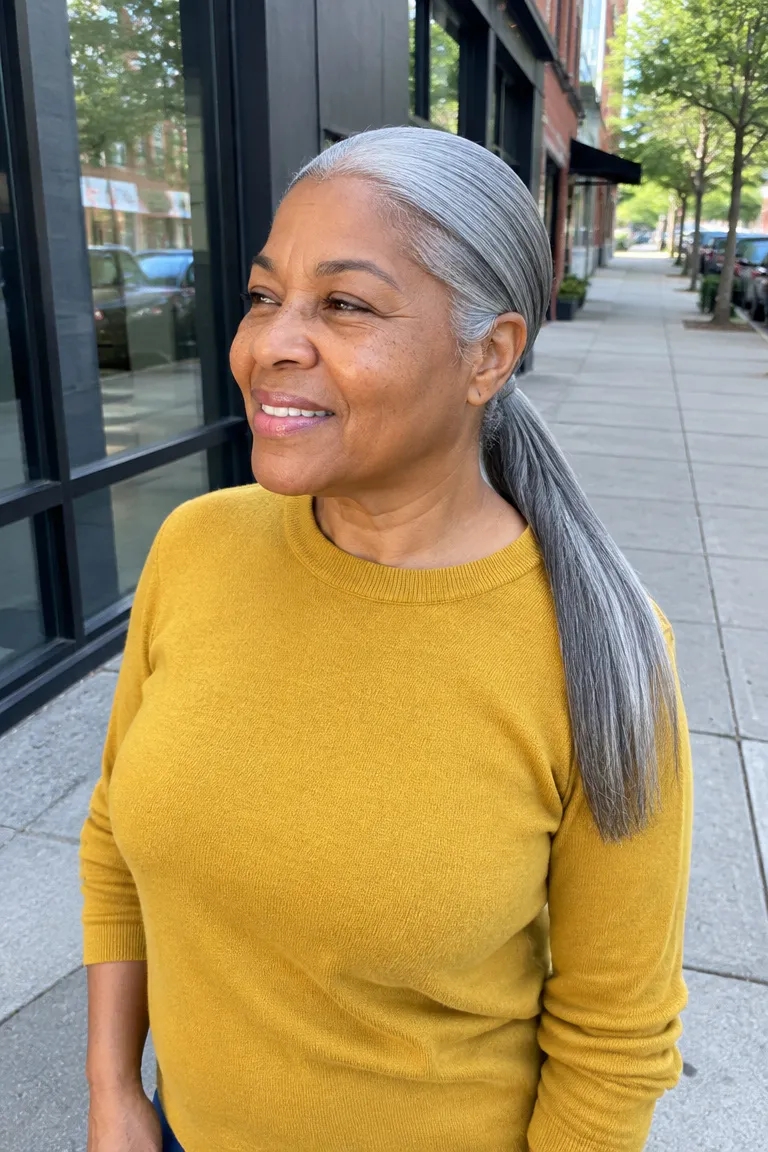
A low pony or bun hides flat roots and scalp oil, which makes it an easy rescue for an older press. It works on shoulder-length or longer hair, so tell your stylist at the first press that you plan to tie it back.
Ask her to leave the shortest layers long enough to reach the tie at your nape. If they’re too short, they’ll slip out and the sides won’t stay smooth.
For smoothing, rub a few drops of lightweight oil between your palms and glide them over the surface. Gray strands are often drier and wirier, so a little oil helps them lie down, while too much will weigh down fine hair.
Use a soft fabric tie instead of an elastic with a metal connector, and keep the pull away from your edges. If the sides feel taut, drop the tie lower and leave a little hair loose at the front.
11. Pin-Curl Maintained Press
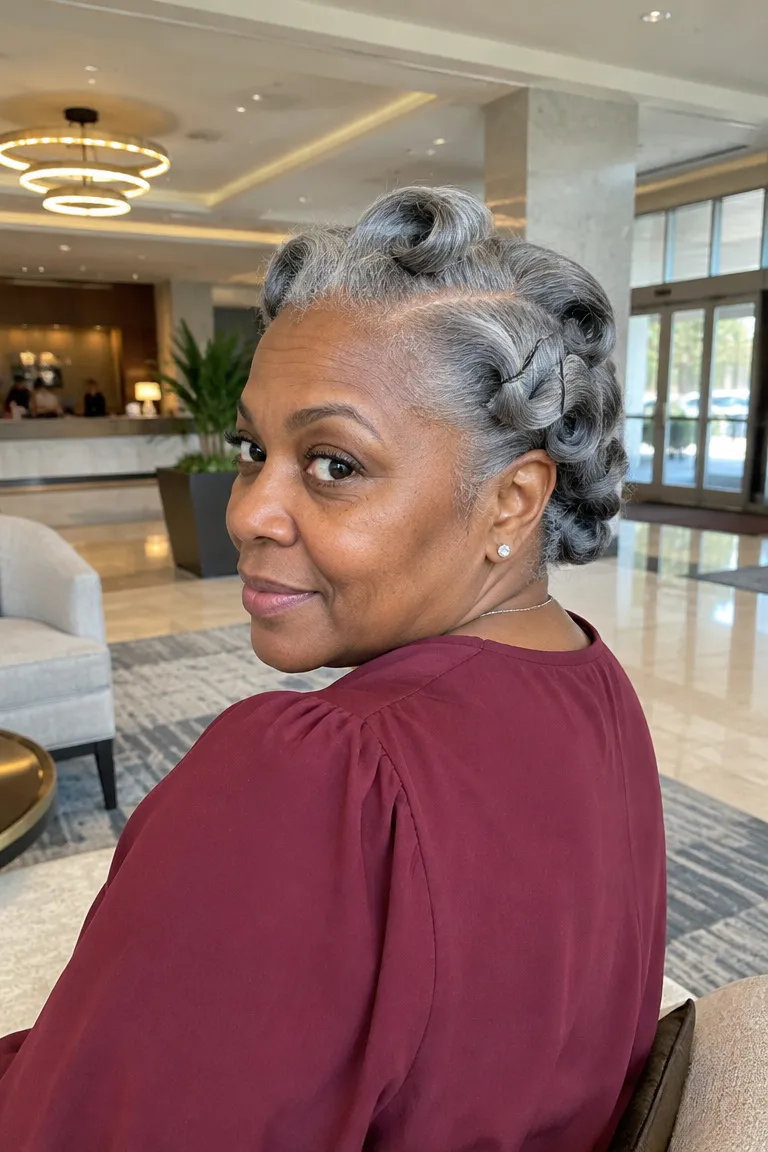
A press lasts about one to three weeks, and a simple routine helps it reach the longer end. Sources disagree on how often to repeat one, from every two weeks at most to every few months for length retention, so space your presses and don’t re-iron the same sections daily.
- Days 1–7: Set flat pin curls at night with black bobby pins, then cover with a satin bonnet.
- Days 8–14: Switch to a wrap. It flattens the roots and moves oil down the strand faster, so keep a lightweight oil handy.
- Every day: Keep the hair away from wet conditions, steam, and sweat, and sleep on a satin pillowcase.
If you want a heat break between presses, compare low-tension gray braids that protect thin edges.
Maintenance tip: Touch up only the sections that have reverted, usually the nape and crown, with one light pass instead of re-pressing the whole head.
12. Blended Silver Highlights

Partial silver, a silver face-frame, or highlights on a press need a stylist who understands lifting and toning. Heat tolerance drops on bleached or toned strands, so tell her about your color history before she picks a temperature.
Before you book, get clear answers on these:
- Whether color or toner is included in the quote, since most salons price it separately and one customer reported an unexpected $225 charge
- Whether she’ll test heat on a lifted strand before the full press
- How often you should tone, and whether a toning mask at home fits your routine
- How she’ll space color and heat services
Pressing damaged gray repeatedly can leave it dull and yellow, which is why toning and spacing deserve a real conversation.
Before You Book Your Press
Bring a photo of the cut, a note on which sections feel wiriest (temples, part, or crown), and your color history. Ask for a test section and the temperature she plans to use before the full press. If your crown itches, burns, or feels sore, see a dermatologist first and book the press second.