A pixie that looks great bare-faced can fall apart once the glasses go on. Hair bunches over the arms, a fringe lands on the top of the lenses, or the sides look bulky behind a big frame. Eleven cuts below are sorted by frame size, hair type, and upkeep, so you can match the shape to what’s actually on your face.
Before you pick one, put your glasses on and check three spots: where the top of the frame sits against your brows, where the arms cross your ears, and how much hair sits at your nape. Those three spots decide your fringe length, your side length, and how short the back can go. Each cut includes the wording to take to your stylist.
1. Tapered Textured Pixie
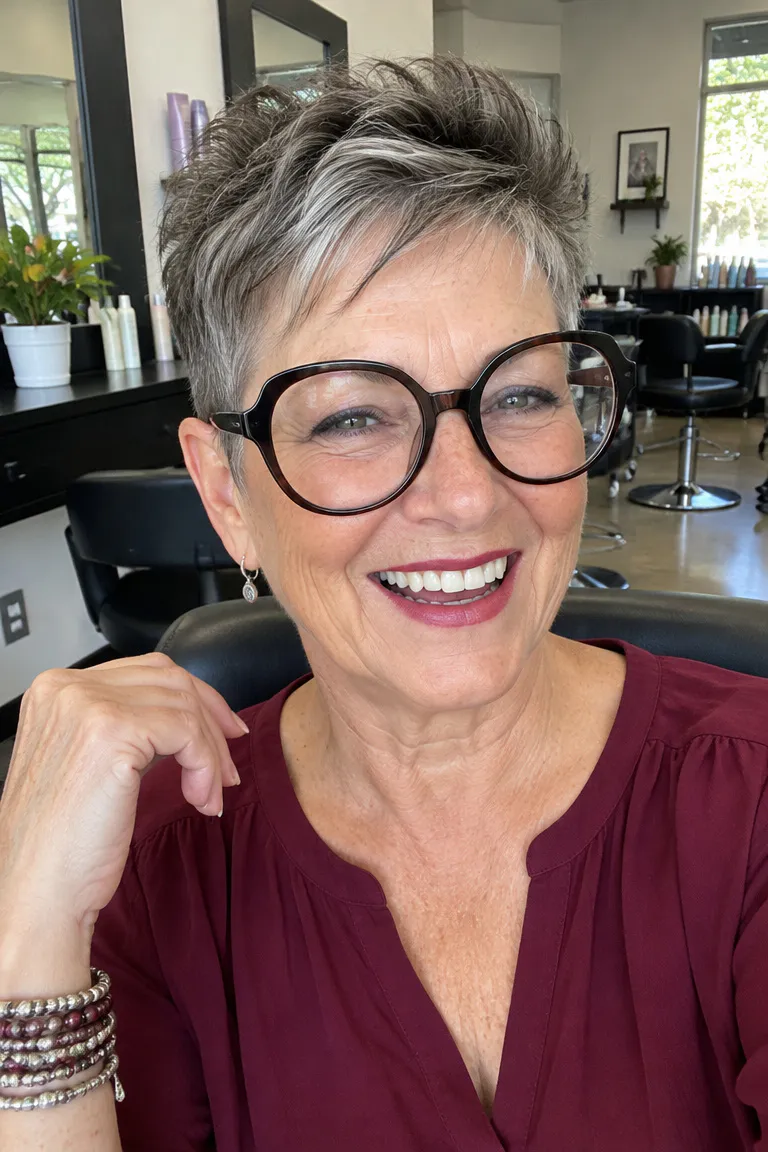
Start with frame size. Oversized or thick frames already add visual weight around the temples, so sides that stay full can make the whole head look heavy. Tight, clean sides tapered up and over the ears remove that bulk and leave the arms of the glasses resting against skin, not hair.
The top stays longer and textured, which gives the cut some height and keeps the frames from dominating the face. Two to three inches of length on top is enough for choppy, separated layers. Smaller or thin frames can handle even more texture up there, since they won’t compete with it.
Ask your stylist: "Taper the sides up and over my ears, keep the top longer and textured, and check the shape with my glasses on before I leave the chair." Bring the glasses you wear most, not a spare pair.
2. Soft Swept Fringe Pixie
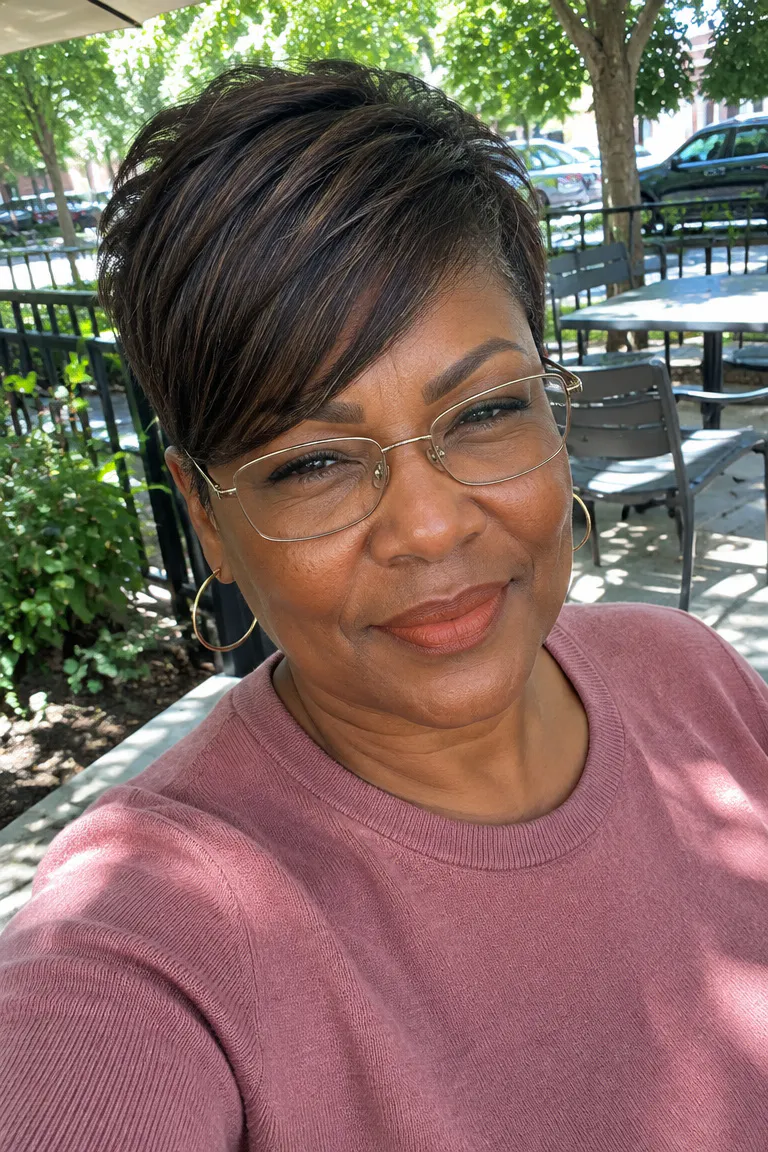
Look in the mirror and note where the top edge of your frames sits relative to your brows. That one measurement sets the fringe length, and it explains why advice on this cut seems to conflict.
- Frames that sit at or just below the brows: let the longest corner of the fringe stay above the frame top.
- Thin or higher-set frames: a soft bang that just grazes the brows works without touching the lenses.
- Thick or low-set frames: skip a heavy fringe, because it crowds the frame and tends to rest on the lens.
A soft, side-swept fringe is also the usual fix if you worry a pixie will read as too masculine. The longer, angled line across the forehead brings in softness while the sides stay short.
Maintenance tip: A fringe that starts touching the lenses is overdue. Ask your salon whether it offers a quick fringe trim between full cuts, so you aren’t rebooking the whole appointment just to fix the front.
3. Asymmetrical Pixie
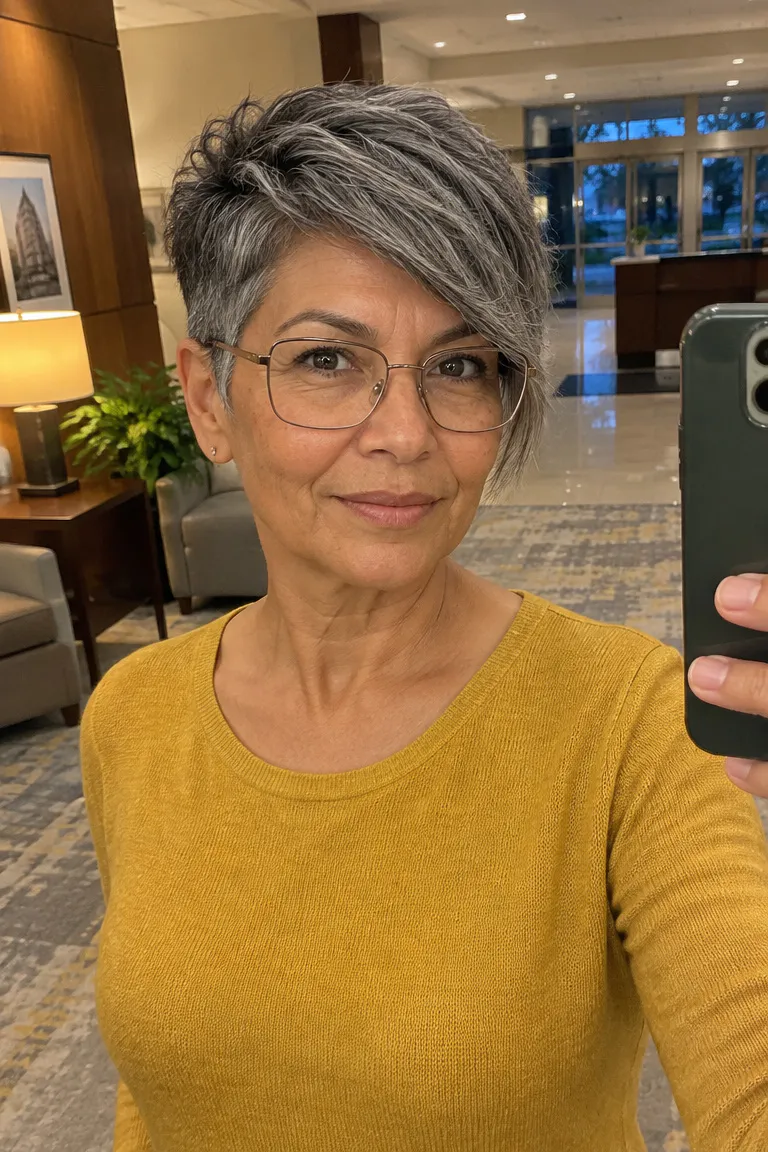
One side is cut longer and blended into the top, and the other stays noticeably shorter. Larger rectangular frames suit this shape because the sloped haircut line breaks up their straight top and bottom edges. A symmetrical cut can echo those edges and make the frame look boxier.
The catch is where the hair meets the arms. The short side has to sit clear of the glasses arm so no hair gets pinned under it. The longer side should be cut so it doesn’t catch on the arm when you put your glasses on, which usually means ending it above the ear or sweeping it forward.
Tell your stylist, "Leave the left side longer and blended into the top, and end the short right side just above my ear, clear of my glasses arm." Swap the sides to match your part.
4. Wispy Feathered Pixie

Fine hair shows every gap, so blunt, heavy lines are the problem to avoid here. A solid, even edge draws attention to thin spots and can make the scalp more visible than you want.
Point-cut ends and fine layers break that edge into soft, separated pieces. A fuller top then reads as more coverage because the layers overlap, not lie flat in one sheet. The feathered ends also help the cut grow out smoothly, since there’s no hard line to outgrow.
For more shapes built around thin strands, see these soft pixie cuts for fine hair.
Ask your stylist: "Please point-cut the ends, add fine layers, and keep a fuller top. Tuck the sides neatly around my ears so they stay clear of my glasses."
5. Crown-Lift Pixie
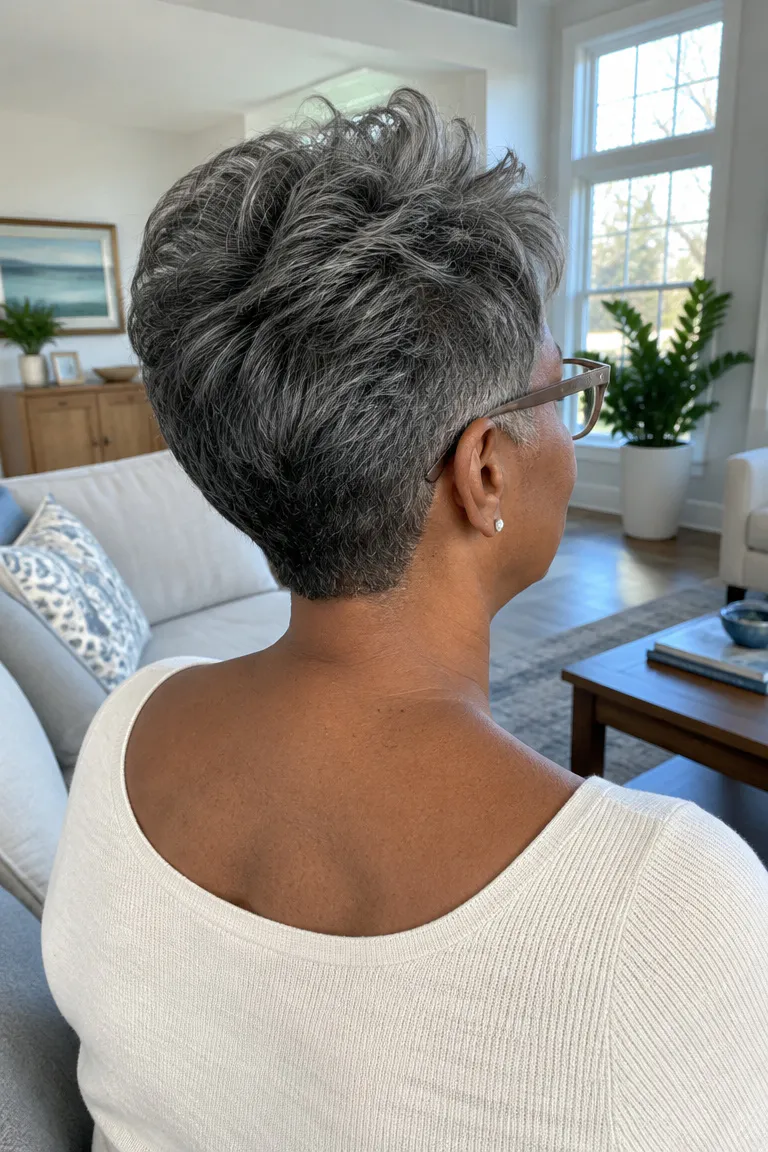
Styling time is the main draw. A textured crop takes about four minutes, and a low-maintenance pixie should take under 10. This cut leaves length at the crown, where aging hair tends to go flat, so a little lift there does most of the work.
- Work a lightweight root-boost product into damp hair at the crown only.
- Use a dryer with a nozzle to aim airflow at the roots.
- Lift sections at the crown with a 1-inch round or flat brush while you dry.
- Finish by shaping the top with your fingers and leaving the sides smooth.
Keep the sides short and smooth so the glasses arms sit cleanly. If you want more shape ideas that build height, browse these tapered pixie cuts that add height.
Maintenance tip: Heavy creams, oils, and thick pomades weigh the lift down by midday. Use a small amount of one lightweight product, and skip it on the sides.
6. Bixie With Side Fringe

A bixie sits between a pixie and a bob, which makes it useful if you aren’t ready to go very short or you’re growing a pixie out. It keeps extra length at the nape, so the back looks softer than the close-cropped napes in some of the other cuts here. A longer side fringe adds more softness and gives you something to tuck or sweep as the shape grows.
The glasses detail still applies. The sides need to be cut up and over the ears, so hair doesn’t get stuck over or under the arms. If the hair above your ears is long enough to fold down onto the frames, ask for more length removed there.
Plan on a trim every 6 to 8 weeks to keep the shape, since the layers lose their outline as they lengthen.
7. Curly Wash-and-Go Pixie
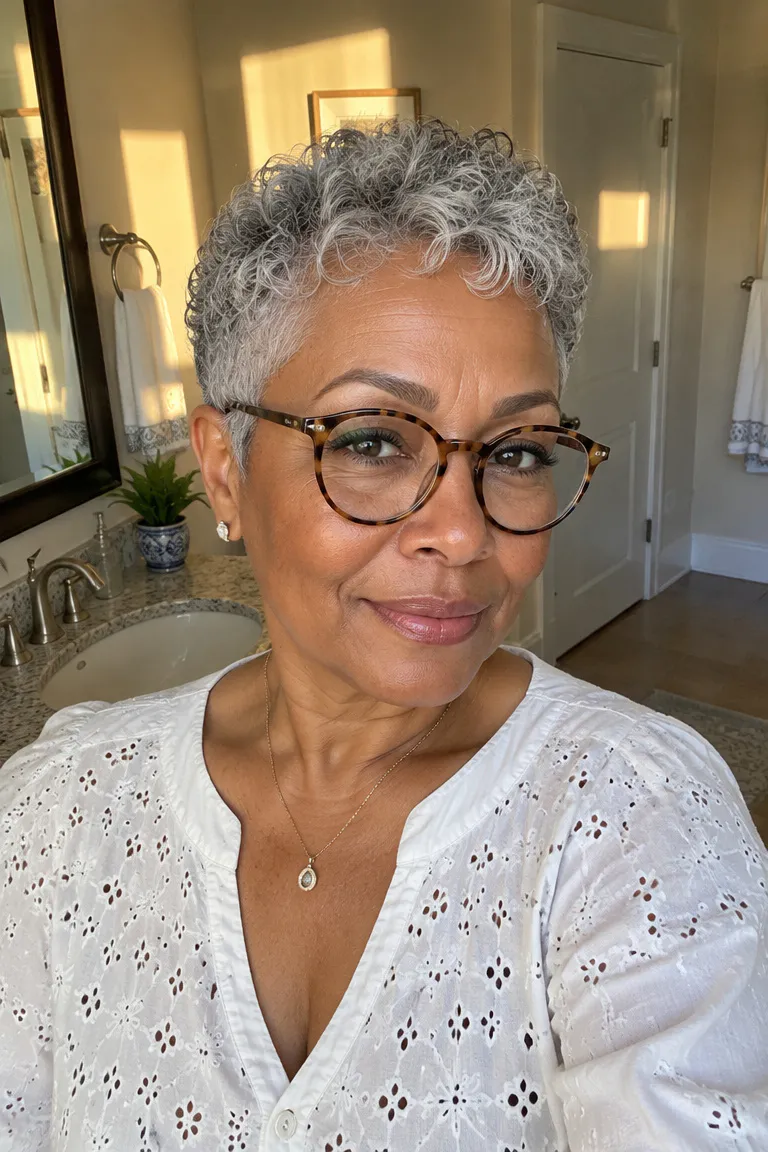
This one is for curls or waves. It’s cut to follow your natural pattern, so it needs little styling, and it works especially well with natural gray, which often has a distinct texture. It isn’t a shortcut for straight hair, which won’t form the same shape without heat and product.
The routine is short: work curl-enhancing mousse through damp hair, then shape the curls with your fingers and let them air-dry or dry gently. For more length and shape options, these short curly styles that add soft volume show how far a curl pattern can go.
Tell your stylist, "Keep the sides short enough to stay clear of my glasses arms, and leave the curls enough length on top to bounce." Curls spring up when dry, so ask her to cut conservatively and check the length once your hair is dry.
8. Tapered Nape for Thick Gray
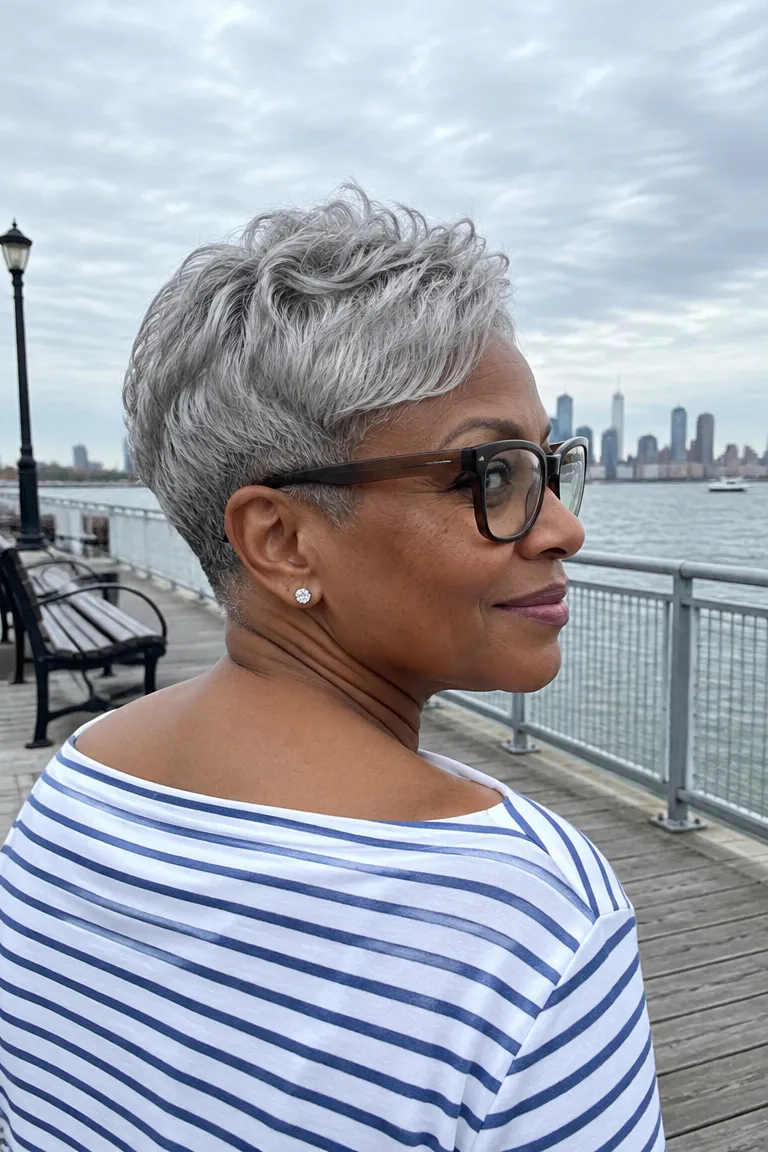
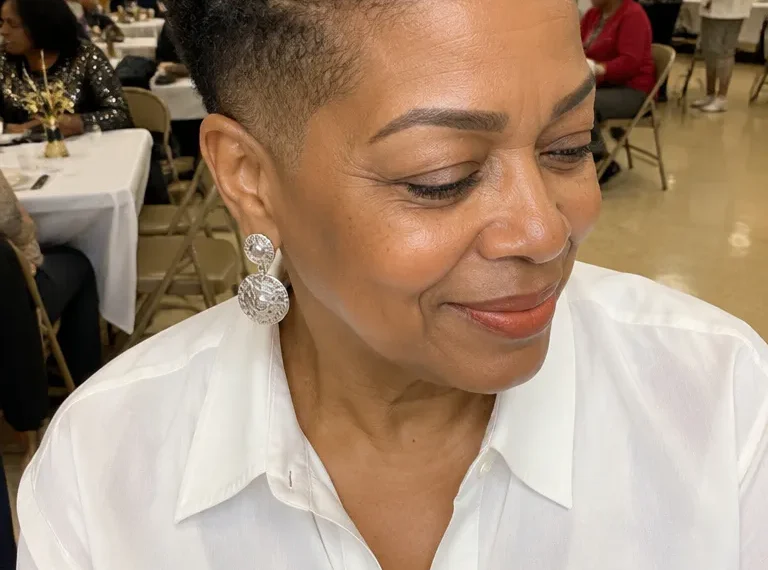
Thick gray hair often puffs out at the back and sides, which can push the glasses arms away from your head. An undercut or tight tapered nape removes that bulk and keeps the back flat. The top keeps some length for shape and movement.
There’s a trade-off. An exposed nape and ears can emphasize neck lines on very short crops, and some people feel more exposed than they expected. Decide that before the clippers come out, not after.
Comfort check: Pull your hair up and look at your nape and ears in a mirror. If you’re fine with them showing, say, "Taper the nape close and keep the top longer." If you aren’t, ask for a slightly longer taper that stops higher.
9. Micro Bang Pixie

Skip this cut if you wear thick or low-set frames. A short fringe near the hairline looks cramped when it sits just above heavy lenses with no clear space between them.
It works best with thin, rimless, or smaller frames, where there’s a visible gap between the fringe and the lenses. The rest of the cut stays simple, with short tapered sides and a slightly textured top.
If you’re unsure, choose a longer fringe instead. Otherwise, tell your stylist, "End the fringe about an inch above my brows, measured with my glasses on, so there’s clear space above the frame."
10. Choppy Silver Pixie
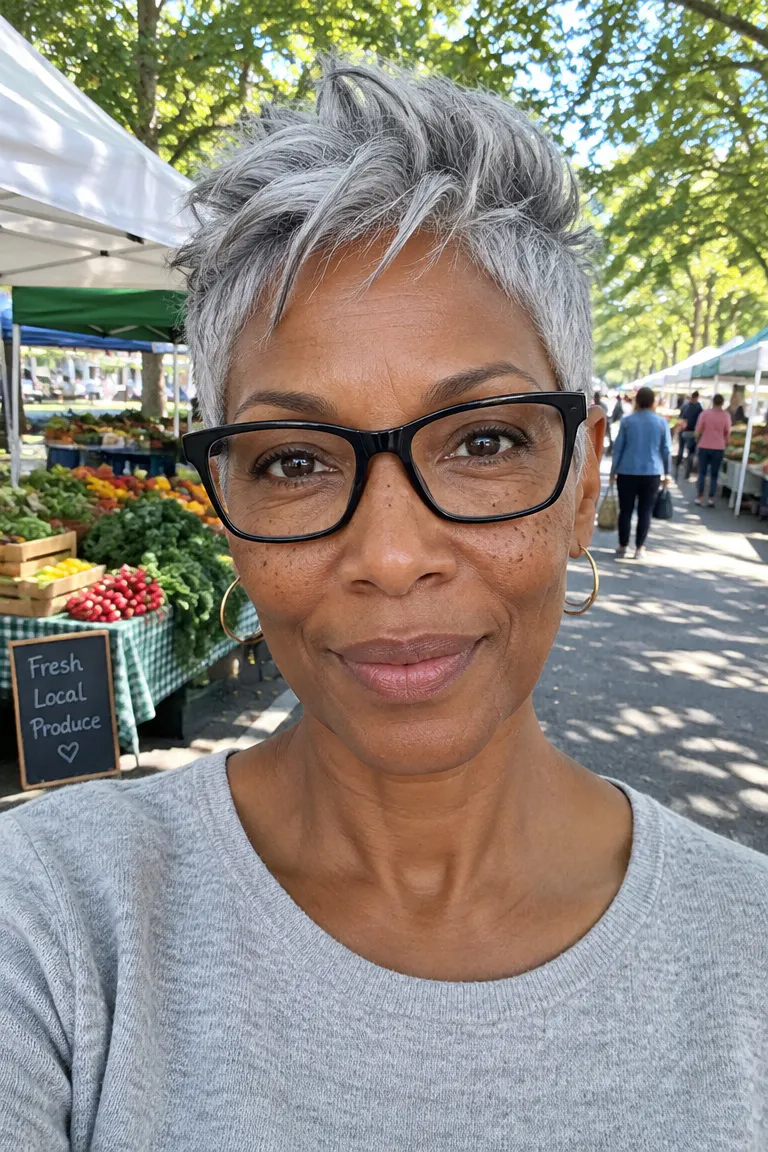
This isn’t for anyone who wants a calm, smooth, brushed-down look. The top is choppy and defined, with separated pieces that stand up, and silver hair shows that texture clearly because the pieces catch the light.
Use matte clay or wax, and start with a small amount, about the size of a pea. Warm it between your fingers, then work it through dry hair from the roots to the ends.
Bold frames already make a strong statement, so keep the sides clean and short. That way the glasses and the choppy top don’t compete for attention.
Maintenance tip: Wash out product buildup regularly with a clarifying shampoo, so the silver doesn’t look dull or coated. Check with your stylist on how often your hair needs it.
11. Copper Pixie With Root Blend
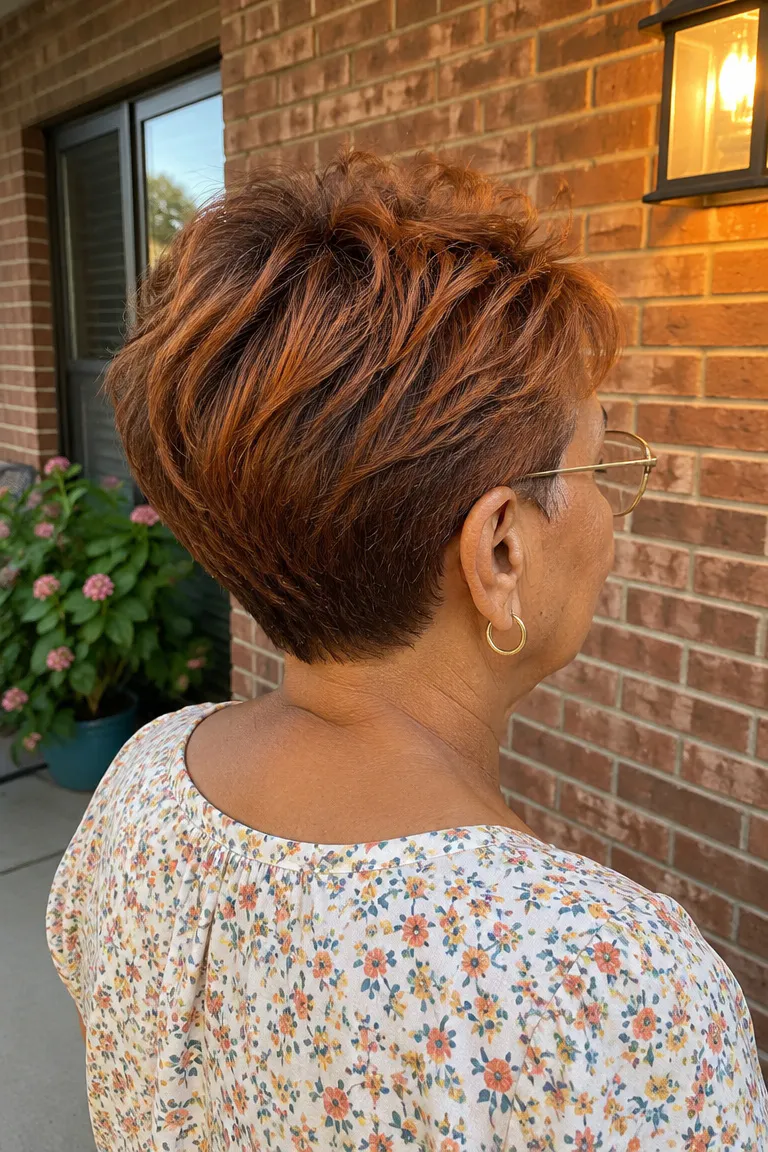
A soft root blend avoids a hard regrowth line, which means you can stretch the time between color visits. Warm copper can also be matched with a gold or tortoiseshell frame, or set against a cool metal or black one. Both choices read as deliberate.
Be upfront about upkeep. Copper and other warm tones need toning to avoid brassiness, and a very short cut puts the nape and ears on show, which can emphasize neck lines. If you don’t want regular color appointments, a close-cropped pixie with faded sides is the cleaner alternative, since it relies on the cut and not color.
Ask your stylist: "Can you blend the roots softly into the copper, and how often will I need toning to keep it from turning brassy?" Ask what a toning visit costs, so the schedule fits your budget.
Before You Book the Appointment
Take the glasses you wear every day to the appointment and keep them on while your stylist checks the sides, fringe, and nape. Bring two photos of the cut you want, one from the front and one from the side or back, and say which of the three spots you care about most.