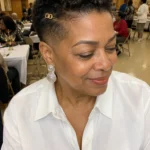
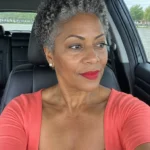
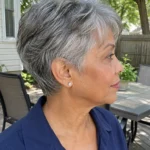
A holiday dinner doesn’t leave time for a 40-minute styling session, and a style that needs both arms overhead for ten minutes can be tiring on stiff shoulders or sore hands. The ten styles below are sorted by length, from pixie to long, and each one lists a time estimate, the tools, and the point where it tends to slip.
Use one decision rule to narrow the list. Start with your hair length, then check what your hands and shoulders can manage: if holding your arms up for more than a minute is uncomfortable, choose the tucked sweep, the snap-clip part, the pinned bob, or the headband. Every style works on the hair you already have, and none requires a new cut.
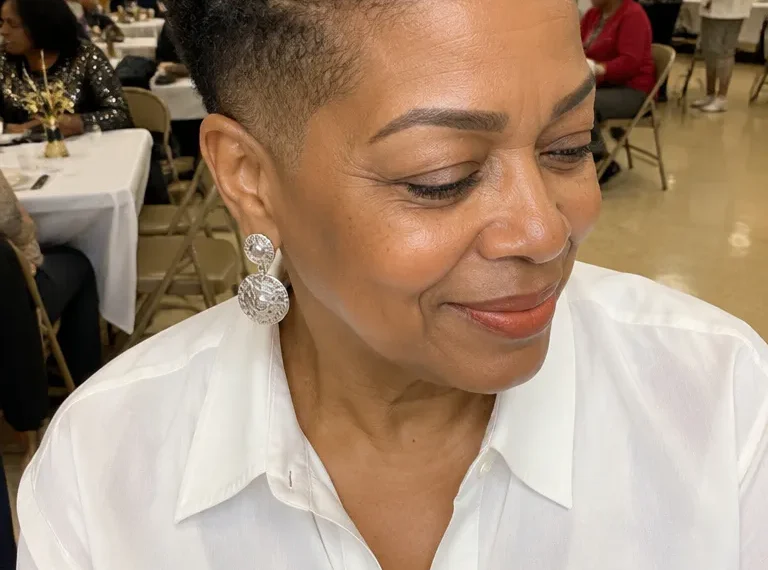
1. Root-Lift Pixie Tousle
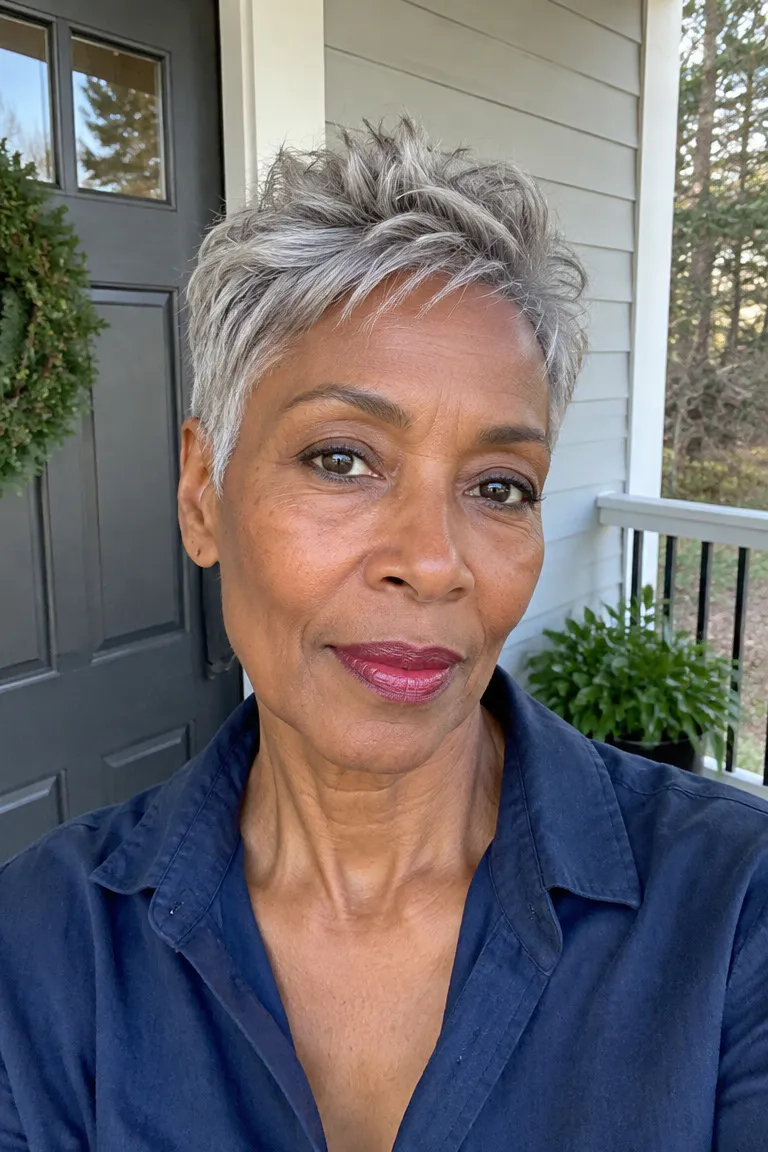
Lift at the crown makes fine or thin hair look fuller because raised roots let light pass between the strands, so the scalp shows less than it does when hair lies flat. If your pixie is growing out or due for a new shape, these short cuts that make fine hair look thicker show which cuts hold lift best.
- Towel-dry until the hair is damp but not dripping.
- Work a golf-ball-sized amount of light mousse through the roots with your fingertips. Skip gel and cream, which weigh fine hair down.
- Blow-dry on low heat, lifting the crown section upward with your fingers as you go.
- Tousle the top with dry fingertips and leave the neckline alone.
Plan on 5 to 8 minutes, depending on how much your hands tire. Rest the dryer arm between sections, or set the dryer in a stand so your hands only guide the hair.
If the lift is gone by evening, one of two things happened. The mousse was too heavy, so use less next time, or the hair went under a hat while still warm, so let it cool completely first.
2. Smooth Side Part with Barrette

A center part tends to widen over time, and a wide line shows the scalp right at the front. Moving the part off center to a deep side lets the heavier side of your hair fall across that line and cover it.
Brush the hair across to the deep part, smooth the top with a soft brush, and place one barrette at the temple on the side where the hair falls forward. Total time runs about 3 to 5 minutes.
Check the barrette against your hair thickness before the event. Fine hair does best with a lightweight snap clip, and a clip that’s too heavy will slide down within the hour. The barrette should also be wider than the section of hair it holds, so nothing bunches at the edges.
Match the barrette to your gray or white instead of buying a set. One clip in a pearl or silver finish that blends with your hair is the only visible detail this style needs. It takes one hand and almost no fine-motor work, since a snap clip closes with a press, which helps when your fingers hurt.
3. Tucked Side Sweep
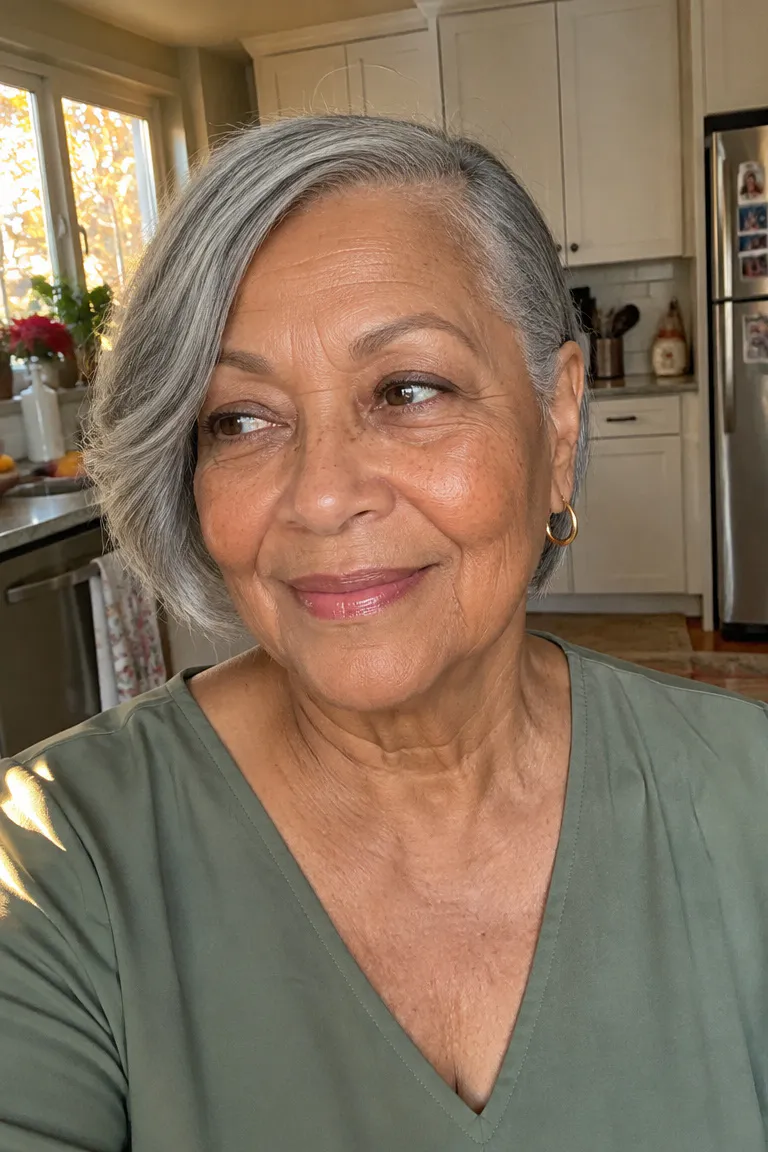
Sweeping one side behind the ear frames the cheekbone on that side and keeps hair out of your eyes. The opposite side stays soft and full, so the style looks balanced instead of pinned down.
Use a small comb to move one side behind the ear, leave the other side loose, and set it with a light mist of hairspray. You need nothing beyond the comb, and the whole thing takes about 4 minutes.
Comfort check: Test the tuck with your glasses or hearing aid on before the event. Hair tucked behind the ear and thick clips near the temples can crowd frames and devices. If that side feels cramped, leave it loose and sweep only the front section back.
4. Flat-Brush Bob Flip
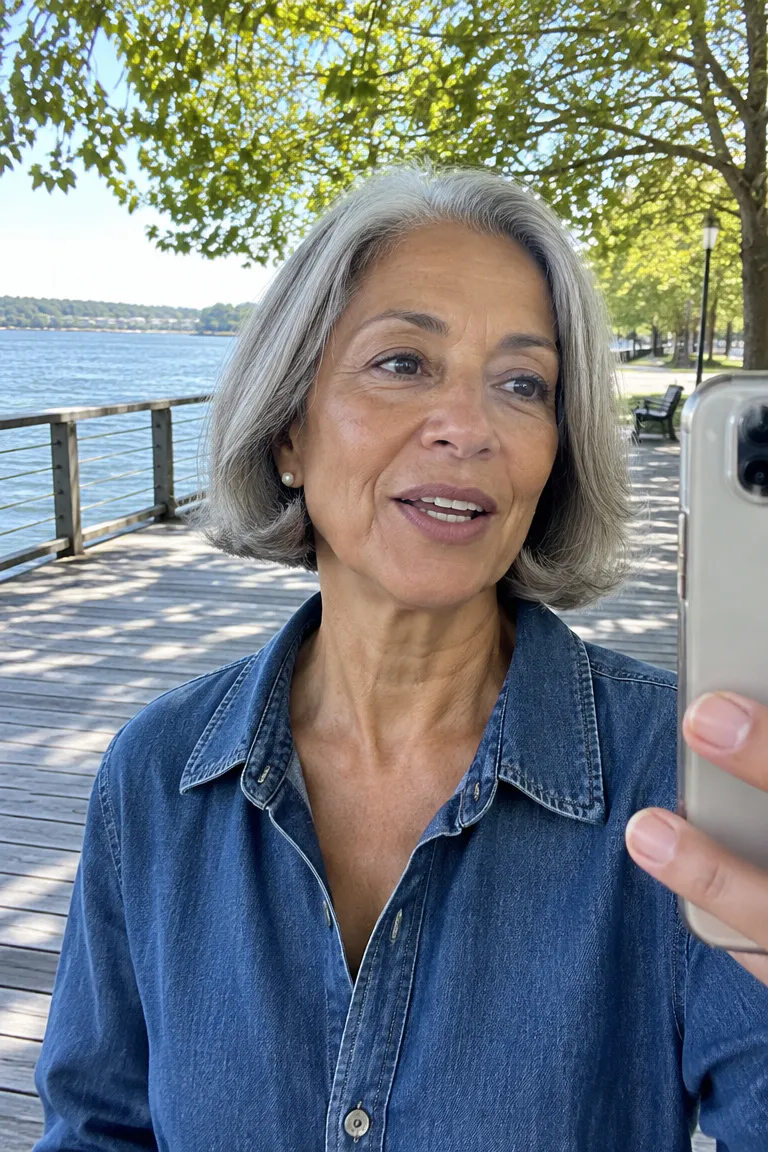
A flipped end gives the bottom edge of a chin-length bob some movement without any curling. Blow-dry with a flat or paddle brush, direct the ends under or turn them slightly outward at the jaw, and let the hair cool before you touch it. Cooling sets the shape, and fingers too early will pull it out.
Expect 8 to 10 minutes, and longer if your hair is thick. If arthritis makes the dryer hard to hold, switch hands between sides, rest between sections, use a dryer stand, or try a lighter dryer. An ionic dryer can also cut frizz in dry winter air, so you spend less time smoothing flyaways.
The cut matters as much as the technique. These short bob cuts that add fullness to thin hair include notes on shape and what to request at the salon.
Ask your stylist: Ask for a cut that dries into shape with a quick blow-dry and one brush. If the bob only looks right after a round brush and a flat iron, the cut is working against the time you have.
5. Soft Roller Waves
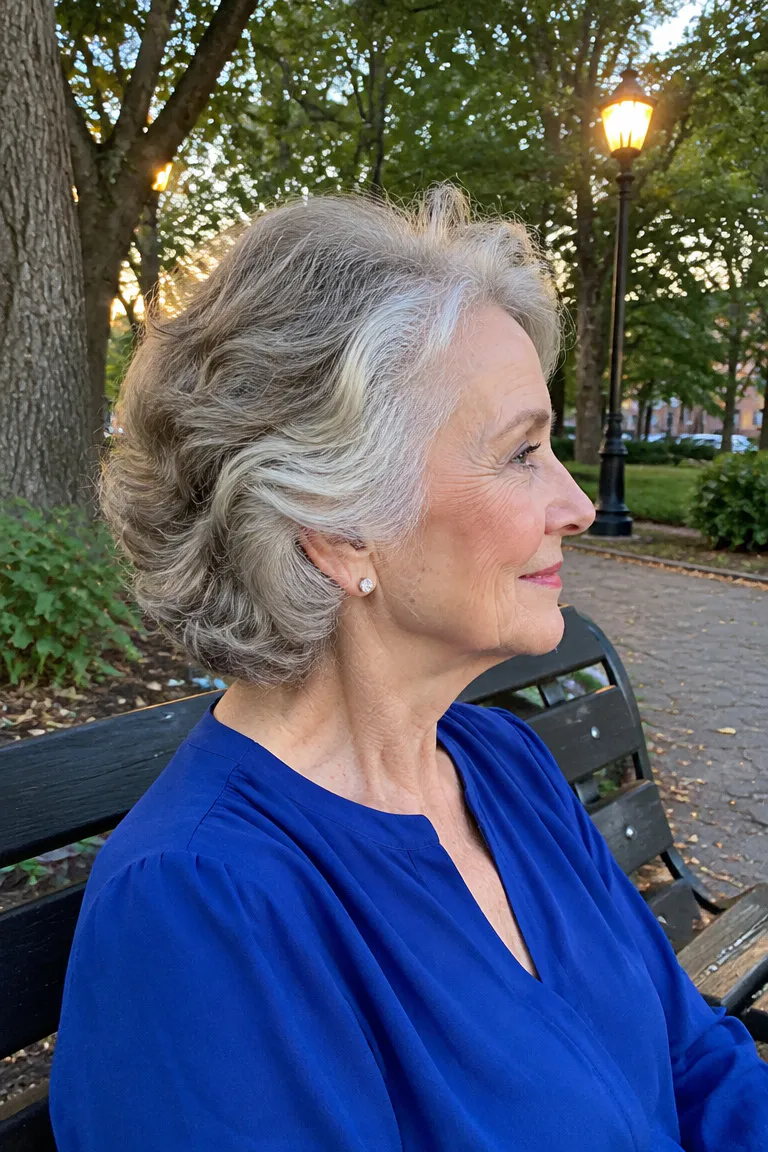
Waves add body to fine hair that falls flat at the jaw. Set a few large velcro or heated rollers on dry or barely damp hair at the crown and sides, leave them in a short time, and let the hair cool fully before you take them out.
Finish with your fingers instead of a brush. Brushing waves out tends to make them puffy.
- Timing varies with hair thickness and roller type, so test the set on a non-event day before counting on 10 minutes.
- Use heated rollers on low and keep them off the scalp.
- Heated rollers can be heavy to handle, so set one side at a time and rest between sides.
- Add a pea-sized amount of light smoothing product only if frizz shows up after you loosen the waves.
Large rollers give loose waves rather than tight curls, which suits jaw-length hair and holds through a long meal.
6. Pinned-Back Bob
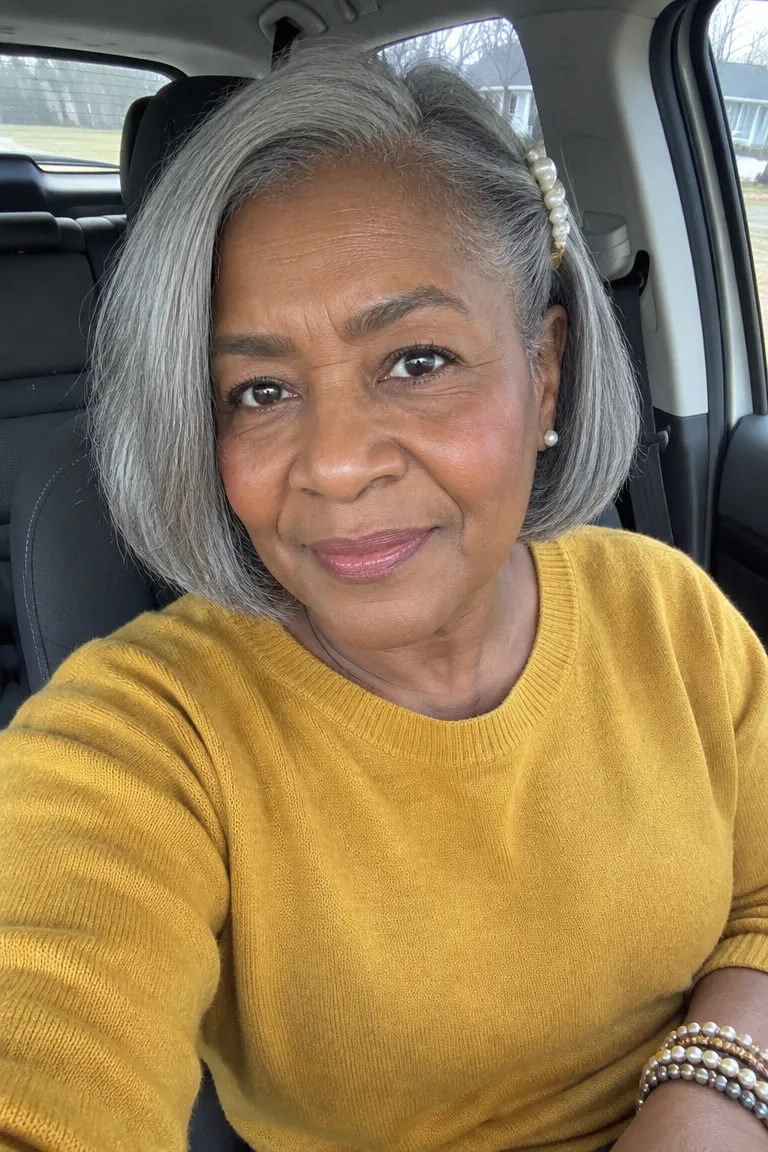
Sweep one side back above the ear, secure it with a pearl or non-metal pin or a small barrette, and smooth the crown. It takes about 3 minutes, and the open side keeps your face clear for photos.
This holds up through a long dinner because the pinned section isn’t under strain. You can also adjust it in a car or restroom in under a minute, without a mirror and without needing both hands.
Check where the pin sits against your glasses arms and hearing devices. If the pin lands where the arm rests, move it half an inch forward or back. Bobby pins need more fine-motor work than a snap clip, so a wide snap clip is the easier option if your fingers are stiff.
Don’t pull the hair tight against the scalp to make the pin stay. A pin that needs tension to hold is too small for the section, so use a wider clip.
7. Half-Up Claw Clip
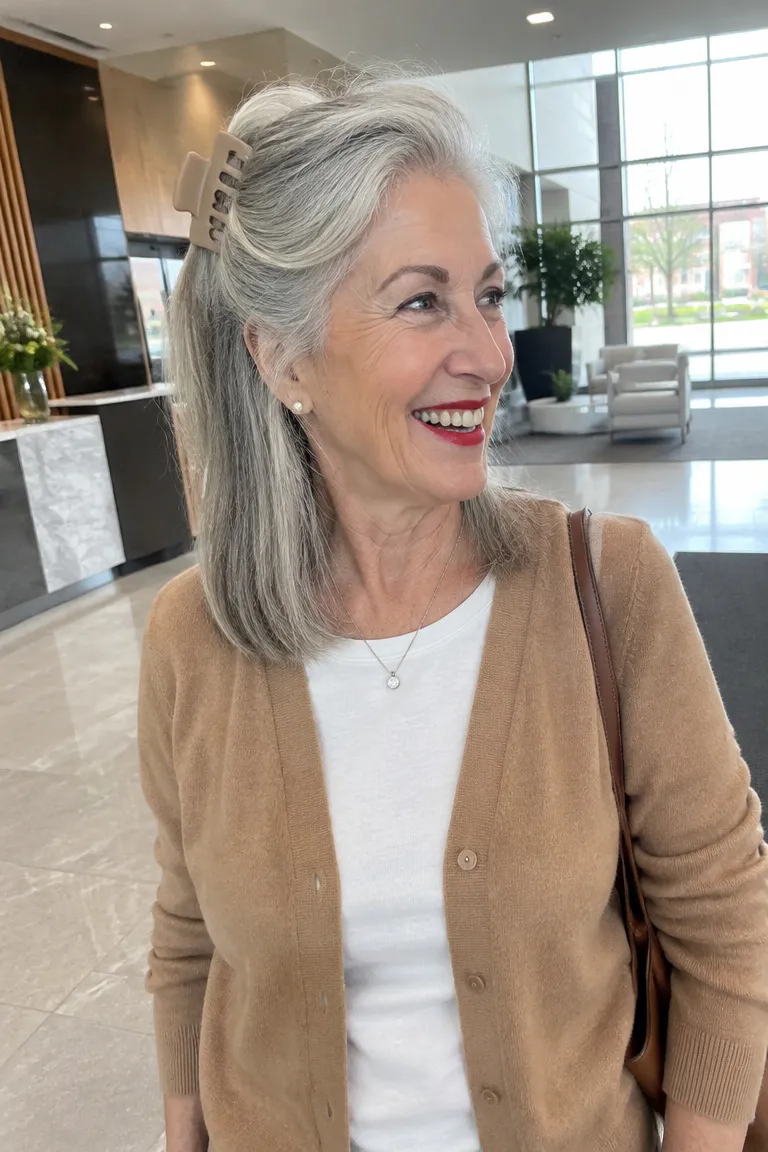
Stylists quoted by Best Life describe large, high-quality claw clips as holding hair securely for half-up styles, which matters if you’ve had cheap clips slip. Gather the top section from the temples, twist it once loosely, and secure it with a large claw clip placed at the crown, not low on the head. A loose twist and a high placement keep the hair lifted and the clip lighter on the scalp.
Brush gently first to loosen static, then clip. Plan on 3 to 5 minutes, with your arms raised briefly.
Fit matters here. The clip should span the twisted section without its teeth pinching the ends, so a thicker head of hair needs a wider clip and a finer one needs a smaller, lighter one.
Comfort check: If the clip pulls or leaves your scalp sore, loosen it or move it a little higher or lower. Avoid heavy clips on thin hair, since the weight drags the twist down and tugs at the roots.
8. Headband and Smooth Crown
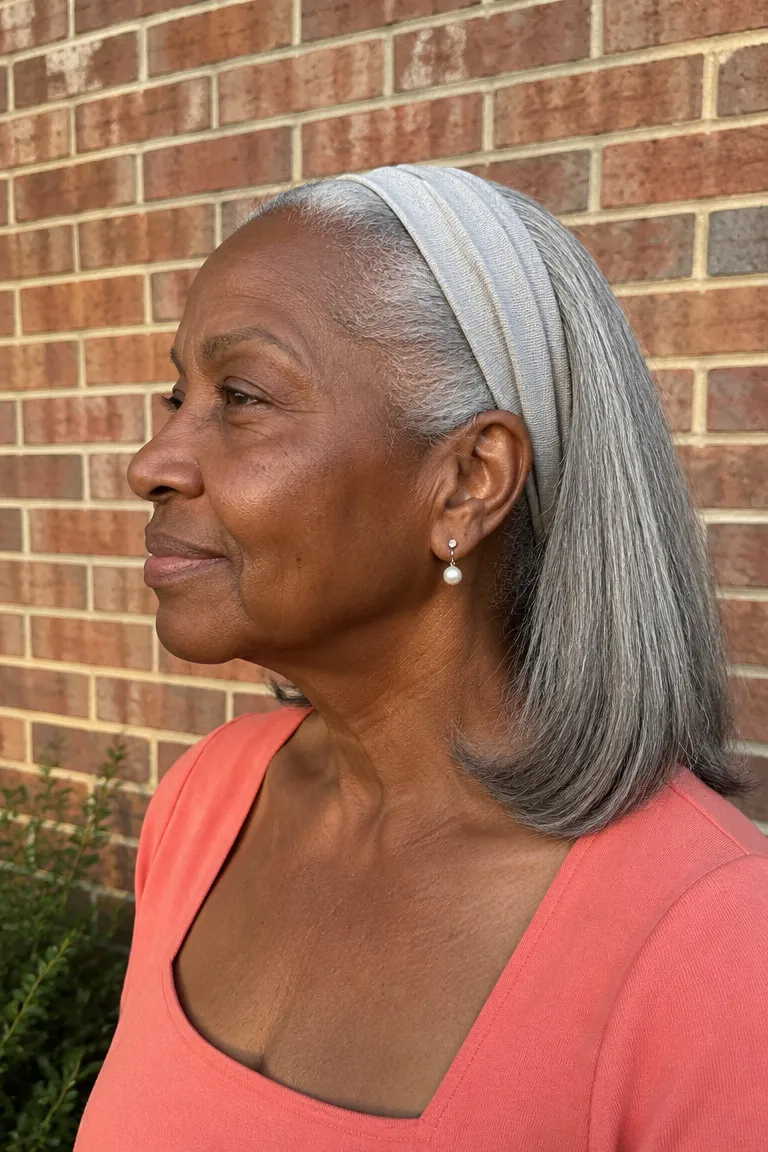
This is the lowest-effort hand option: no pins, little arm lift, and it works seated. Smooth the crown with a soft brush, slip on a wide stretch headband, and ease it back about a half inch to add lift at the front. It takes 2 to 4 minutes.
Best Life stylists recommend headbands for gray hair, and the reason is practical. A wide band covers a thin front part and holds down flyaways, which are the two things that show most in gray hair.
Pick a headband in gray, silver, or a neutral tone that matches your hair, so it reads as part of the style. Before the event, check how it feels around the ears, since a band that’s tight there gets uncomfortable within an hour. Also see how it sits against your glasses arms; a band that rides over the arms can push the frames forward.
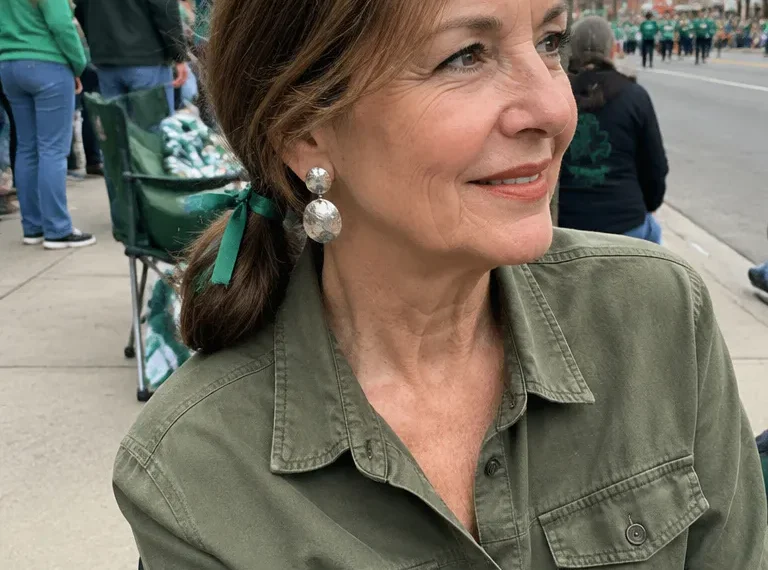
9. Low Soft Ponytail

Brush gently, gather the hair low at the nape or to one side, and secure it with a scrunchie-style band instead of a thin elastic. Pull the ponytail over one shoulder. For slight lift, give the hair at the crown one gentle tug afterward.
The whole style takes about 3 minutes, and low-maintenance long cuts for thin hair are worth a look if your ends need shaping first.
- Sit at a vanity or bathroom counter, or use a stool if the counter is too high.
- Brush with one hand, then switch hands to gather.
- Rest your arms for a few seconds before you secure the band.
- Loosen anything that feels tight.
A band pulled tight can strain thin hair and a sensitive scalp, so loosen whatever hurts. If you notice scalp irritation, sudden thinning, or pain, talk to your doctor or stylist.
Maintenance tip: Replace a scrunchie when it stops stretching. A stiff band grips harder and needs more pulling to hold the same ponytail.
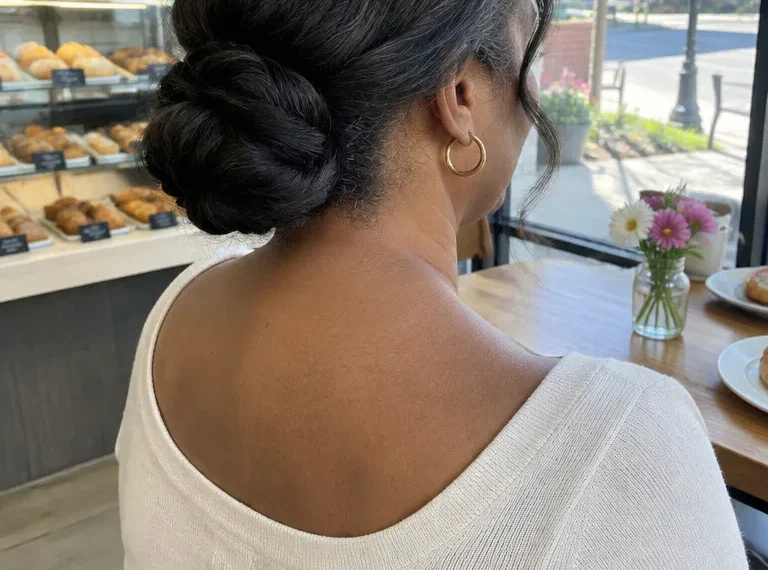
10. Hat-Proof Low Twist

This one is only worth doing if you’re wearing a hat or scarf. Stylists in winter hair articles say warm or damp hair flattens under a hat, so dry and cool the hair completely first. Then twist it loosely low at the nape, pin or clip it, and finish after the hat comes off.
Plan on 6 to 8 minutes. Silk or satin-lined hats can cut static, and loose hair tends to tangle under scarves, which is the reason to twist it up first. Keep any oil to a pea-sized amount for fine gray hair, since more will flatten the twist.
- One barrette or large claw clip
- A few pins
- A small comb
- Travel-size light hairspray or smoothing cream
- A small mirror
Once the hat is off, lift the crown with the comb and pull a few strands loose around the face. Pack the kit in your bag so the touch-up takes a minute.
Practice One Style Before the Day
Pick one style and run it once on an ordinary day, with your glasses or hearing aids on, so you know the real timing and comfort before the event. Then pack a barrette, a few pins, a small comb, and travel-size hairspray in your bag for touch-ups.