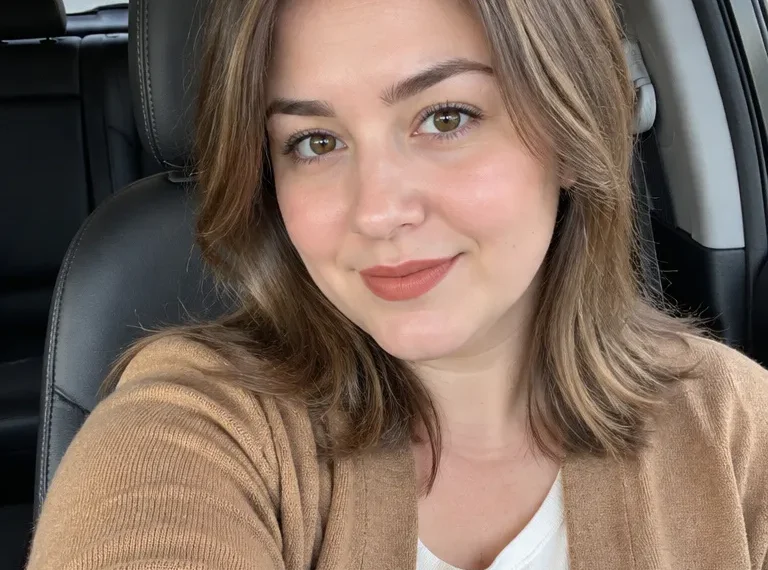
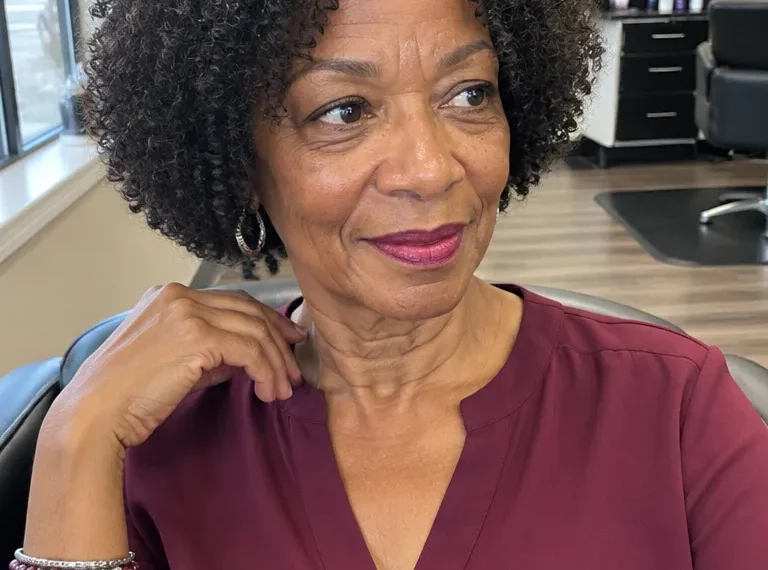
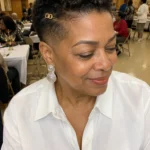
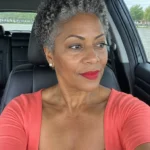
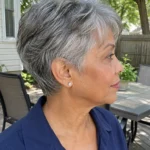
Fine hair that looks right at 6 p.m. and flat by the second round of appetizers usually has a hold problem, not a product shortage. Fine means thin individual strands, not a small amount of hair. Thinning is a separate issue, covered lightly in entry 3.
The thirteen styles below include at least three each for short, shoulder-length, and long hair, with the length labeled in every entry. Each one lists prep, what holds it, how long it takes, and how it tends to fail, so you can pick by the hair you have rather than the photo you saved. One decision rule: if your hair drops a curl within an hour, choose a twisted, pinned, or clipped style over loose curls.
1. Soft Volume Waves
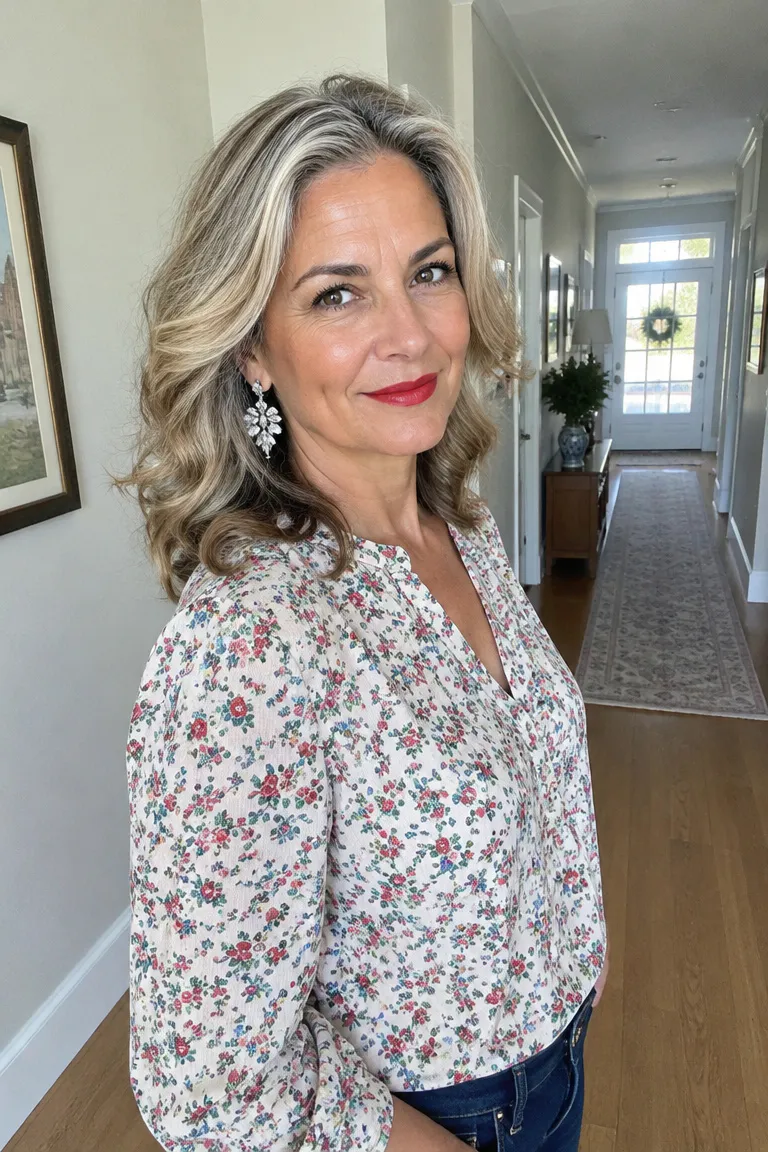
Length: shoulder-length. This works for fine, straight hair that drops a curl within an hour, because the waves are large, brushed-out bends rather than tight curls that need to hold their shape.
Apply a heat protectant, then use a large-barrel iron or hot rollers on the lowest heat that still holds a bend. Fine strands scorch easily, so raise the setting only if the wave truly won’t hold.
Let every curl cool completely before you touch it. Brushing out warm curls pulls them straight, which is the usual reason this style is gone by the second hour. Once they’re cool, brush through gently and mist on dry texture spray so slippery strands grip each other.
- Effort: moderate.
- Hold: flexible, used lightly. Heavy hairspray weighs the waves down and makes them stiff.
- No-purchase option: blow-dry the roots upward until completely dry, then curl, so the lift is built in before any product.
2. Deep Diagonal Part Waves
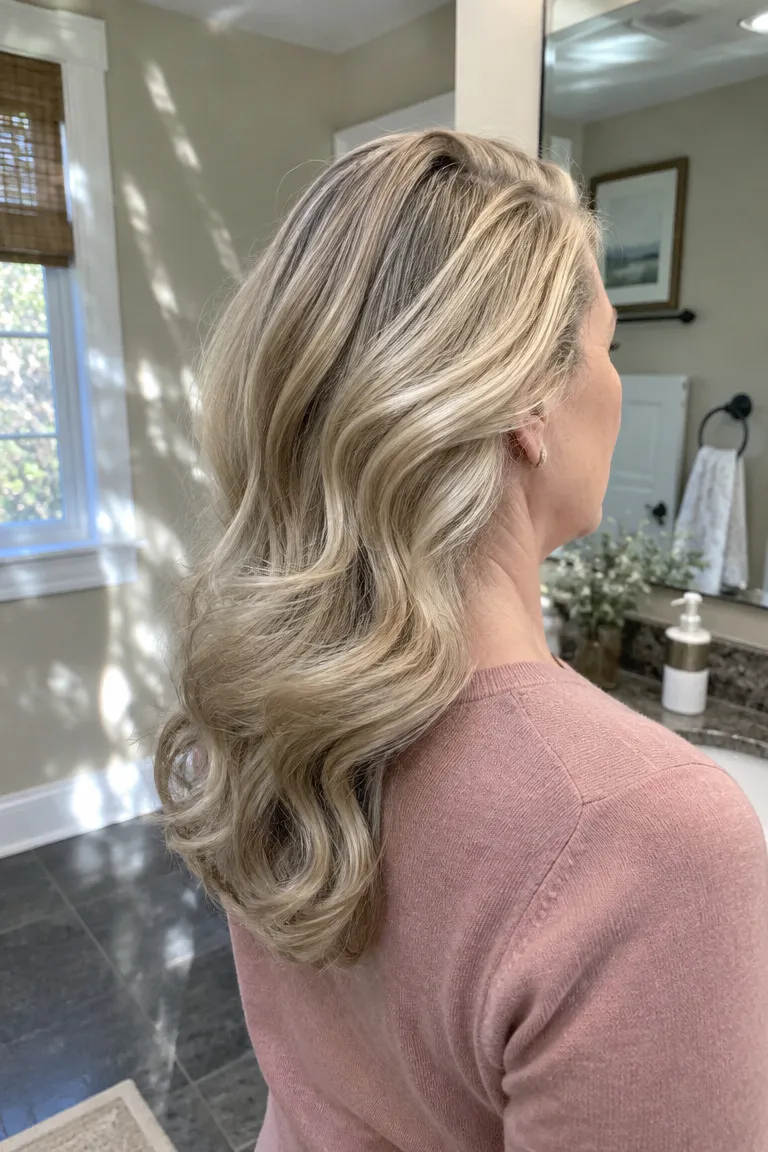
Length: medium to long, straight or slightly wavy. The part does most of the work here. A diagonal part sweeps hair across the crown at an angle, so the top layer overlaps and props up the roots, while a center part lets fine hair drop flat on both sides.
A straight side part has its own problem. On fine hair, one side often ends up noticeably fuller than the other, and the heavier side drags the part open. Blow-dry the roots upward before you set the part, and spray root lift on damp roots section by section.
Style the waves in the Hollywood manner, then brush out gently and keep the curl count low. A few large curls read full, while many tight ones separate into strings and show scalp along the part. A round brush helps with the blow-dry, and the whole job is moderate effort.
If you’re still choosing a cut for party season, these low-maintenance long hairstyles for thin, fine hair cover long styles that keep lift and movement.
Ask your stylist: Ask where to place the diagonal part so the fuller side suits the way your hair falls. Have them mark it while you’re in the chair so you can copy it at home.
3. Half-Up Crown Lift
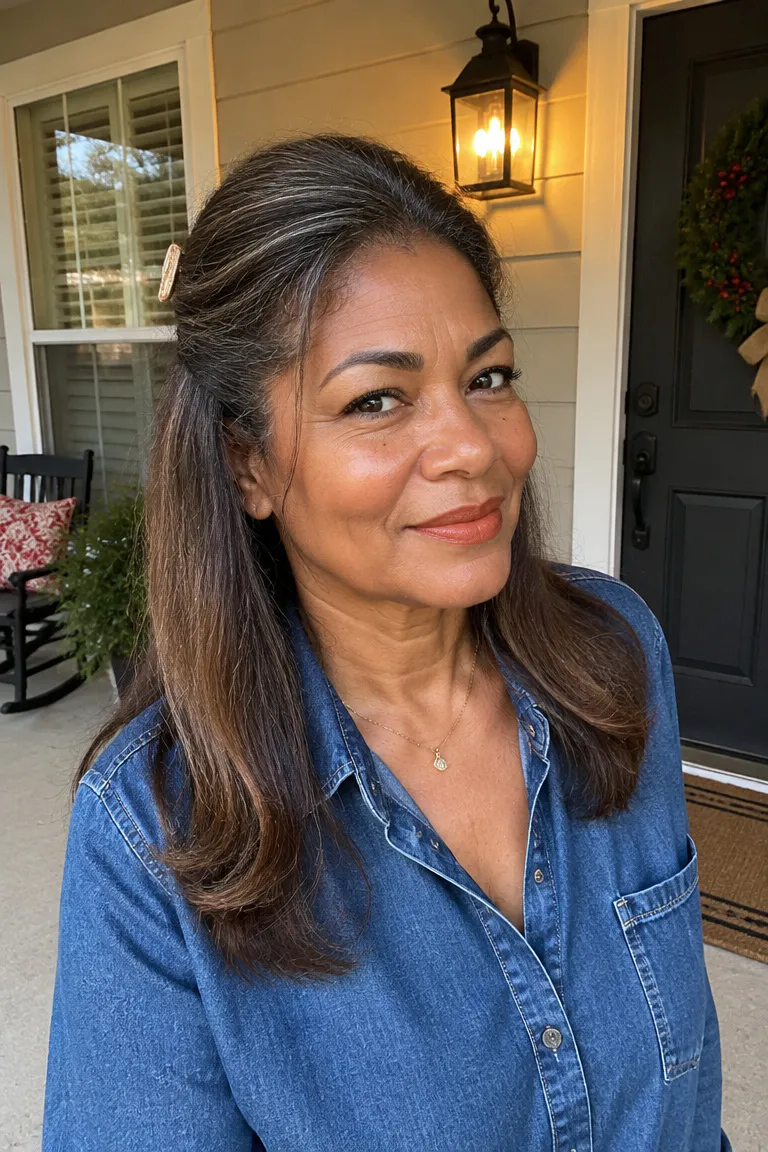
Length: shoulder-length to long, as long as the back isn’t very short. The lower half stays down on purpose. Pinning everything up can leave fine hair looking sparse, while loose lengths under a lifted top give visible body.
Tease very lightly at the crown, or use a root product instead. Gather the top section and secure it with a flat barrette or clip rather than an elastic, which dents fine hair and leaves a ridge. This is a quick style that needs about one tool.
A note on thinning: thinning at the temples is a different issue from fine strands. Crown lift can balance it visually by moving the eye upward, but no product here thickens hair.
The common failure is pulling the top section back too tightly. That flattens the lift you just built and tugs at the hairline.
Comfort check: The clip should sit snug, not pull at the temples. If you feel tugging, loosen the section and re-clip a little higher.
4. Low Chignon, Face Framing
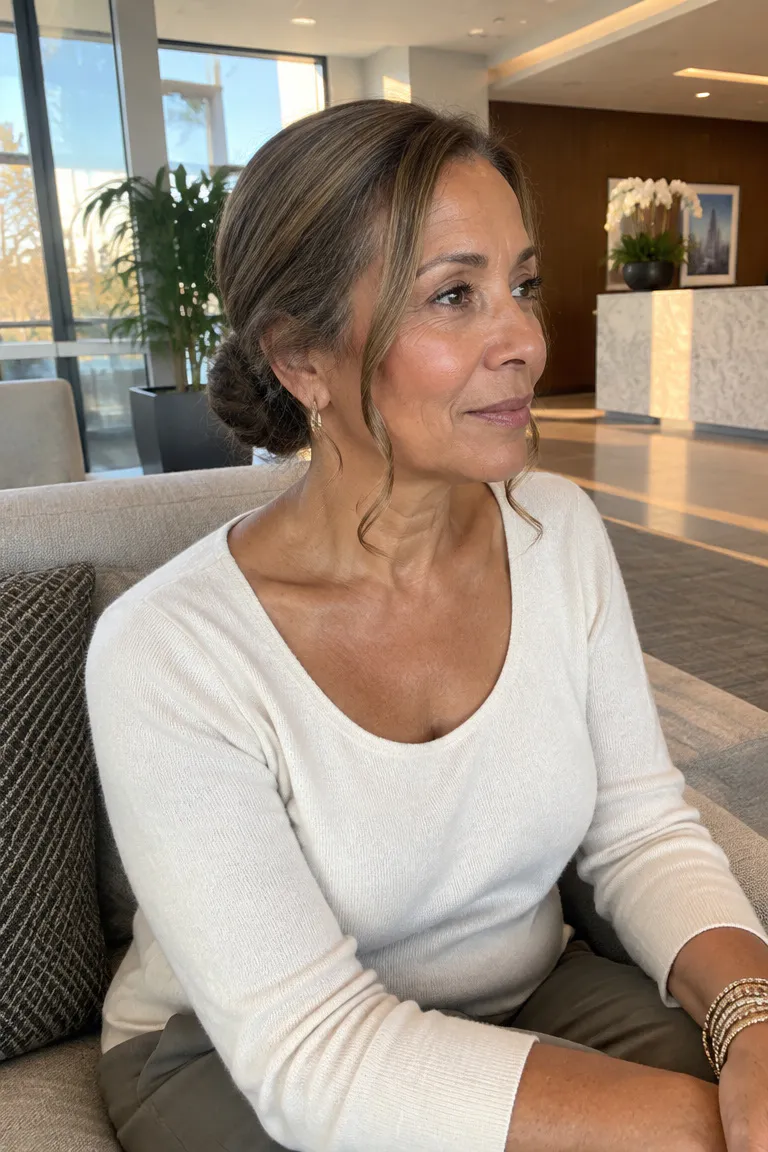
Length: medium to long, as long as the hair can reach a twist at the nape. A low chignon puts less pull on the hairline than a high updo, which is easier on fine hair and a good fit if your temples are sensitive.
- Work dry texture spray or mousse through the lengths so the hair has grip before you twist.
- Gather at the nape, twist, and fold the twist into a bun.
- Pin with color-matched pins spread across the bun rather than clustered in one spot.
- Pull out two soft front pieces and curl them lightly to frame the face.
Pulling the bun tight to look neat is how this style fails. Keep it snug, not tight, and let a few strands stay soft.
Maintenance tip: take out every pin the same night instead of sleeping in them. Effort is moderate, and a helper makes the back easier to reach.
5. French Twist With Filler
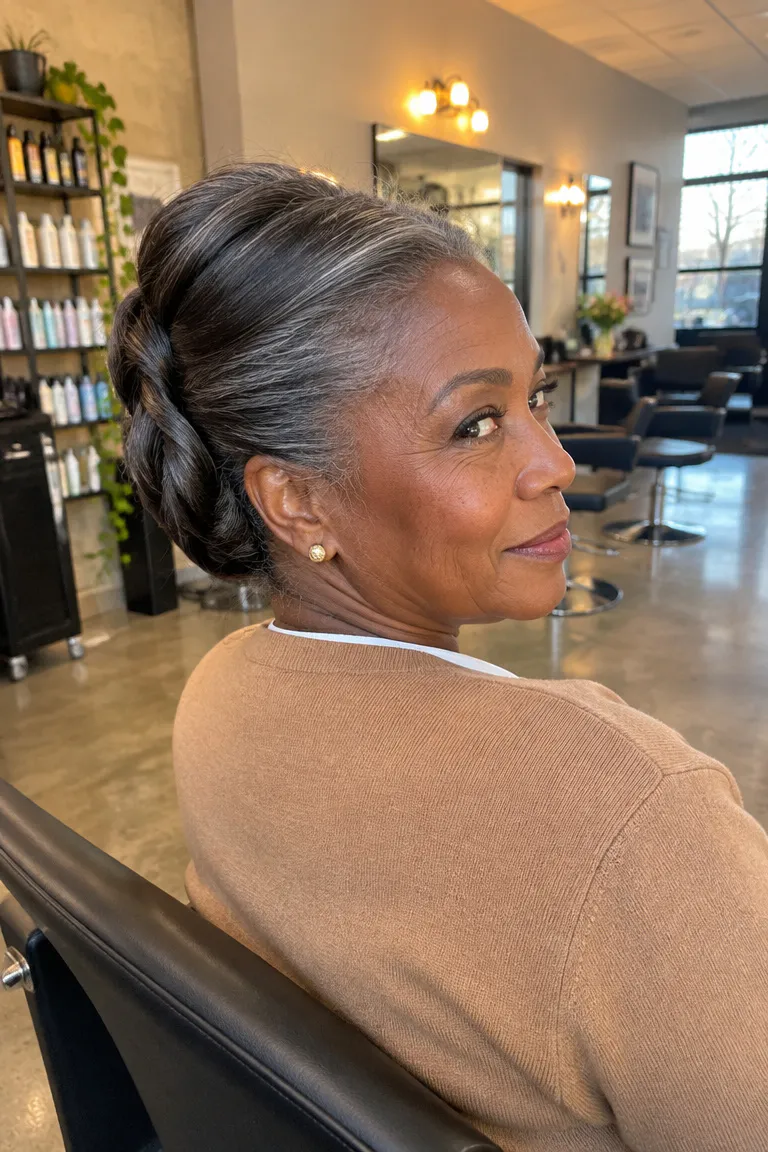
Length: long or long-medium, including straight, slippery hair. Fine hair can’t hide bulky hardware, so build the shape with a small bun-shaped roll or filler insert in a color close to your hair, plus color-matched or fine U-pins. Twists turn up in holiday-party roundups because they keep hair off the neck and face when a room warms up or the dance floor fills.
| Version | What you need | Watch for |
|---|---|---|
| With filler | Small roll in a matching shade, 10 to 15 pins | A lumpy outline if the filler is much lighter or darker than your hair |
| Without filler | A tighter fold and the same pins | Less height; pin more firmly along the seam |
Apply texture spray on dry hair before rolling. Pin along the seam in an overlapping zigzag so each pin anchors the one before it.
Visible pins and a lumpy filler outline are the usual failures. Choose a filler a shade close to your hair color, and check the back with a hand mirror. Effort is moderate.
6. Soft Beehive Crown Bun

Length: long, with enough length to wrap around a donut. This one is for height at the crown. A hair donut adds apparent thickness without heavy teasing, which is hard on fine strands and hard to brush out later.
Gather the hair into a high ponytail at the crown, slip the donut over it, and spread the strands over the donut. Pin from underneath so no pins show through fine hair. Smooth the front loosely instead of slicking it.
Two things go wrong here: pins set on top that show through, and a bun that sits too far back. Check the comfort before you commit. Keep the base snug, not tight, and spread the pins so they don’t pull on the same spots.
You’ll want a mirror and some patience, and a helper makes shaping easier. A donut in a shade matching your hair is optional but hides better than a mismatched one.
7. Twisted Low Bun With Clip
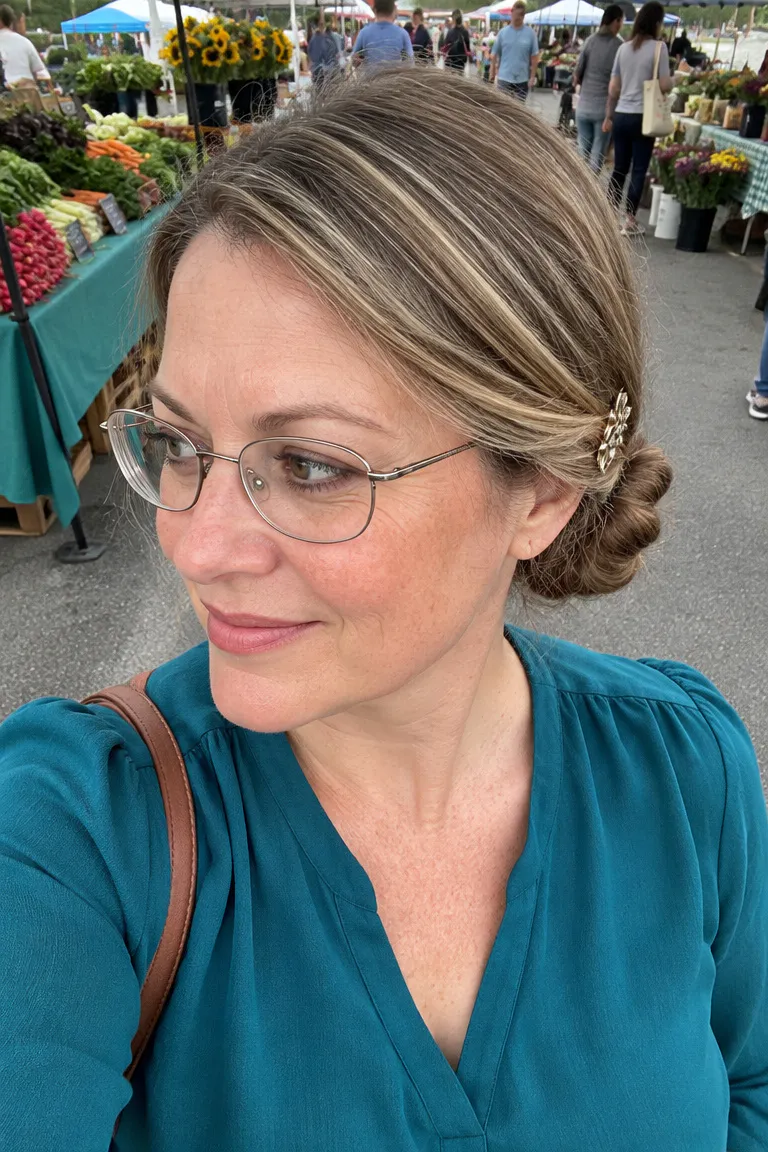
Length: shoulder-length to long. This is the pick when you want a finished look in minutes. A decorative clip can stand in for several extra pins, which keeps the hardware light on fine hair.
Gather the hair low, twist the lengths into a rope, and wrap the rope into a flat bun. Fix it with two pins, then place a small metal or acetate clip along the edge of the bun.
Metal accessories are a seasonal trend, but check size and weight first. A heavy or oversized clip slides on fine hair, sags, and tips the whole bun to one side.
Effort is quick, and you can do it alone. No-purchase option: use two matching pins and skip the clip.
8. Vintage Front Roll
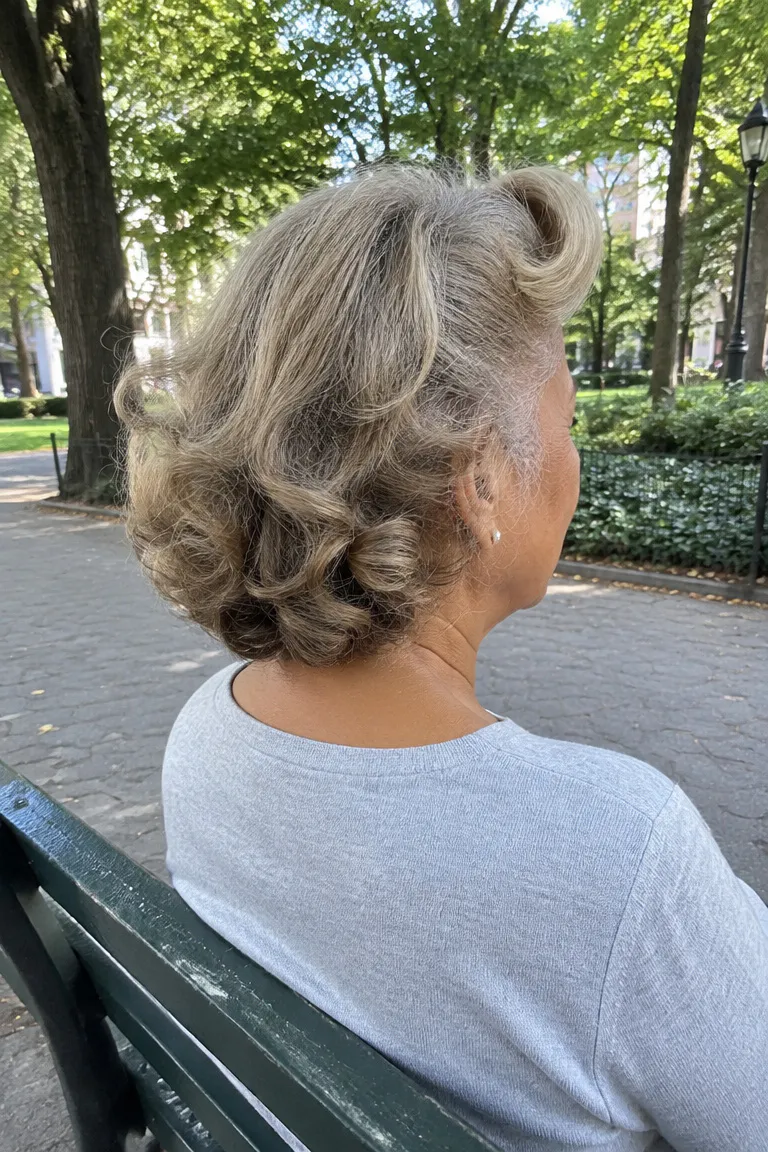
Length: short to medium, including chin-length cuts, when the back is fine and the front has enough length to roll. Skip it if your front hair is shorter than about 3 inches, because there’s nothing to roll.
Work mousse through damp roots and blow-dry upward for body. Roll the front section back, pin it under, and leave the rest soft or curled under. It’s a set look, so the part and shape stay put.
Rolling too loosely is the usual failure, and the roll collapses by dinner. Build a firm pin base and finish with a light, flexible-hold spray. Effort is moderate.
Maintenance tip: Roll on dry hair the same day, not the night before. A roll left in overnight tends to flatten against the scalp by morning, so you lose the lift you wanted.
9. Loose Braided Crown
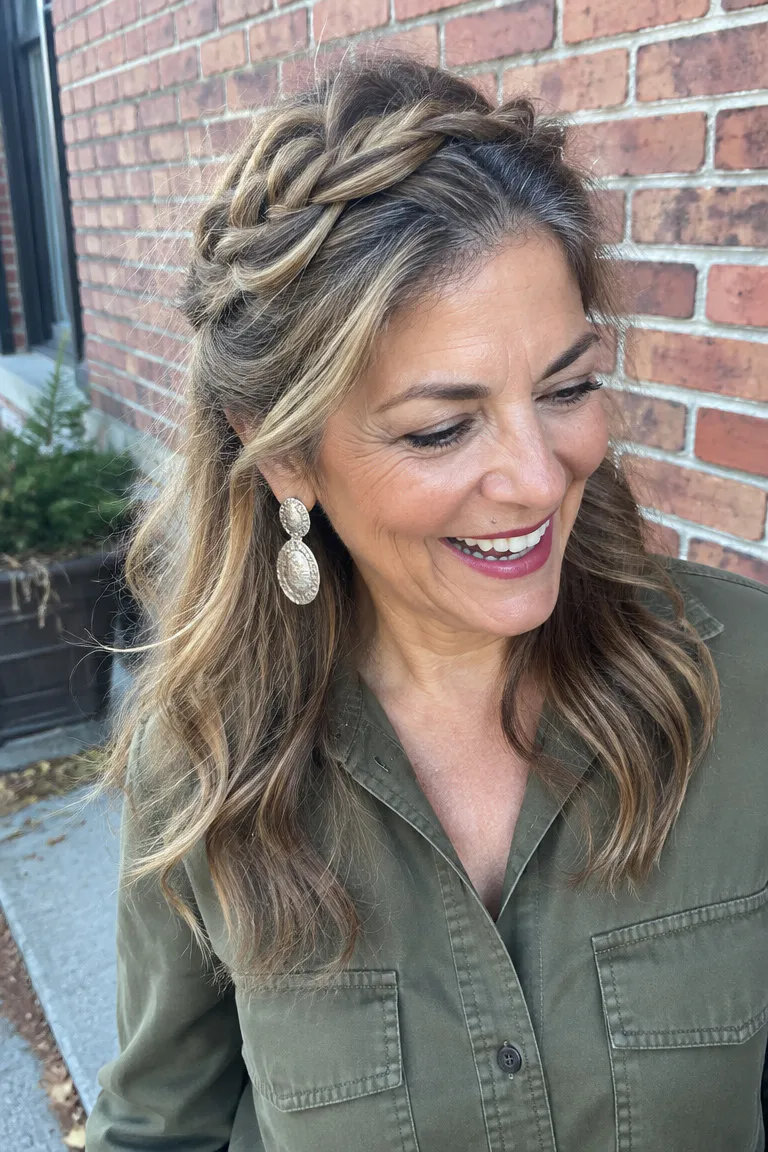
Length: long hair with enough length to wrap, or a partial braid on shoulder-length hair. Braid size is the choice that matters. Start with a loose three-strand or Dutch braid along one side, then gently pull the edges apart so it looks wider.
Pin the braid across the head with fine pins instead of elastics. Mist texture spray on the hair before braiding so strands grip. Don’t pull the edges so hard that the braid goes sparse or shows scalp.
Braiding tight from the hairline is the common failure. It tugs at the temples and flattens the top. Comfort check: keep the braid snug, not tight, and stop if you feel pulling.
Effort is moderate. You’ll need a mirror and a little practice, so try it once before party day.
10. Textured Bob, Diagonal Part

Length: chin-length to jaw-length, in a blunt or lightly layered bob. This is the no-updo option, and it uses the cut you already have. The blunt bottom edge gives weight, while heavy layering or tapered ends can make fine hair look thinner.
Skip any last-minute thinning or texturizing shears. Blow-dry the roots upward, set a diagonal part, and add a small amount of texture spray at the roots. Finish with gloss or shine spray and a flexible spray.
Over-layered ends look wispy, which is the usual failure. If you’re weighing a trim, these bob cuts that add volume to fine hair show shapes worth bringing to the salon. Effort is quick, about one round brush’s worth.
Ask your stylist: Request a blunt perimeter and, if you want it, a quick pre-party trim or gloss. You’re asking for a tidy-up of the current shape, not a new cut.
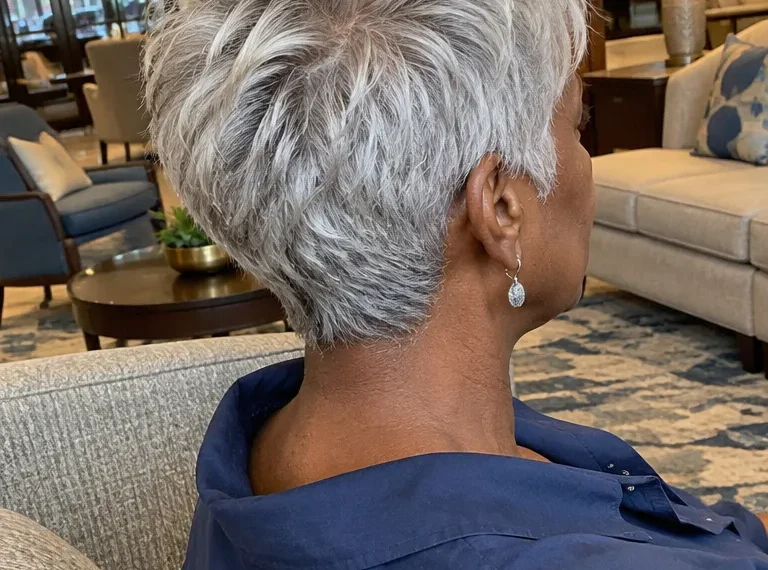
11. Cropped Pixie, Crown Height
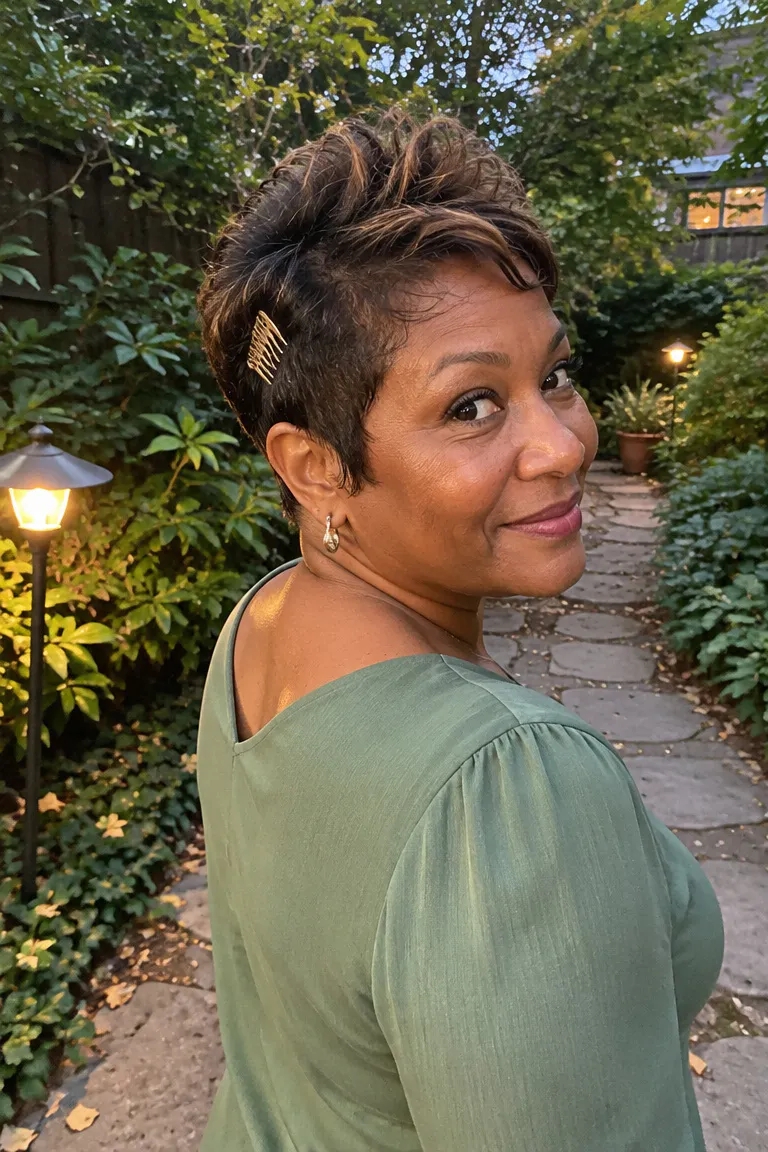
Length: short and cropped, fine on top. Texture matters more than tools here. Rub a small amount of dry texture spray between your fingers and work it through the crown to push hair upward; no round brush needed.
For a dressier look, slide a small metal comb or clip in at one side above the ear. Gray or silver pixies can look dull under party lighting, and a little shine spray is enough to fix it.
Too much product is the failure, since it makes short hair go stiff or greasy. Start with a pea-sized amount and add only if the crown still sits flat. Effort is quick, about five minutes.
Maintenance tip: if the cut has grown out, a quick trim before the party helps the shape. For ideas on what to ask for, see these soft pixie cuts for fine hair.
12. Sleek Side-Swept Clip
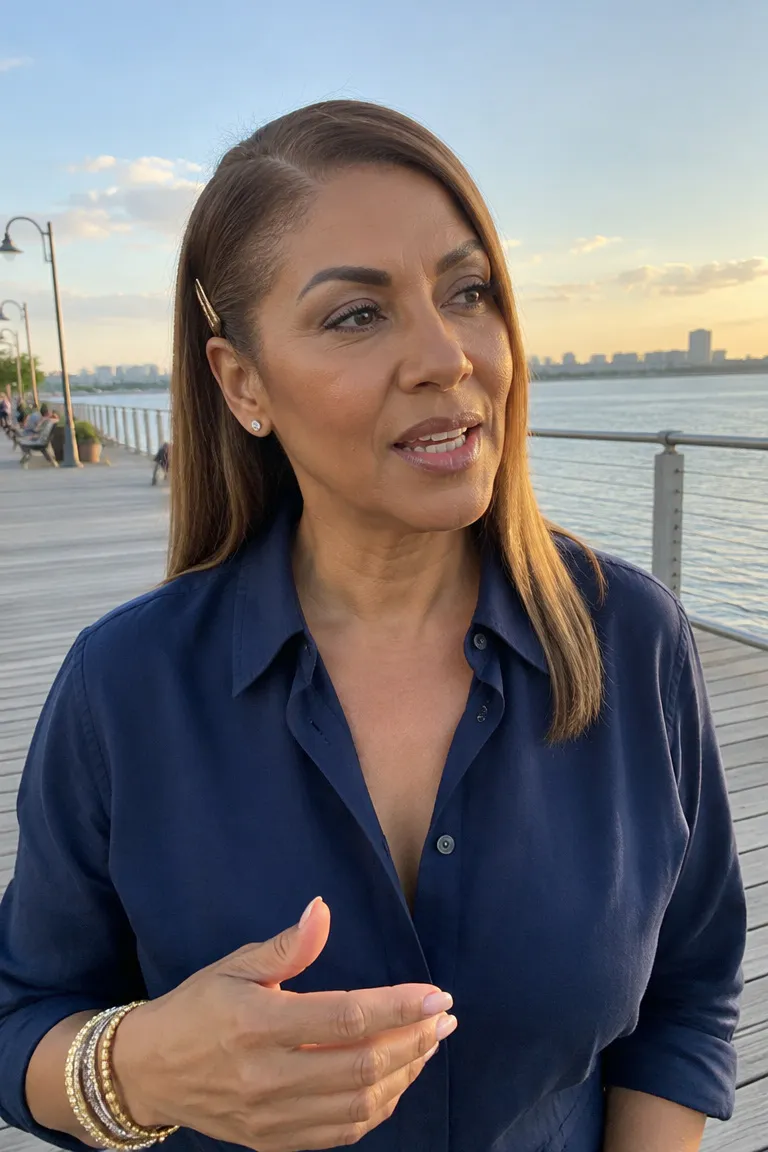
Length: chin-length to collarbone, for hair that won’t hold curl, including straight and slippery hair. This is the fastest fix on the list. Brush the hair smooth, sweep the front over to one side behind the ear, and fix it with one metallic barrette.
Add shine spray instead of hairspray, which would stiffen the surface and show every flyaway.
A slick finish at the roots is where this goes wrong, because fine hair then looks flat against the head. Blow-dry the roots upward first, or add a little root lift. Since the whole style rests on one clip, check its weight and size.
Comfort check: it shouldn’t slide or pinch behind the ear. Effort is quick, and if your hair is already dry you can do it alone with no heat.
13. Wavy Lob, Sparkle Clip
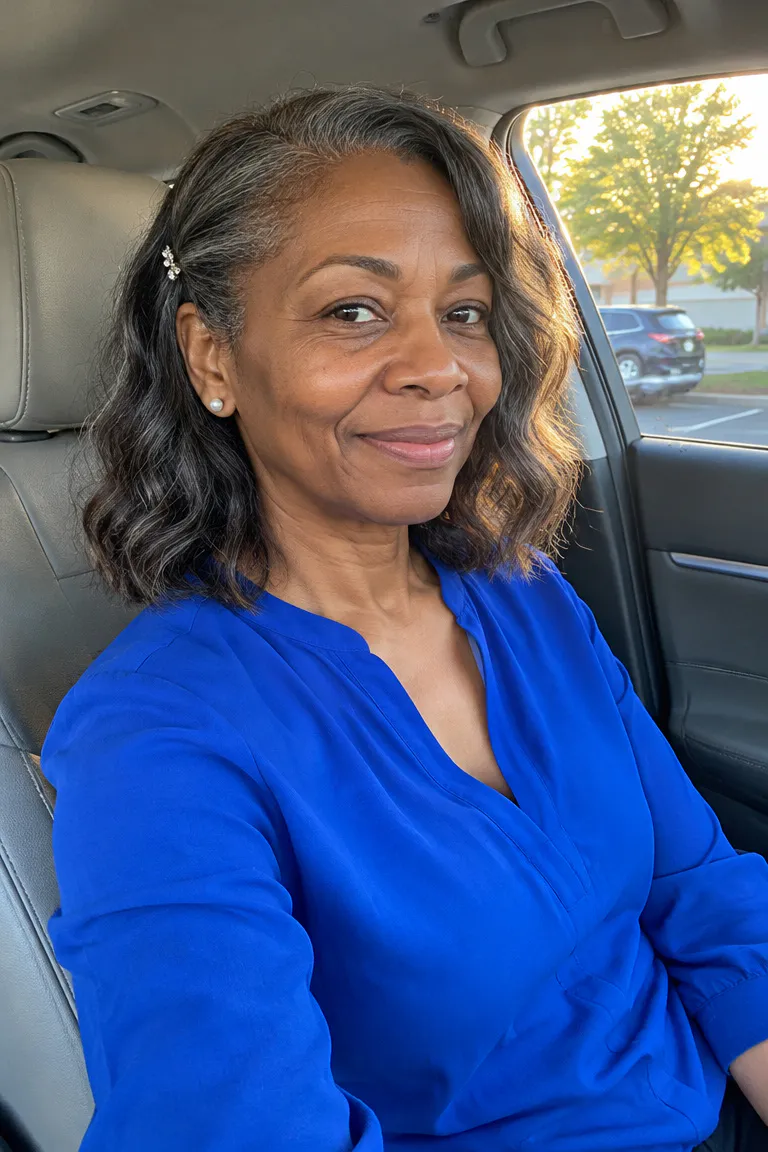
Length: shoulder-grazing lob, straight or slightly wavy. Style loose waves with a larger barrel and texture spray, then add one small sparkle clip behind the ear or just above the part. Effort is moderate, about the same as entry 1, with a faster finish because you only need loose bends.
Keep the clip about 2.5 inches or less. A small clip holds better in fine hair, while heavier clips tend to slide out.
The failure is setting the clip into only a few strands, which lets it drop within the hour. Grab a good section along the part so it has hair to grip.
Ask your stylist: If you don’t own a curling tool, ask for a quick blow-dry and wave finish before the party. Bring a photo of the wave size you want so they use the right barrel.
Party-Day Timing and Pin Kit
Pack a small kit the night before: dry texture spray, a flexible-hold spray, color-matched pins, and one small clip you’ve already tested for weight. Style fine hair on completely dry, cool strands, and do your curling or pinning no more than a couple of hours before you leave. Keep the kit in your bag, since dry winter air and a warm room both change how fine hair behaves by the end of the evening.