Dyed brown or black hair with an inch of white at the part makes you choose between another full color appointment and an obvious line. A gradual blend lets you keep your length while the gray moves in. You skip the big chop, and you can keep the color you have while the roots catch up.
These 14 tips help you pick a route based on your starting shade, use the right words at the consult, and decide whether fine highlights or lowlights fit your hair. They also cover a visit-by-visit timeline, at-home care, a budget comparison, and a checklist for knowing when to stop coloring. One rule to start with: if your dyed color is darker than your gray, plan on more lightening and more visits.
If it’s the same depth or lighter, plan on more depth and fewer.
1. Map Your Gray Pattern
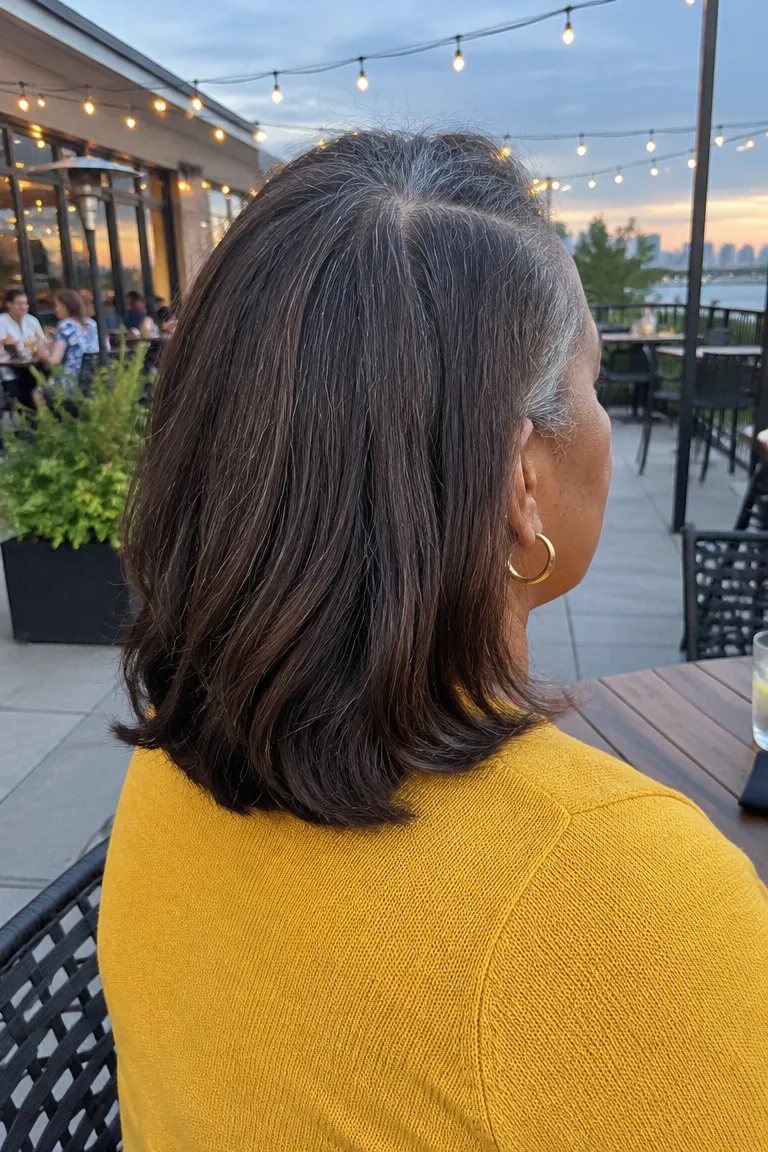
Stand with your back to a window and use a hand mirror to check the back and sides of your head in daylight. Bathroom lighting hides a lot. Note whether the white is spread evenly, like salt and pepper, or packed into the part, the temples, or the area above your ears.
Take two or three photos of your own roots: one straight down the part, one at each temple, and one at the back. Show these at the consult, because where the white sits decides where blending pieces go. Gray at the hairline needs finer work than gray scattered through the crown.
For a rough gray percentage, part the hair in four or five places and judge each strip: mostly dark, about half mixed, or mostly white. Count how many strips land in each group. That gives you a useful range, not an exact number, and it’s enough to start a conversation about how many visits you might need.
2. Match the Route to Your Base
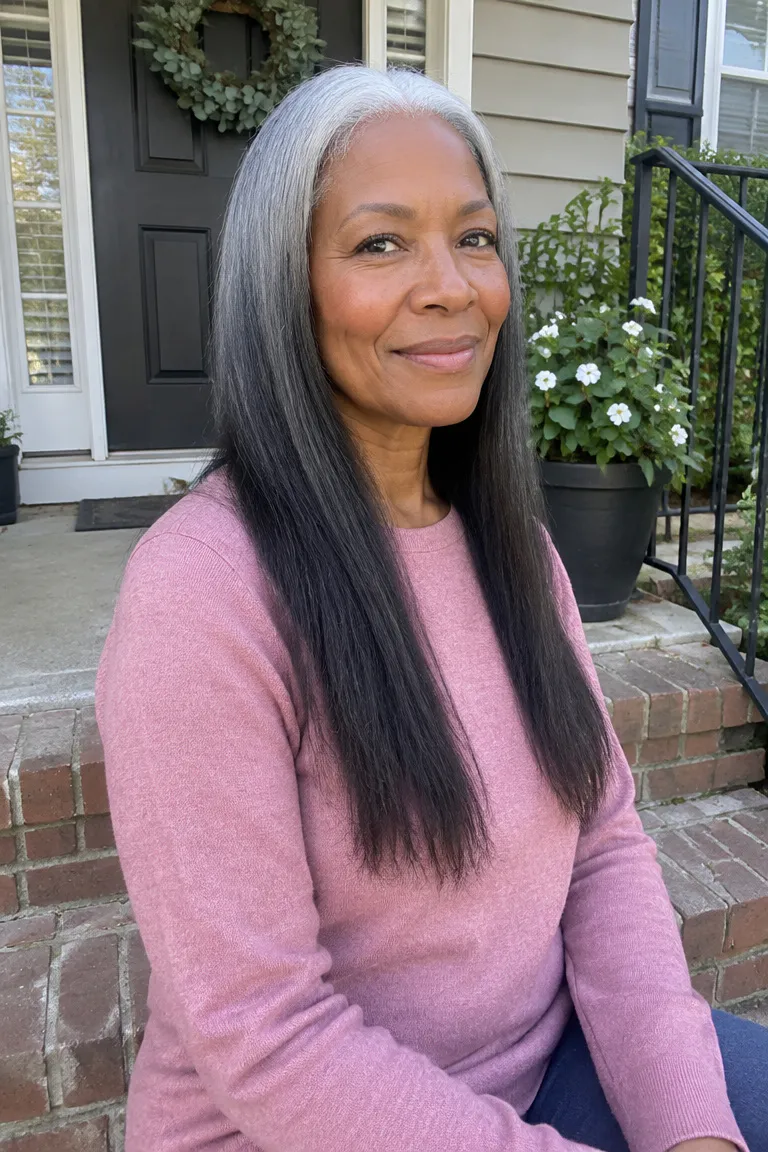
Dark brown or black dyed hair against white roots is the hardest case. The contrast is highest, so the blend usually takes the most visits. Sources disagree on how well blending works at that darkness, so treat any promise of one-session results with caution.
Medium brown and dark blonde blend more easily because there’s less distance between dyed and natural. If you’re already salt and pepper with a little dye on top, you may only need light blending around the part and temples.
- Black or very dark brown with heavy white: expect the longest plan and ask for it in writing.
- Medium brown or dark blonde with moderate gray: fine highlights or lowlights, depending on the shade of your gray.
- Mostly gray with a little dye: light blending, then let the color grow out.
Gray balayage, with darker roots fading into silver ends, is a less common option. It lightens the lengths, so it adds processing and suits hair in good condition.
3. Say Gray Blending, Not Highlights
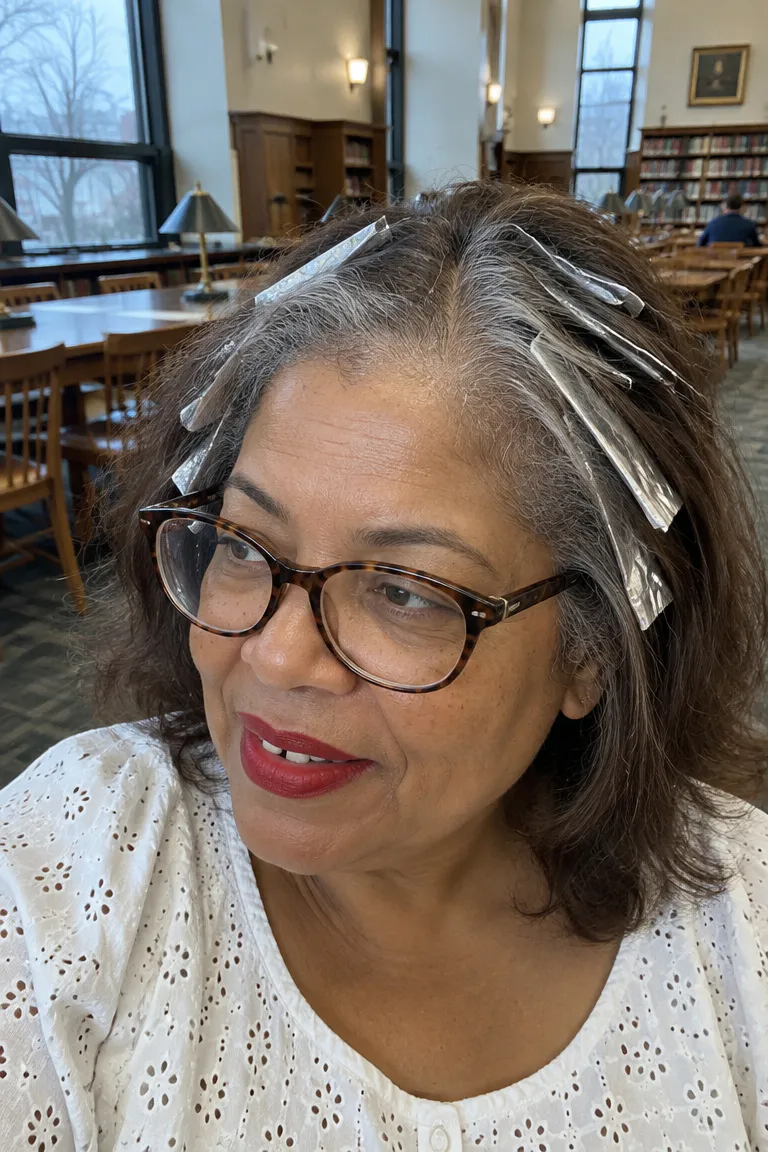
At the consult, ask for gray blending or a root smudge. A full color covers the white, and highlights alone can read as stripes on top of it. Two techniques do the work here.
Lighter foils add pale pieces that mimic gray, and gray-toned foils deposit gray without lifting.
The difference matters for your hair. Lifting adds processing, while depositing gray tone is gentler but can fade faster. A stylist should be able to tell you which one they’re planning and why.
Ask your stylist: How many visits will this take, and what does each one cost? Will you use highlights, lowlights, or both? Will you finish with a gloss each time? Request the answers in writing so you can compare quotes.
4. Babylights or Lowlights
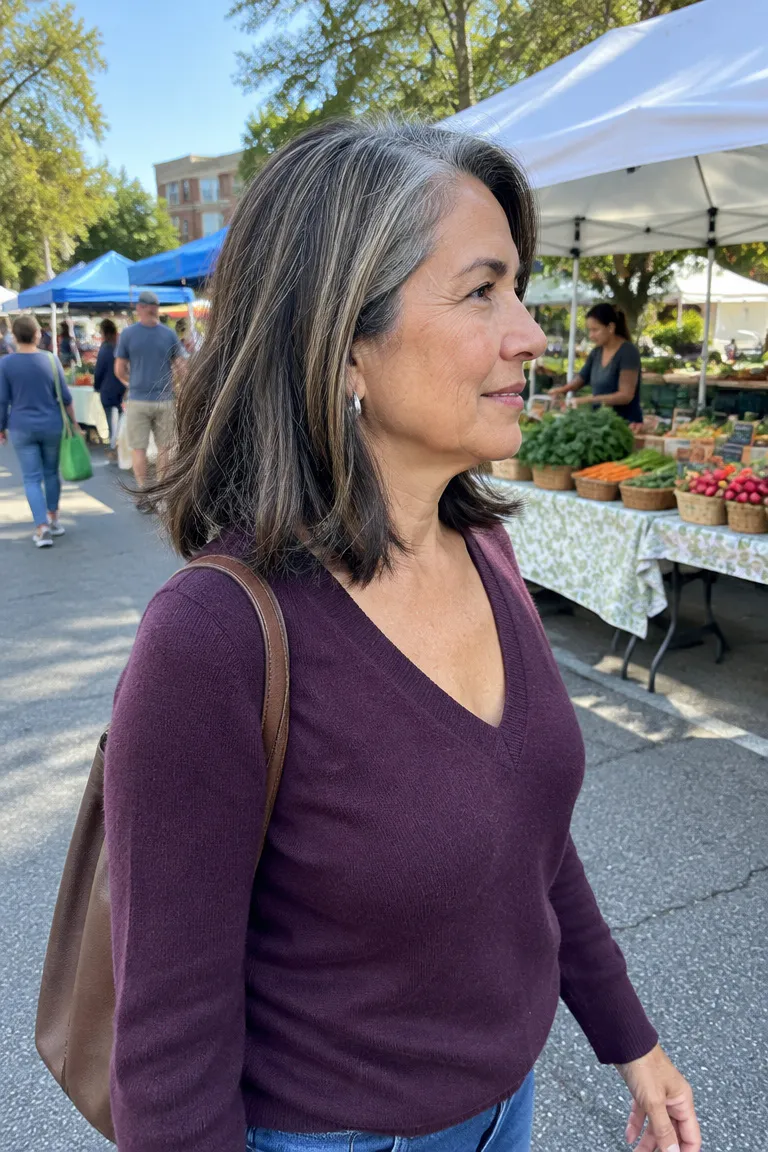
Babylights are fine highlights placed one to two shades lighter and concentrated at the hairline and part. They suit hair that’s darker than your natural gray, because the pale pieces sit in the same range as the white coming in. Picture a collarbone-length lob in dark chestnut with silver babylights woven through the crown and around the part.
Ash or cool lowlights go the other direction. If your dyed color is lighter than your gray, they add depth so the roots don’t look like a harsh stripe of darker hair.
Density is what stops the eye from finding the old root line. Many fine pieces blur the edge, while a few thick ones draw attention to it. On each visit, the stylist can use less dye and place fewer pieces near the roots, so your natural color takes over a little more each time.
5. Switch to Demi-Permanent Color
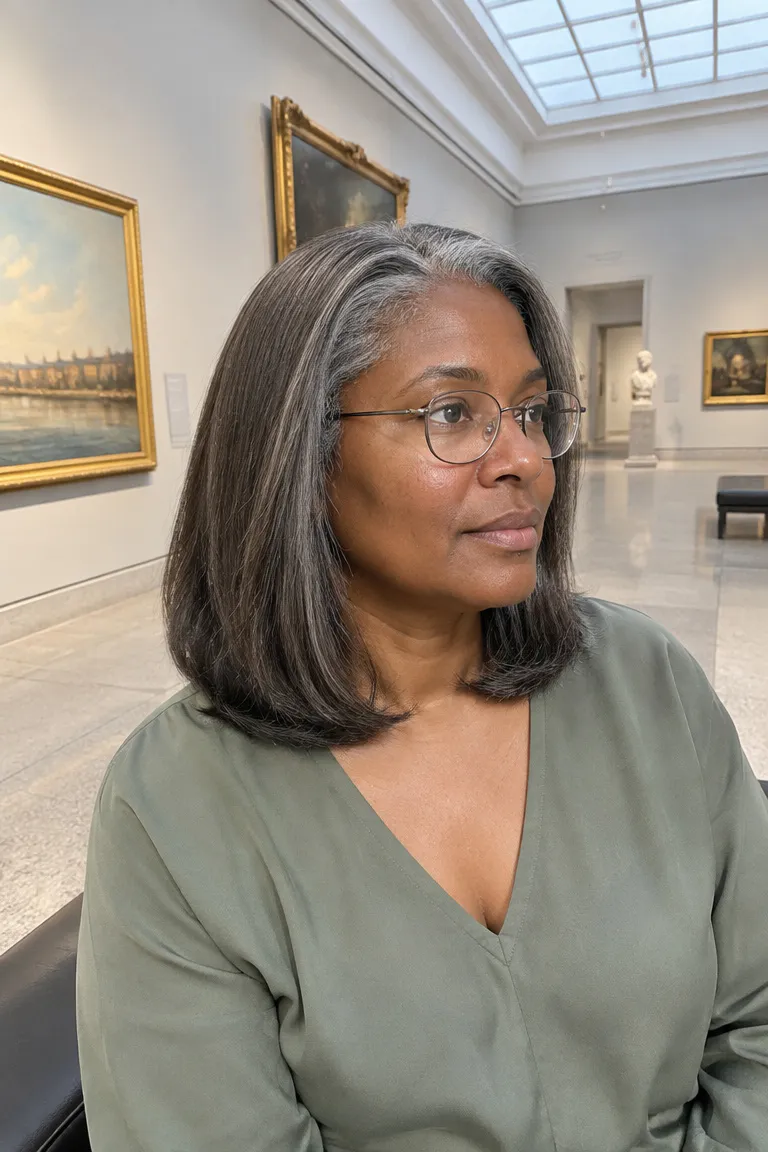
Many colorists choose demi-permanent color or gloss for a grow-out. It fades gradually instead of leaving a hard edge, so the transition from dyed to natural looks softer at four weeks than permanent color would.
A toning gloss every 6 to 8 weeks keeps highlighted pieces from turning brassy. Skipping these visits is a common mistake, since the blend looks best right after toning and noticeably warmer without it.
Ask whether your stylist is using demi or permanent color on the lengths. If your hair has been heavily box-dyed, ask for a strand test first, because layers of old dye can take new color unevenly.
Maintenance tip: Book the next gloss when you leave the chair. Toning slots fill quickly, and a 6-8 week gap is easy to stretch to 12 if you wait.
6. Month 1, 3, and 6 Timeline
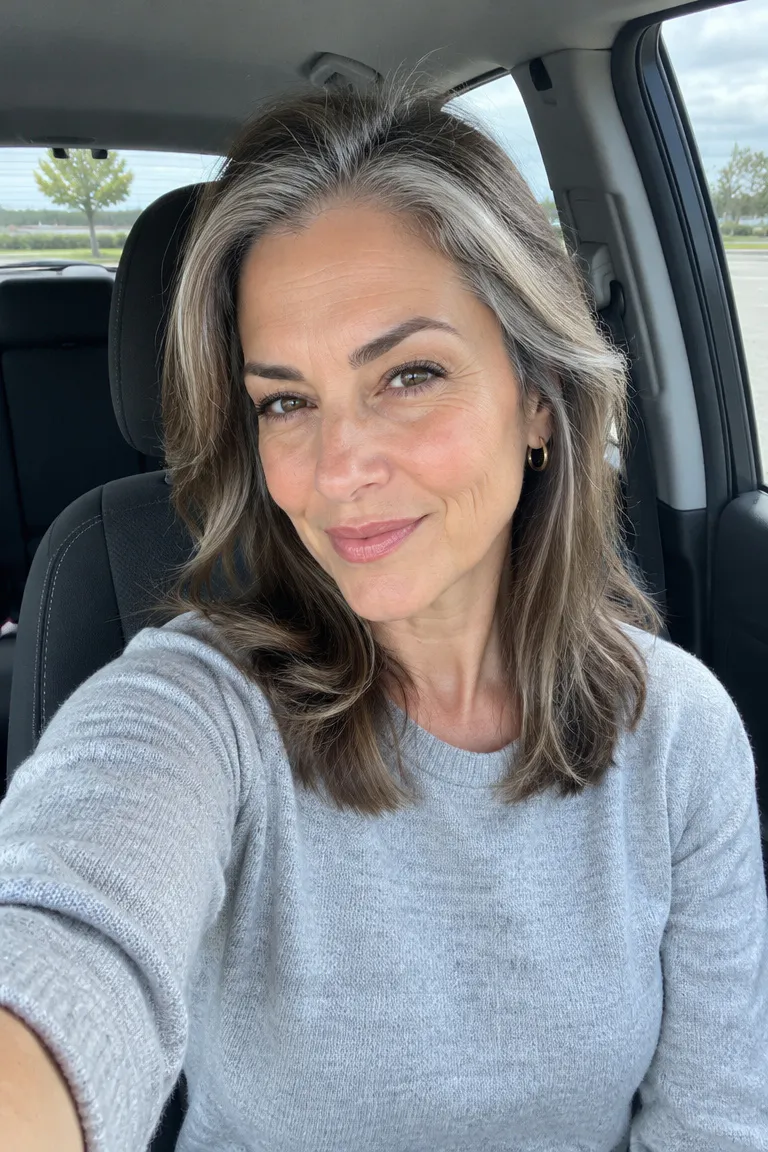
Using an 8-10 week blending schedule, the stages look different. Published timelines range widely, from three visits over several months to 6-18 months for hair with a heavy dye band. That’s why a written visit plan matters up front.
- Around month 1: the first blend is fresh. White near the part looks softened, and the dyed lengths still dominate.
- Around month 3: the second visit is due or just done. A mixed band of gray and brown shows at the roots, and fewer dyed pieces sit near the scalp.
- Around month 6: the third visit is likely done. The roots read as natural salt and pepper, and the dyed ends are the main thing left to remove.
Check the back and the part in daylight with a hand mirror. The in-between stage looks intentional when the band is soft and gradual with no single dark stripe. If you can see a sharp line from across a room, ask for more blending before the next scheduled visit.
7. Trim in Small Steps
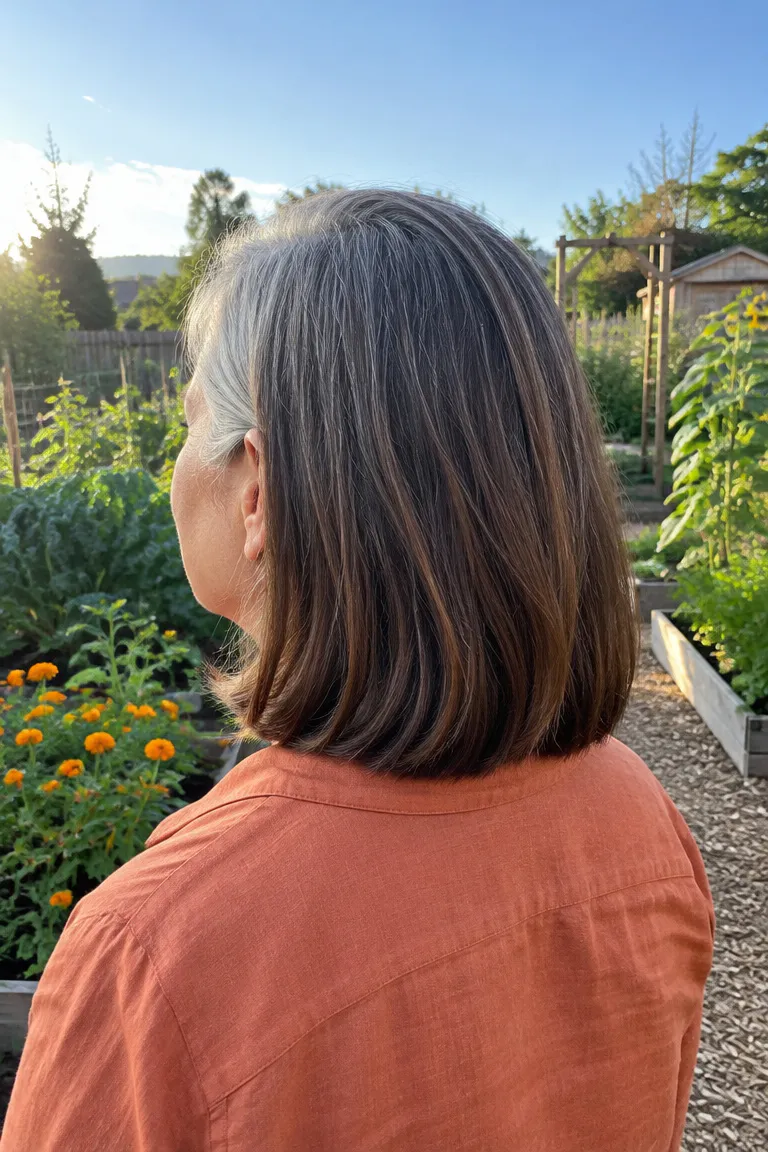
Trims every 8-10 weeks are the middle path between a big chop and frayed ends. Removing a small amount of the oldest dyed hair each time stays far from a drastic cut, and it keeps ends from looking ragged against fresh roots.
Ask for a dusting of the oldest ends, not a shape change. Request a blunt line so your length looks intentional, since a blunt hem makes the blend read as a choice. If the front needs shape, ask for soft face-framing layers only, and see long shag cuts for fine hair over 50 for layering you can show at the chair.
The one route to skip is cutting everything short to be rid of the dye. You’d lose the length you’re trying to keep, and you can reach the same result more slowly with a plan.
8. Root Powder for Big Days
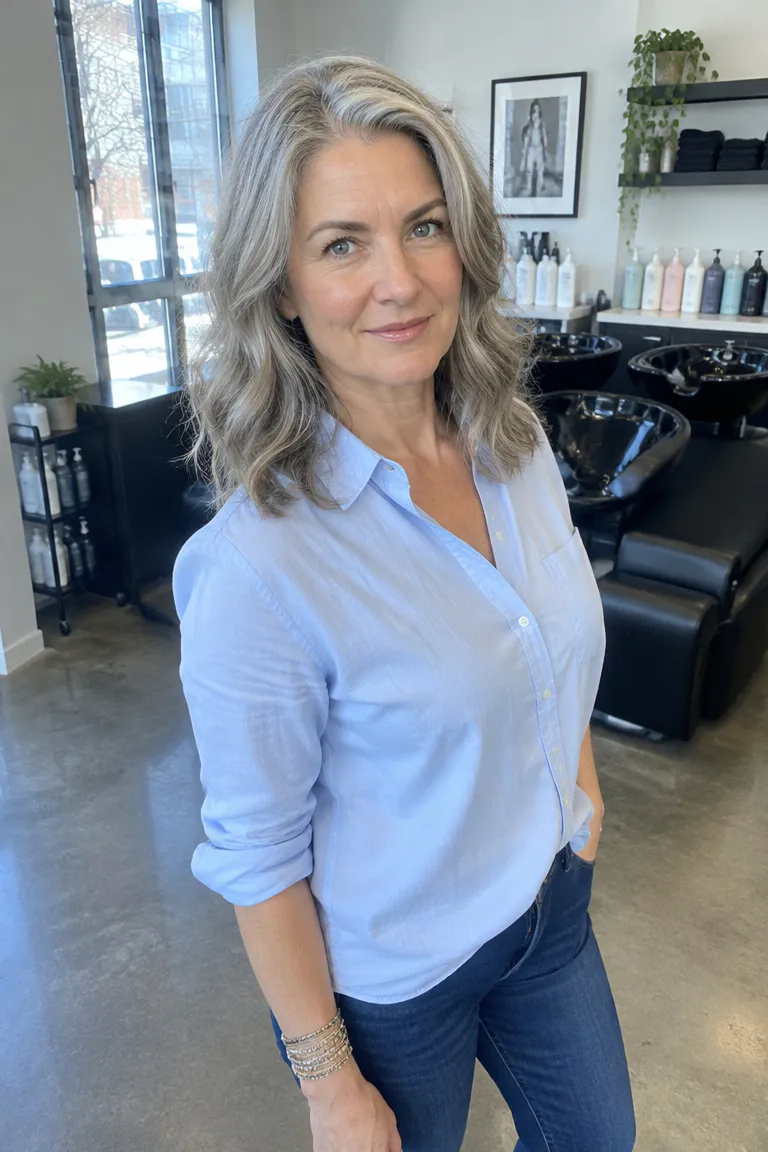
Temporary root powders and sprays can bridge a gap at the part and temples for a photo or event. Match the shade to your dyed color, not your natural one, and use a small brush so the powder stays at the roots. A heavy hand turns the part into a dark, flat stripe.
Powders wash out and can look flat on dense gray, since pigment sits on top of the strands instead of blending in. They don’t replace the blend, and they’re best used in small touches along the part and hairline.
If you have a big event coming, book your first blending appointment a few weeks beforehand. That gives the gloss time to settle, so the color looks natural on the day and not freshly done.
9. Purple Shampoo Only When Needed
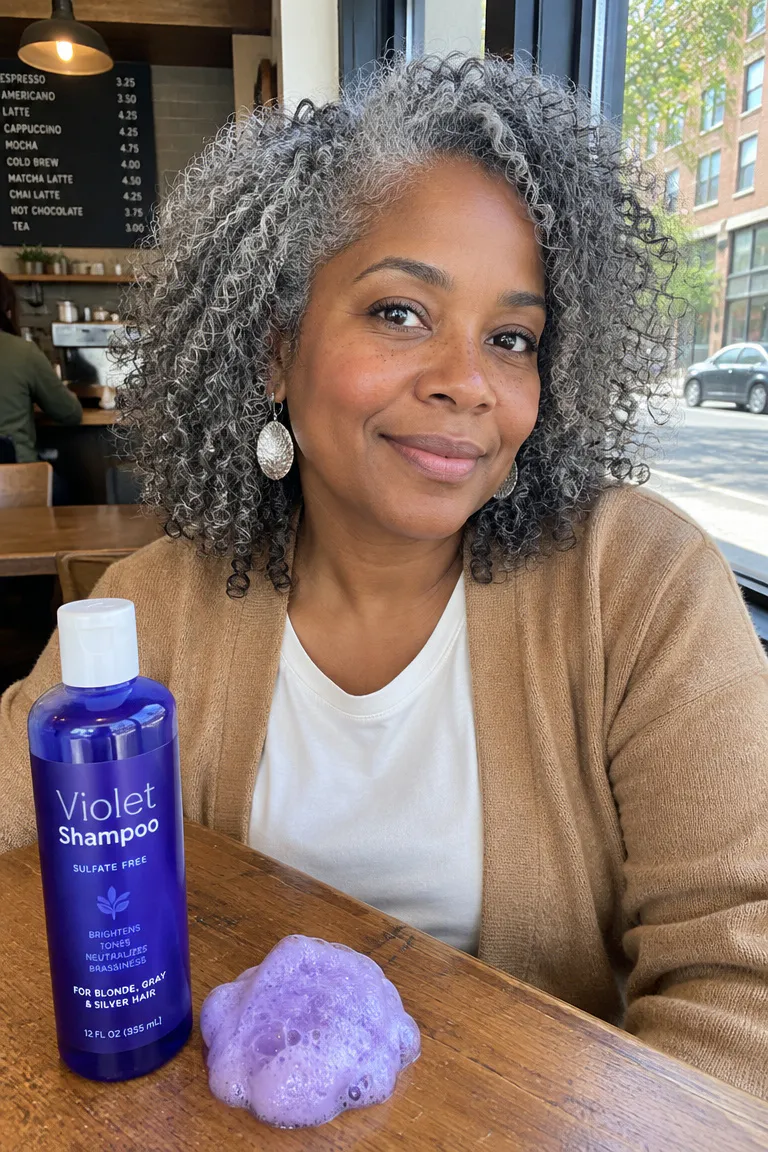
Use a sulfate-free purple shampoo only when yellow or brassy tones show, not on a fixed schedule. Check the label for timing. Leaving it on too long can push light gray toward a dull gunmetal color.
Follow it with conditioner, and use a gentle shampoo on other wash days. Overuse can dry hair, and gray strands already tend to run dry.
Look for a violet-tinted product, since the purple pigment counteracts yellow. Compare your hair in daylight before and after a few washes to judge whether you’re actually correcting brass or just adding a cool cast.
10. Moisture for Coarse Gray
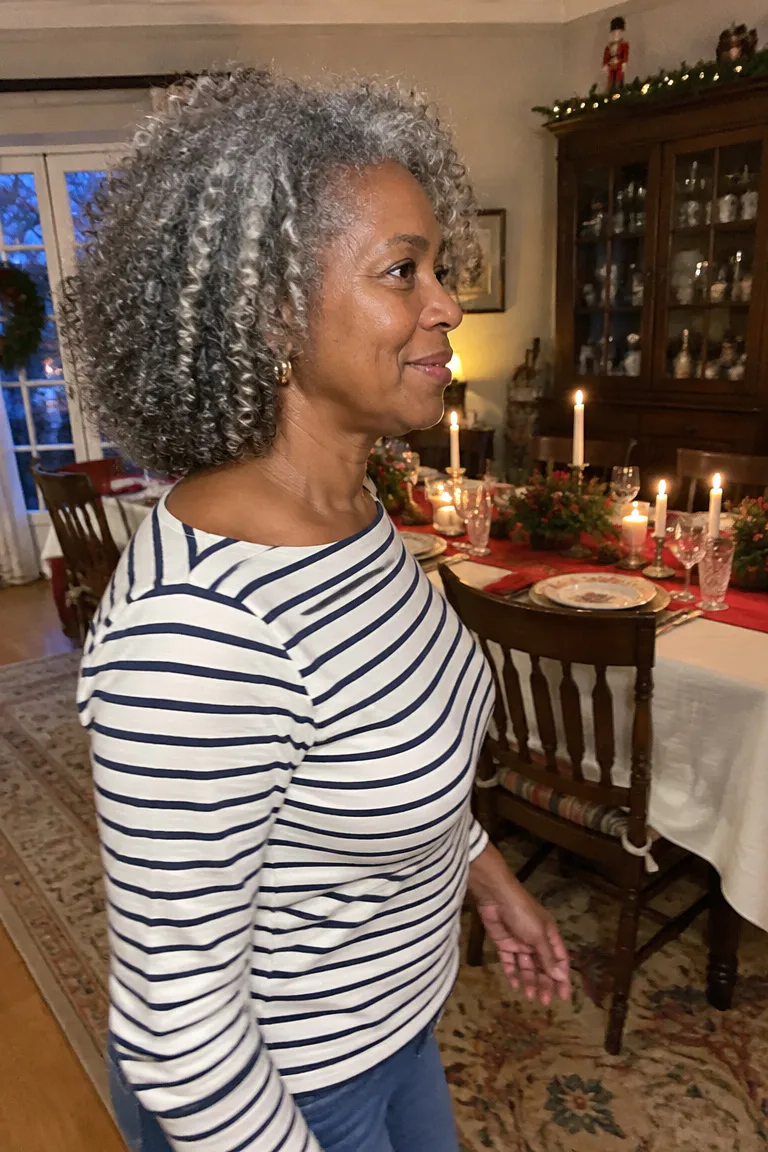
Gray often feels coarser or drier than dyed color, and wiry ends are common. Start with conditioner after every wash. Add a deep mask weekly or every second week, and a lightweight leave-in on the ends that feel rough.
Treat that frequency as a starting guide. If your scalp gets oily fast or you wash daily, apply conditioner from mid-length down, and skip the mask on weeks when hair feels heavy. If you wash twice a week, you can use the mask more often.
Comfort check: After conditioning, run your fingers through the ends. If they feel slippery and detangle easily, you’ve used enough. If they still feel rough, add a small amount of leave-in on damp hair and comb through with a wide-tooth comb.
11. Hard Water and Heat Habits
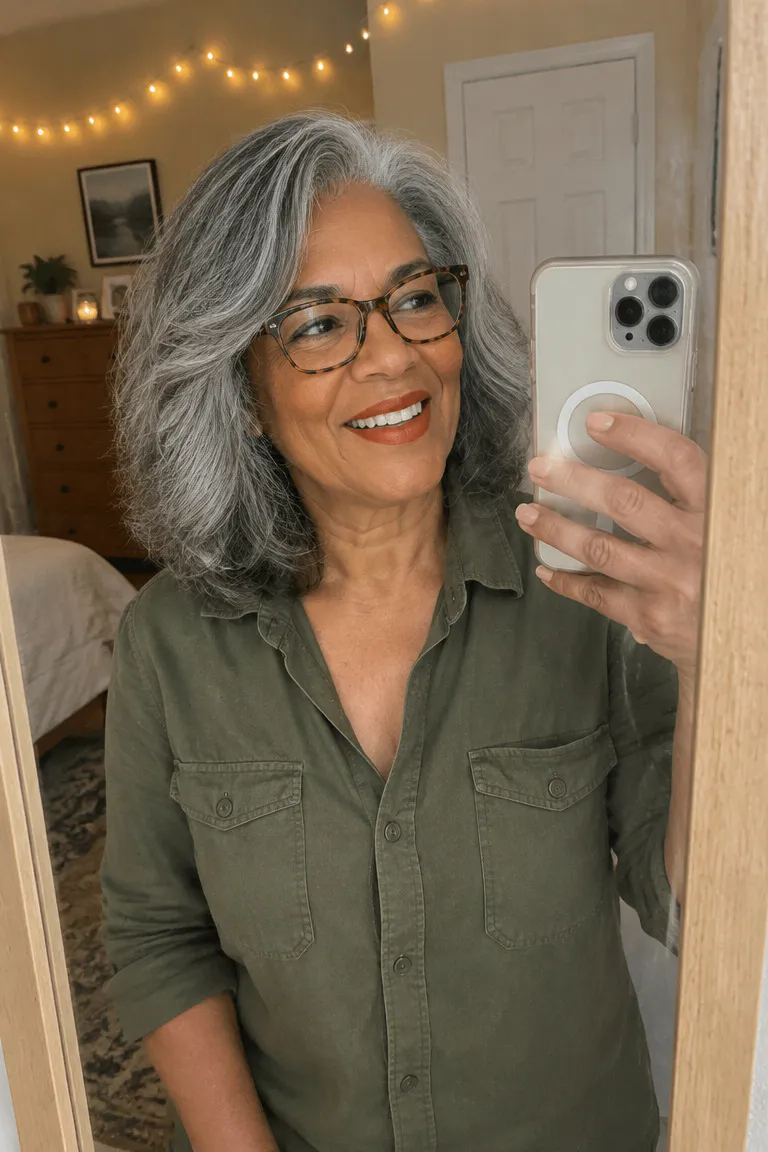
Heat and hard water minerals are year-round causes of yellow-looking gray. Use a heat protectant before blow-drying or flat ironing, and set the tool to the lowest temperature that still styles your hair. Gray hair doesn’t need to be forced into shape at the highest setting.
A clarifying shampoo about once a month helps remove mineral buildup. If your hair is color-treated, check with your stylist first, since clarifying formulas can strip toner faster.
A shower filter is an optional extra if you suspect hard water, and it may reduce mineral deposits at the source. It won’t fix yellowing by itself, so keep up the rest of your routine.
12. Skip DIY Bleach and Gray Dye
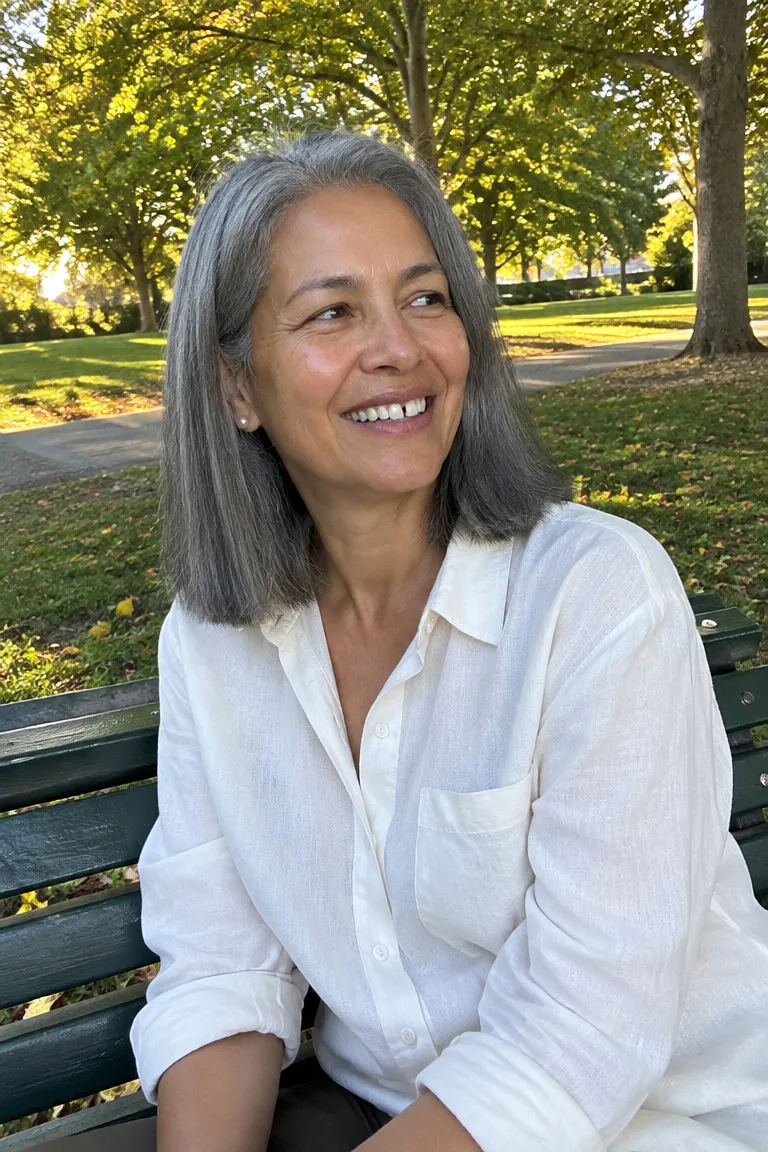
Draw the line between what’s safe at home and what’s better left to a professional.
- At home: purple shampoo, root powder, deep masks, and styling.
- In the salon: bleach, strong toners, and any lightening, especially on hair that’s been box-dyed or heavily colored.
Previously dyed hair can react unpredictably to bleach, with uneven lift, patchy tone, or damaged ends. A stylist can strand-test before committing a full head.
An all-over gray dye kit tends to give a flat, uniform shade, which is the opposite of the dimensional blend most colorists build. Natural gray hair varies in tone from strand to strand, and a single flat color looks more like a wig than a grow-out. If you’re tempted, book a consult and a strand test first.
13. Set a Budget Plan
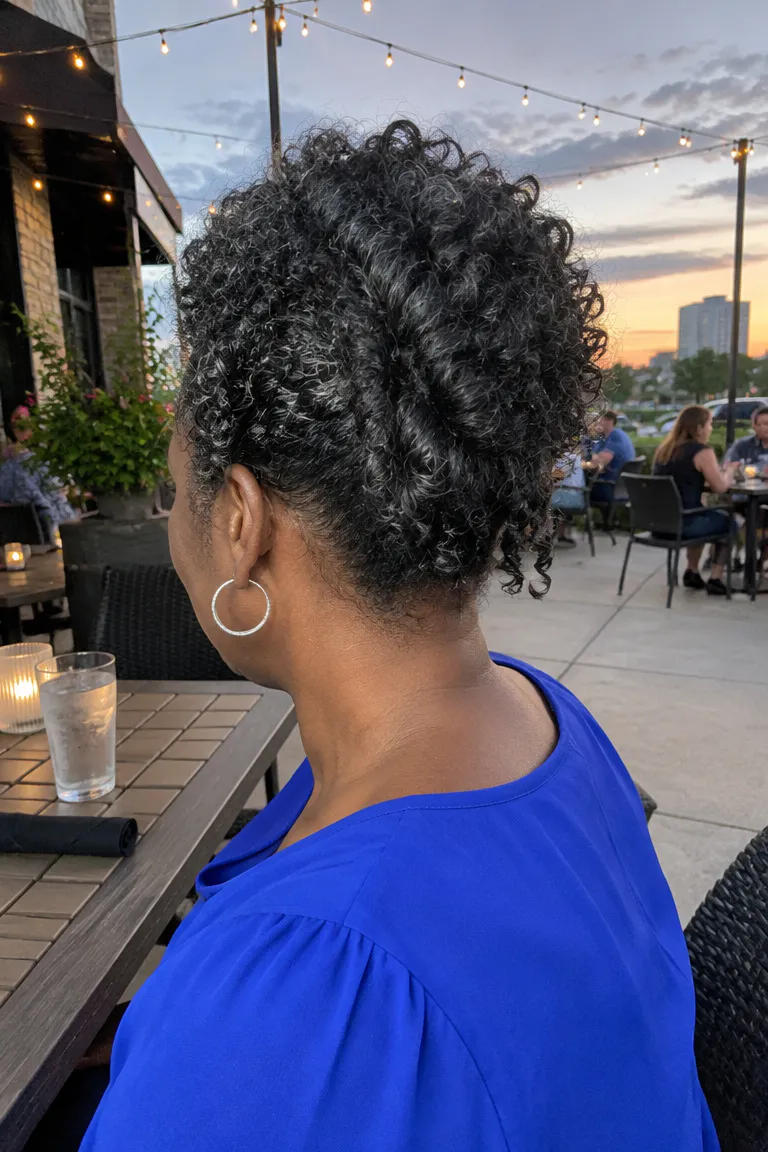
Prices vary by city, stylist, hair length, and starting color, so treat these as rough ranges. Ask what’s included before you book.
| Service | Rough range |
|---|---|
| Gray blending session (typical) | $150-$600 |
| Dark hair needing heavier lightening | A few hundred up to $1,000+ |
| Chain-salon blending listings | $30-$60 (may not match full foil work) |
Heavily banded hair may need a multi-session series that costs more than a single visit. Compare yearly visits too: roots dyed every 4-6 weeks means roughly 9 to 13 appointments, while blending every 8-10 weeks is about 5 or 6.
The free route is growing out untouched. Expect a visible line of silver above dyed lengths for months, which is easiest to hide with a part change and a blunt trim.
14. Know When to Stop Touching Up
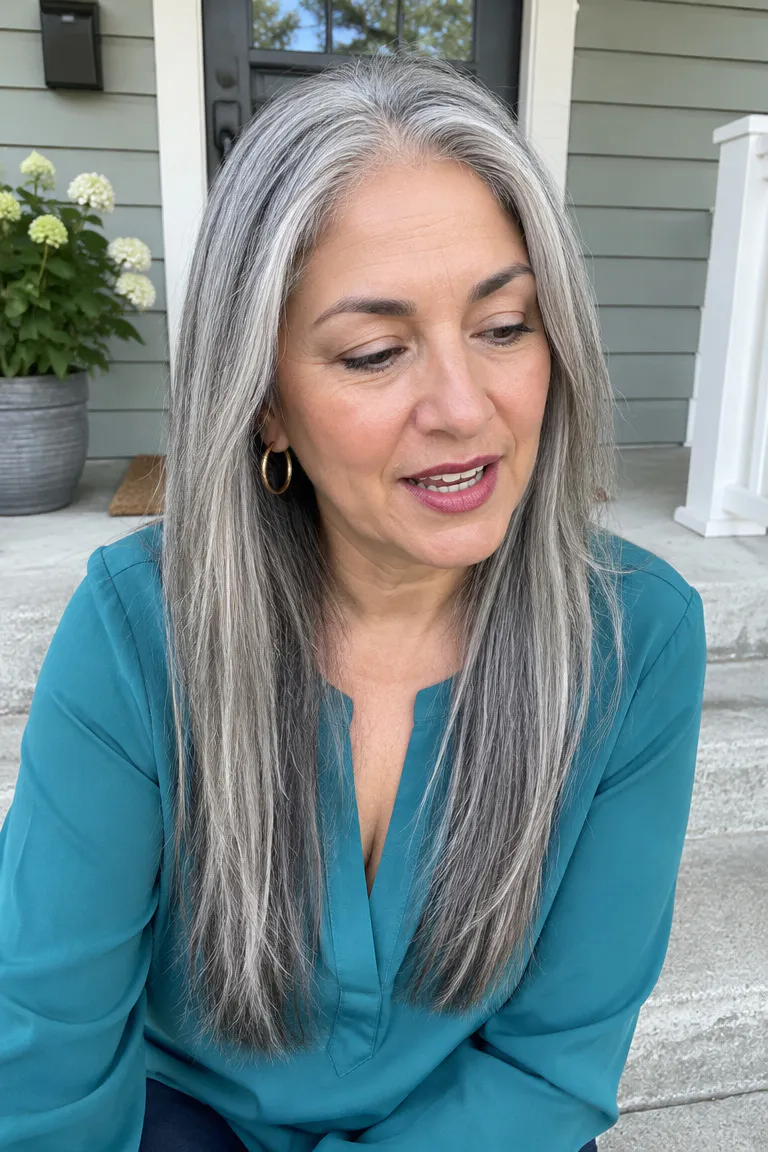
The endpoint is a taper: less color each visit, then no color once the dyed ends have been trimmed away. An optional final gloss can add shine and even out tone. The finished look can be a soft silver-and-pepper mix at the roots fading into silver-gray lengths.
- Roots match across the part, with no sharp line at the temples or hairline.
- The ends match the new base, so there’s no leftover dyed section.
- No brassy patches remain when you check the back and sides in daylight.
If all three are true, you can stop booking blends. For finished looks on coily or curly gray hair, see natural gray hair styles for Black women over 50.
Your First Appointment Checklist
Bring two or three photos of your roots to the first appointment, and ask for a written visit plan with a price for each session. Leave knowing whether you’re getting babylights, lowlights, or both, how often you’ll return for a gloss, and the point at which the color stops.