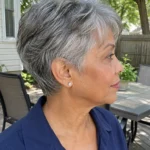
A St. Patrick’s Day style that needs a curling iron, a dozen pins, and a mirror you can’t leave won’t survive a parade sidewalk in March. Wind flattens it, drizzle frizzes it, and a hat crushes whatever is left.
The eleven styles below take 30 seconds to 10 minutes, use hair you already have, and add one green piece instead of a full costume.
Pick by length first, then by time. If a style takes more than five minutes or pulls at your hairline or temples, choose the next one down the list. Each entry names the tool, the steps, and what to expect in wind, drizzle, or under a hat.
1. Low Pony With Green Ribbon
Use this list to find your starting point:
- Short or pixie: styles 5 and 9
- Chin-length: styles 4, 5, and 6
- Shoulder-length: styles 1, 3, and 7
- Long: styles 1, 3, and 11
- Fine or thinning: styles 2, 4, and 5
- Gray or silver: style 10
- Wavy or curly: style 8
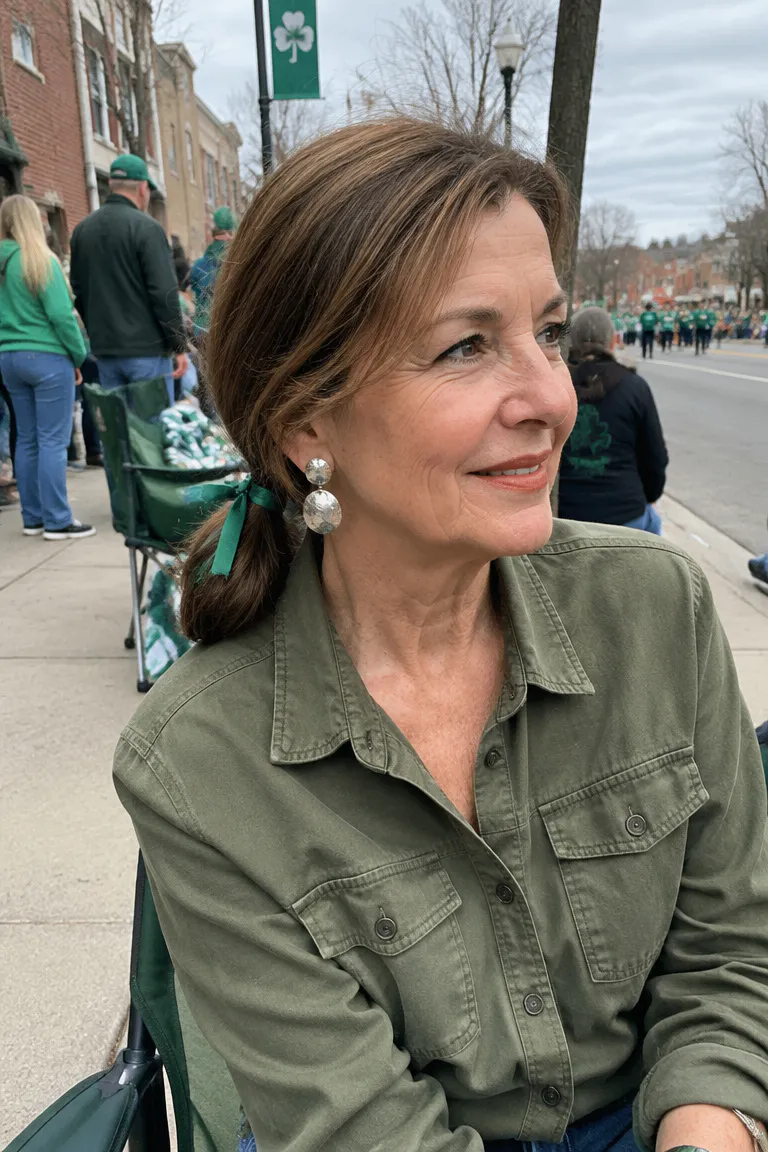
The low ponytail is the fastest for shoulder-length hair and longer, about 3 minutes. Brush the hair smooth, gather it at the nape, and secure it with a soft fabric elastic, leaving it slightly loose. Then wrap a green ribbon around the base and tie a small knot.
The loose elastic matters most if your edges are sparse or your hair breaks easily. A tight band pulls on the hairline and creases the strands it grips. A ribbon from a drawer or a gift box makes this nearly free; about 18 inches of narrow satin is plenty.
A low placement also stays put in wind and fits under a hood.
Comfort check: After securing the elastic, you should be able to slide a fingertip under it. If your temples feel pulled or your scalp feels tight within ten minutes, take the elastic out and redo it with one more loop of slack.
2. Half-Up With Green Barrette
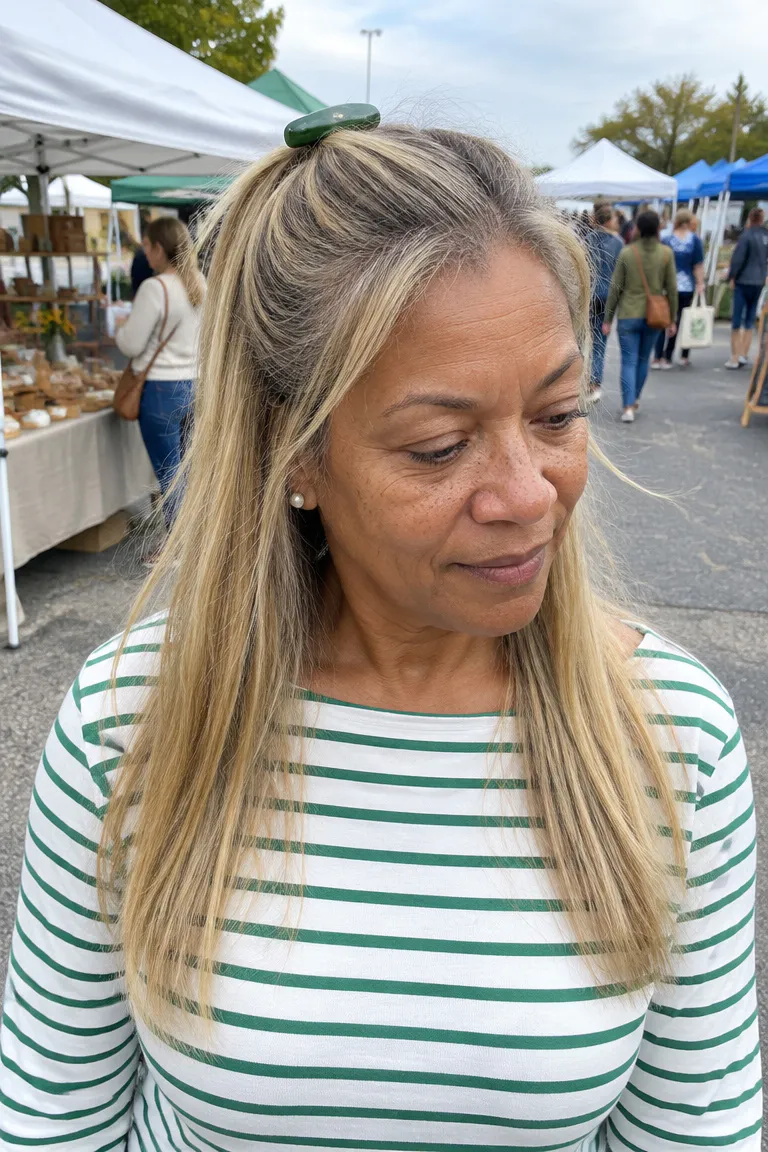
This one frames the face and gives fine or thin hair some lift at the crown, and it works from chin-length through long. Part your hair where you normally do, then take a section from each temple, about the width of two fingers.
- Gather both sections loosely at the back of the crown.
- Twist them once, with no teasing or backcombing.
- Pin with one medium green barrette, angled slightly upward.
The lift comes from where you section, not from pulling. Keep the sections slack so nothing tugs at the hairline, and take the barrette out before sleep. Wind won’t bother this style because the front is already pinned back, but in drizzle, rub a pea-sized dab of cream between your palms and smooth it over the loose lengths.
If thin hair is your main concern, these low-maintenance long styles for thin fine hair cover more ways to build volume without heat.
3. Loose Side Braid
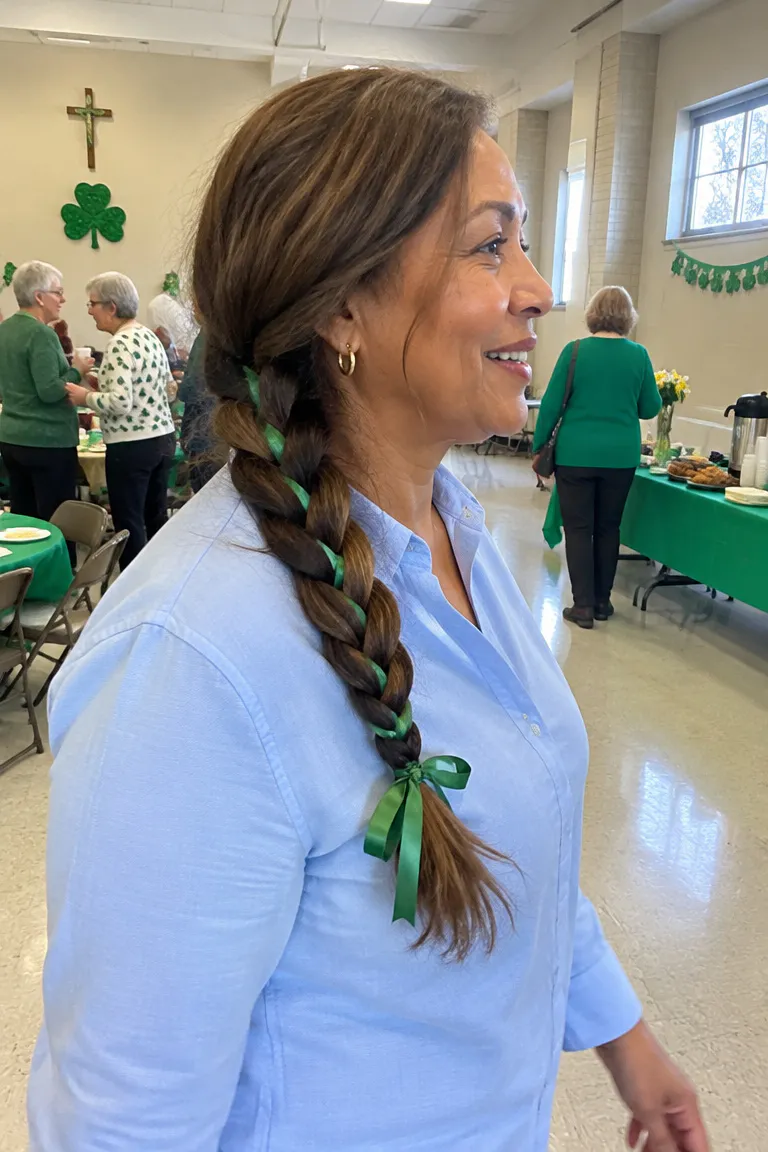
Five minutes, four steps, long or shoulder-length hair. Flip your hair over one shoulder and start one plain three-strand braid at the nape. Stop about two inches from the ends, weave a green ribbon through as a fourth strand, and tie off with a soft elastic.
Once it’s tied, pull the braid out slightly with your fingertips so it sits soft against your head. A flat, tight braid tugs the scalp by lunchtime. Skip fishtails and crown braids here; they add steps and tension without adding much.
In wind, the braid keeps hair off your face and out of your mouth, which is the whole job on a breezy sidewalk.
Maintenance tip: Undo the braid before bed and brush it out gently from the ends up. Expect natural waves the next day, which you can leave alone or smooth with a damp palm.
4. Scarf at the Nape
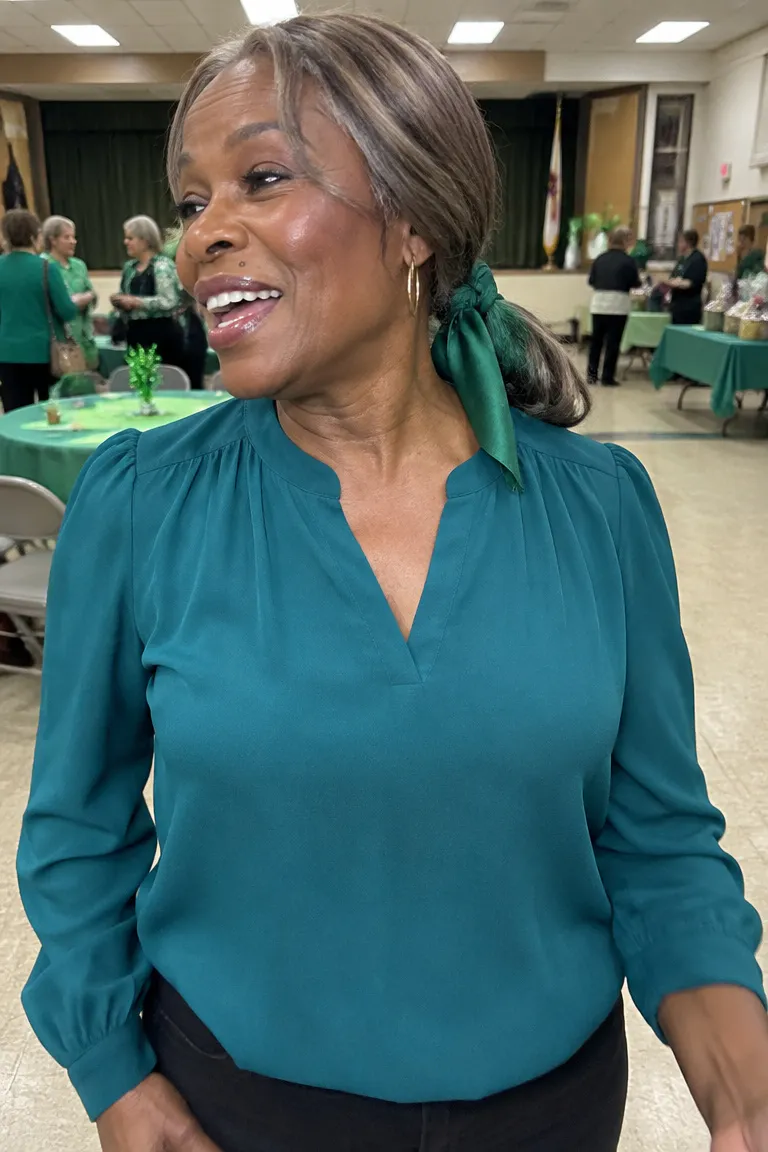
A small silk or satin scarf is the only option here that works on every length, including short hair that can’t hold a ponytail. For long or medium hair, tie it around the base of a low ponytail or around a half-up section, knot at the back, tails hanging. For short hair, fold it into a narrow band and tie it around your head with the knot at the side, above the ear.
Either way it takes about two minutes.
Solid emerald or olive looks intentional rather than costume-like; if you want a pattern, choose one where green is the dominant color. Soft satin tends to mold to fine hair and hold a knot, while stiff cotton can spring loose.
The scarf also covers a flat or frizzy day and gives light drizzle somewhere to land besides your part. For wind and light rain, this is the most dependable pick in the group. Tie the knot snug but not tight, and check that the fabric isn’t tugging at your hairline.
5. Thin Green Headband

Bobs, pixies, and short layers do well with a skinny headband because it holds the sides back without any styling. Place it just behind the ears and slightly back from the hairline, not on the temples, where the pressure shows up fastest. The whole job takes 30 seconds and no heat.
Look for a fabric-wrapped band, a soft inner edge, or a rubber grip. Fine, slippery hair pushes a bare plastic band right off. Metal bands can leave pressure marks if you wear them for hours.
Comfort check: Wear the band for five minutes before you leave. If you feel pinching above the ears or a headache starting, go up a size or choose a band with more flex.
Under a hat, this works only if the band sits behind your ears and the hat goes over it. A band in front of the ears will slide as the hat goes on.
6. Sleek Bob With Shamrock Pin
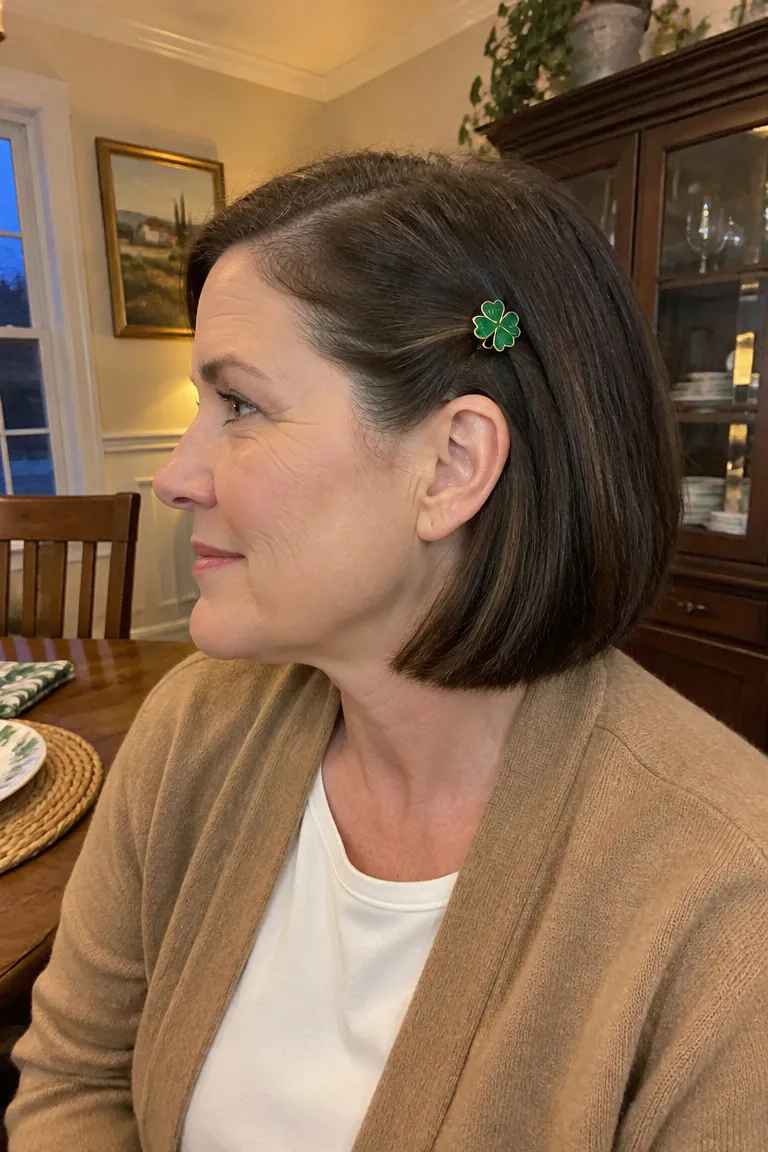
This is the cut-and-product entry for chin-length hair, and it takes about 10 minutes with a blow-dry or 4 minutes on second-day hair. Smooth a quarter-size amount of smoothing cream through damp hair, then blow-dry with a brush, pulling the hair straight from root to end. Tuck one side behind your ear and pin it with one small shamrock or solid green pin.
The cream does double duty in drizzle by helping keep frizz down. On a dry day, a quick pass with the brush revives second-day hair without the full blow-dry.
Ask your stylist: Request a blunt or slightly rounded chin-length line with soft ends, so the tuck stays in place and the bob doesn’t flare out. Ask how often to trim to keep the line crisp; most clean lines need regular upkeep.
For more cuts that suit thin hair, see these short bob cuts for thin fine hair.
7. Claw Clip Twist
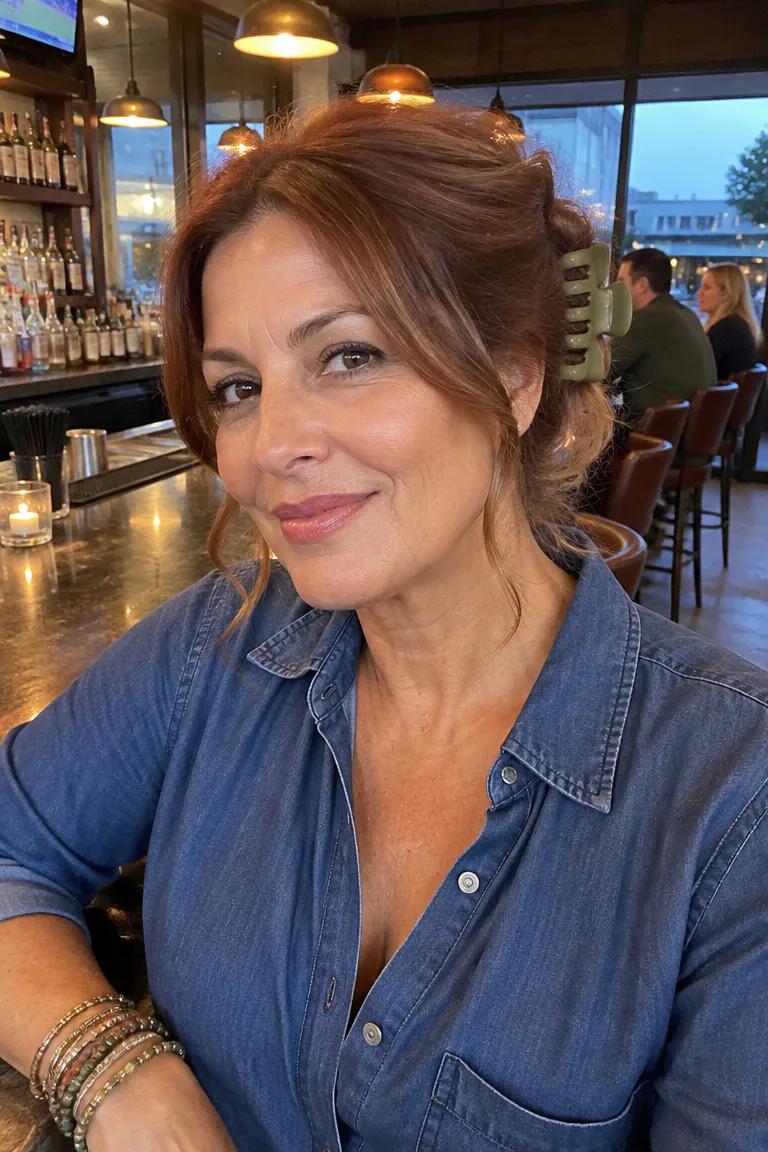
Twist your hair into a loose rope at the back, fold it up, and secure it with a claw clip at mid-head height rather than high on the crown. This takes about 2 minutes and keeps your neck cool on a warm day. Clip size is what makes it hold.
| Hair type | Clip size | Why |
|---|---|---|
| Fine or thin | Small to medium | Large clips slide out of a small amount of hair |
| Medium density | Medium | Holds without clamping too tightly |
| Thick | Large | Smaller clips can’t close around the twist |
A green or tortoise clip in a matte finish grips better than a glossy one, which tends to slip. Leave a few strands loose at the nape so the style looks soft.
Don’t sleep in the clip, and avoid clamping at the exact same spot every day, since repeated pressure can crease and strain the same strands.
8. Soft Waves or Curls

Wavy and curly hair does its best work with no heat at all. Apply a curl cream or lightweight leave-in to soaking-wet hair, scrunch upward, and then air-dry or diffuse on low. Finish with one green pin to hold a side off your face.
The hands-on part takes about 5 minutes; drying time varies with thickness.
Don’t brush it dry. Shake out the roots and finger-fluff instead, which keeps the curl pattern together rather than turning it into a cloud.
Drizzle adds frizz, so use slightly more cream on the ends than you normally would. The pin keeps the face area clear even if the rest of the curls expand.
Maintenance tip: The next day, spritz a little water over your curls and scrunch again to bring the pattern back. Add a tiny bit of cream only to the driest ends.
9. Short Pixie With Green Accent
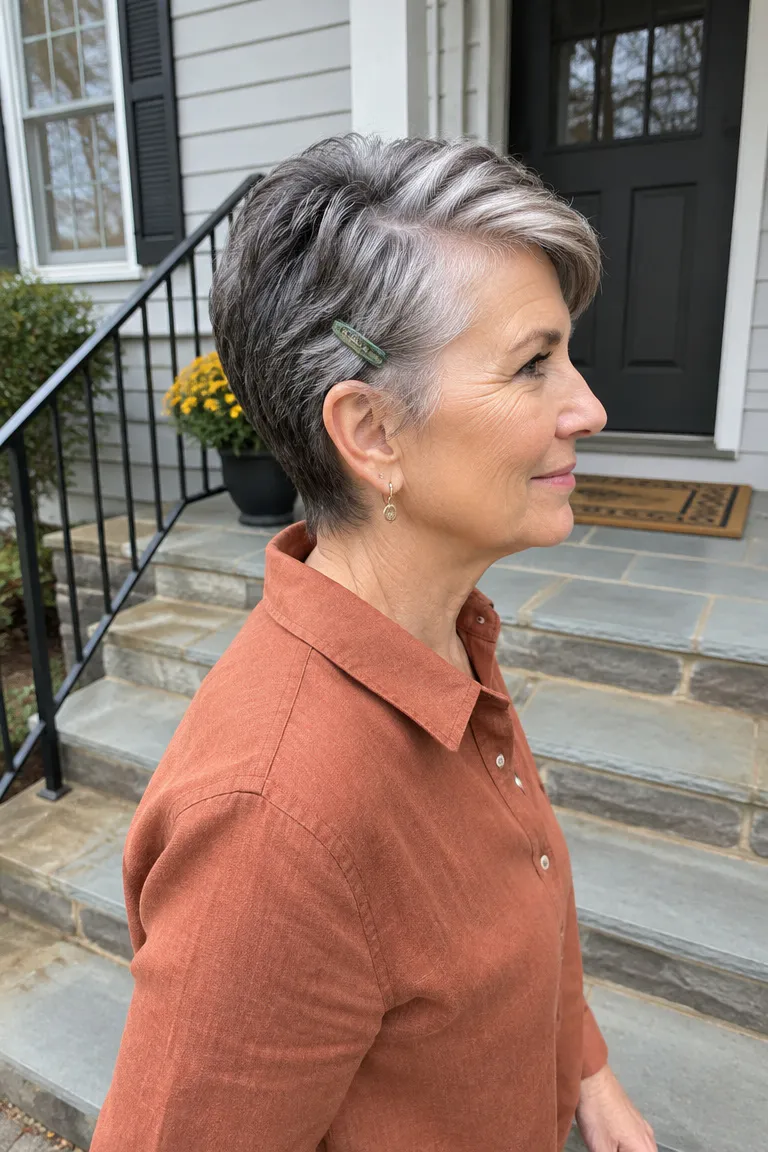
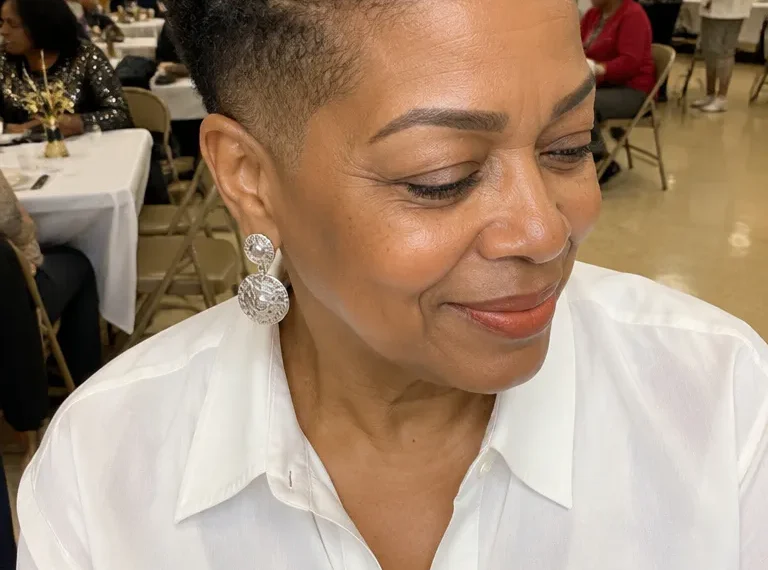
A pixie takes about 3 minutes and has two quiet options. For the first, work a pinch of paste through the top and push it to one side. Then clip one green pin or small clip at the side, above the ear.
For the second, use a washable green spray on a small section at the part. Run through this checklist first:
- Patch test on a hidden section before you commit.
- Read the label for removal instructions.
- Hold the can away from your face and keep your eyes closed.
- Use a light mist and let it dry fully before touching it.
Dry or color-treated hair can hold pigment longer than the label suggests, so test where it won’t show. Color can also transfer to collars and light scarves until it’s fully dry.
If your pixie needs more body, these short cuts that make fine hair look thicker show what to ask for at the salon.
10. Silver Hair With Emerald
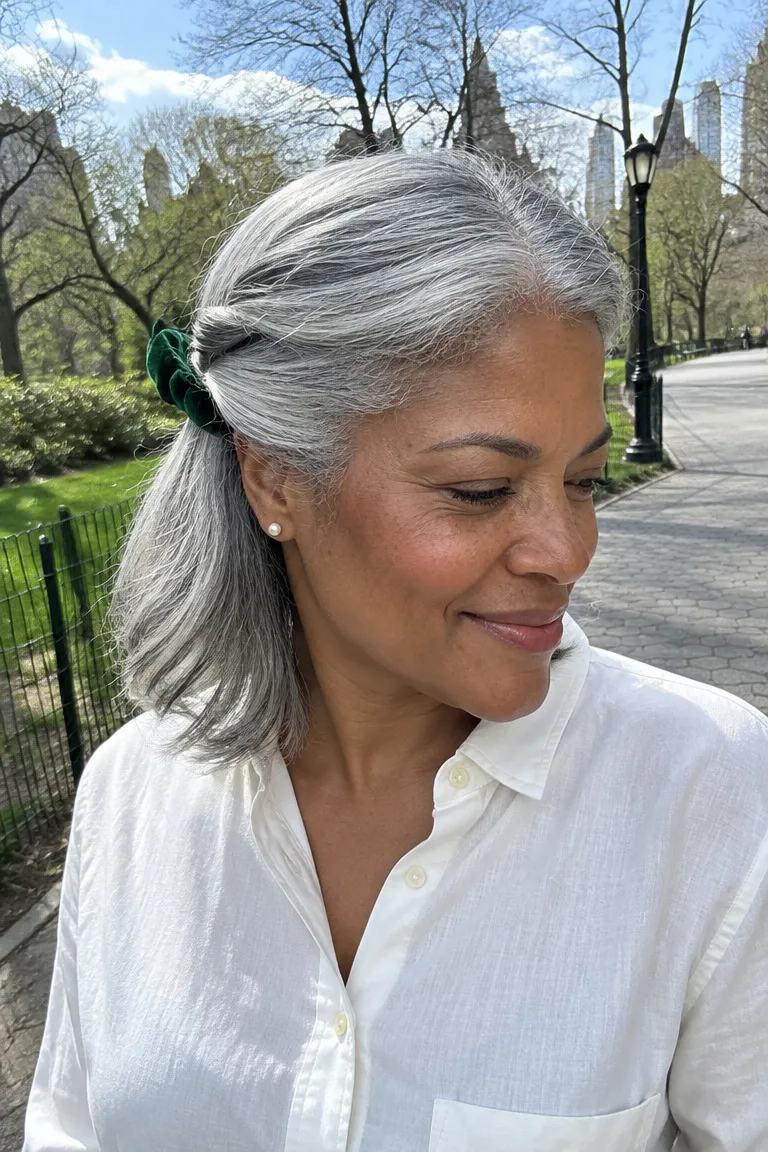
Deep emerald or forest green stands out against light gray without any spray. Neon green can look flat or washed out next to silver, so stick to a saturated shade. A satin scarf, barrette, or clip in that color does the job; velvet-wrapped works too.
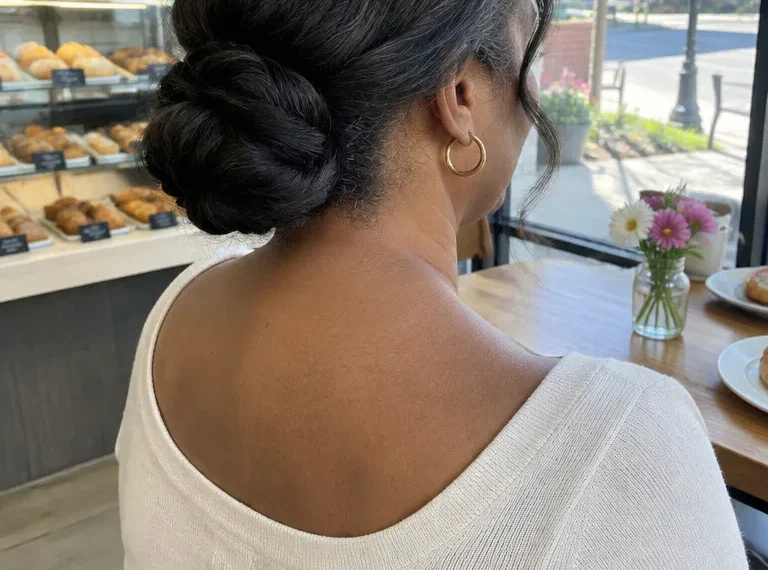
Keep the hair itself simple, such as a smooth low twist closed with the barrette at the back. The whole style takes about 4 minutes and needs no dye.
Go easy on hairspray. A heavy hold can leave gray hair stiff or dull, so use a light, flexible one that brushes out. Or skip it and use a touch of smoothing cream on the twist.
Ask your stylist: Only if yellowing bothers you, ask whether a gloss or a purple shampoo schedule would help, and how often. If your gray looks fine to you, you can skip this.
11. Hat-Friendly Low Braid
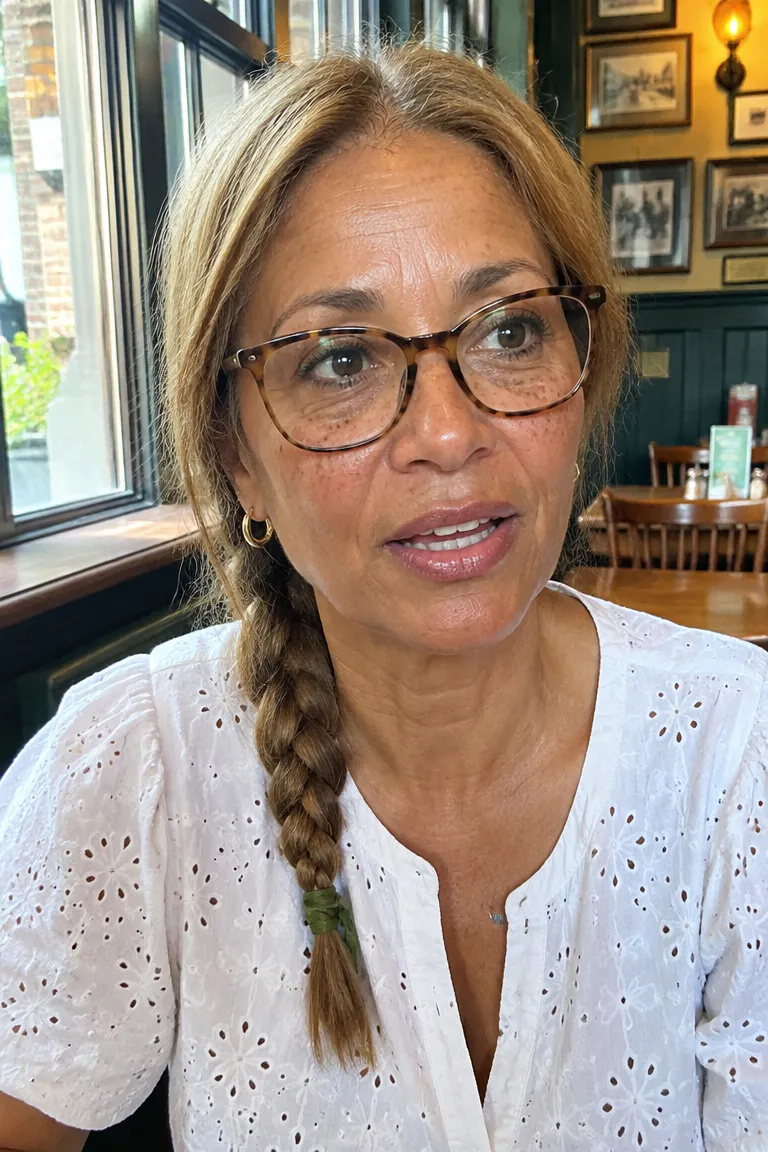
Part your hair down the middle, make one flat three-strand braid at the nape, and secure it with a soft elastic. Keep it low so a beanie or cap sits over it without a bump. Total time is about 4 minutes, and a green ribbon or elastic can peek out below the hat.
Skip high or tight styles under a hat; a bump on top creates pressure and a dent when you take it off.
After the hat comes off, run through these fixes:
- Flat crown: lift the roots with your fingertips.
- Static: run a barely damp comb through, or rub a drop of serum on your palms and smooth lightly.
- Flyaways: re-tuck them into the braid or behind your ears.
Pick Your Green and Go
Pack one soft elastic, one length of green ribbon, and one pin or clip sized to your hair. Then choose by the forecast: a low, snug style for wind, a scarf for drizzle, and the flat braid if a hat is going on.