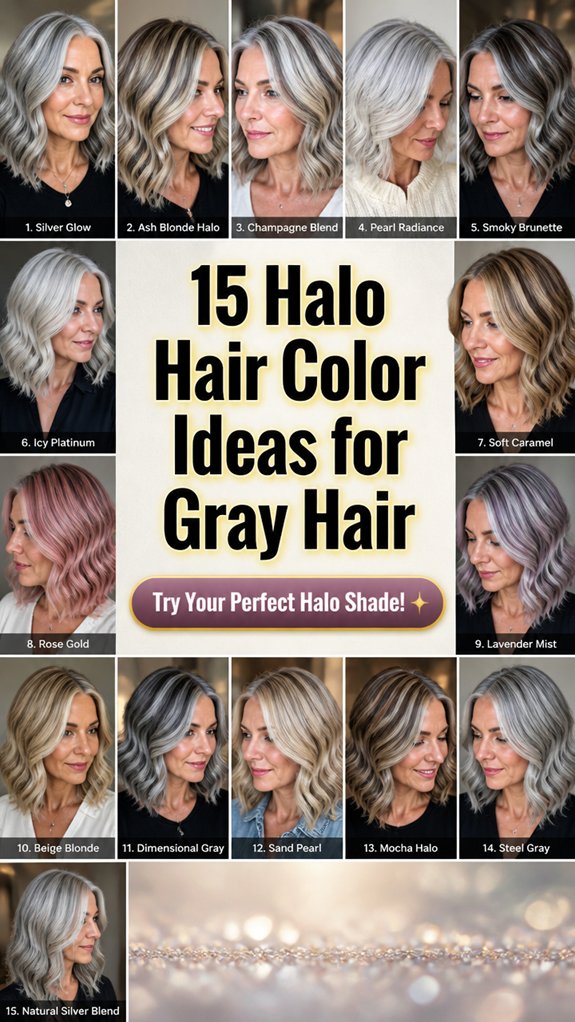
To get 15 halo hair color ideas for gray hair, start by matching your gray halo base tone to your current hair level, then choose a cool-depth base with silver undertones to avoid brassiness. Use a neutral veil at the roots, and try root-smudge smearing one to two inches for easy grow-out. Add face-framing ribbons, icy balayage, warm honey highlights, or rose-tinted lowlights. Finish with silver shimmer gloss, use gentle sulfate-free care, and time toning early for bright, even results—keep going for more tips.
Pick a Gray Halo Base Tone First

Before you pick any actual shade, choose your Gray Halo base tone first, because it sets the whole look.
You want a foundation that matches your hair’s current level, then you build from there.
Look for formulas described as having silver undertones, they help your color read bright and dimensional, not flat.
Pick a base with cool depth, so it complements your skin and keeps brassiness away.
When you choose confidently, your halo effect looks intentional, soft, and close to you, like a quiet glow.
If you’re unsure, ask for a strand test, then commit.
Try Root-Smudge for a Softer Grow-Out
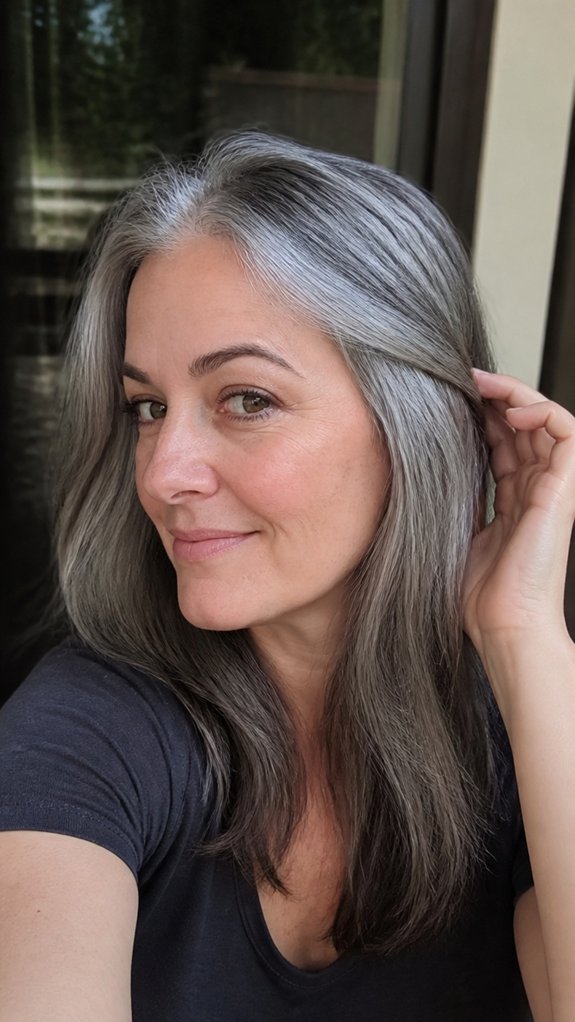
Once you’ve settled on your Gray Halo base, try a root-smudge technique to make your grow-out look softer and more intentional.
You apply a slightly darker, cooler shade at the roots, then blur it downward with a brush or gloved fingertips, so the shift feels seamless.
This root blend technique helps your gray blend in, not stand out, and it lowers the contrast line you usually notice at the scalp.
For grow out camouflage, keep the smudge within about one to two inches, then feather it outward using light, upward strokes.
Finish by rinsing gently, and dry your hair, so you can see the effect right away.
Add Creamy Highlights Around Your Face
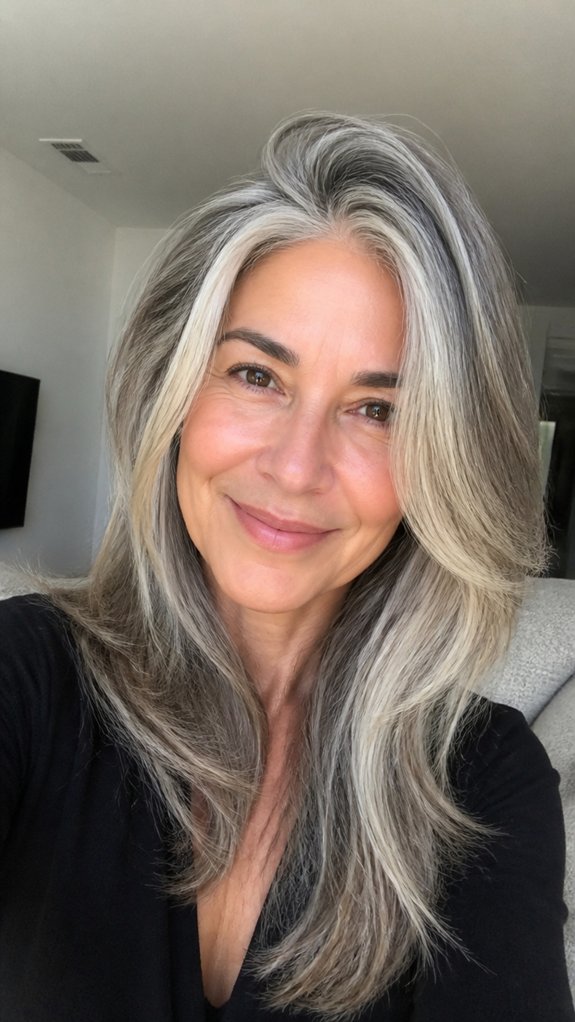
Next, add creamy highlights around your face, because they frame your Gray Halo and make your complexion look fresh and bright.
You’ll want creamy accents that sit close to your cheekbones, and you should keep the tone soft, not harsh.
Ask your stylist for a few ribbons of lighter color, starting near your part and blending outward, so your hair naturally flatters your features.
If your roots are darker, choose highlights one or two shades brighter, and maintain soft framing at the sides and around the front pieces.
You’ll look rested, even on low-sleep days.
Go for Icy Halo Blends on Silver Hair

Icy halo blends can make your silver hair look brighter, smoother, and more dimensional, so don’t be afraid to ask for this look.
You can ask your stylist for icy balayage that starts mid-length and feathers around the crown, so the color catches the light when you move. Then you layer a soft silver shimmer gloss over the toned sections, it helps remove dullness and keeps strands looking silky.
If your roots grow in, you request a cool shadow root, so the blend stays seamless.
Take photos in daylight, and you’ll love how icy, clean your halo effect feels.
Choose Warm Honey Halo for Salt-and-Pepper
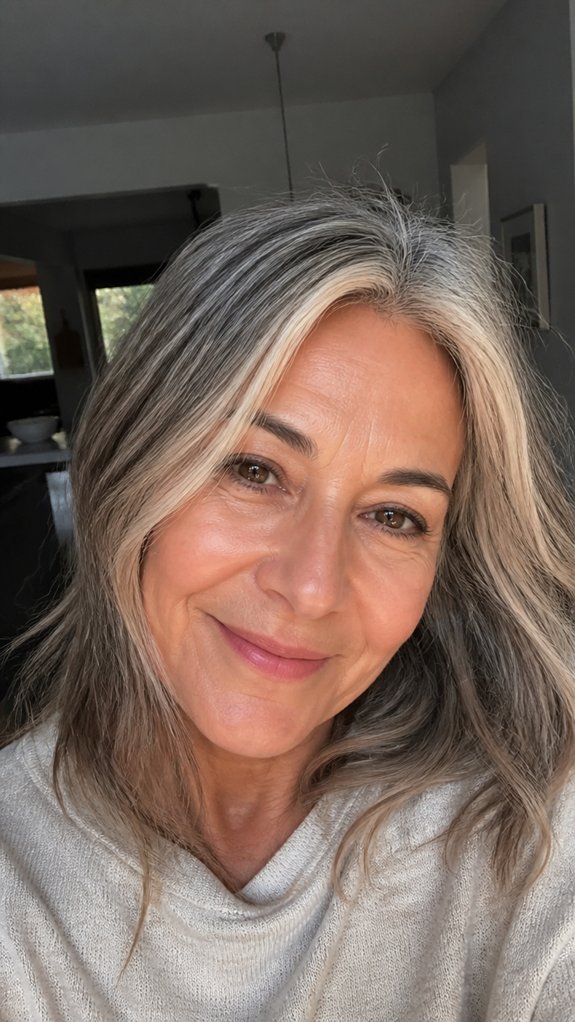
Choose a warm honey halo if you have salt-and-pepper hair, because the soft gold tones can make your natural contrast look richer and more “alive.” Ask your stylist for a honey-toned balayage or babylights that start around mid-length and lift toward the crown, then keep the ends slightly warmer so the halo shows up in everyday light. You’ll enjoy a flattering warm contrast that softens gray edges, without turning you too blonde. Focus on honey placement around your part and face framing, ask for subtle root shading, and keep the finish glossy, so your color blends gently as it grows.
Create Rose-Tinted Halo Lowlights

Rose-tinted halo lowlights are a pretty way to add depth and softness to your salt-and-pepper or blonde hair, especially when warm honey is already on your mind.
You start by parting your hair in small sections, then you paint rose accents just below the crown, leaving the roots darker.
Choose a semi-permanent dye, and blend it into fine strands so it looks like natural glow, not stripes.
For balance, mix in a touch of cool mauve near the ends, that way gray tones look smoother.
Ask your stylist to feather the edges, then tone for a gentle rose halo that lasts.
Style a Brunette-Grey Halo for Dimension

If you want a halo effect that looks rich, not flat, style a brunette-grey halo for dimension by placing cooler highlights and lowlights around the crown.
You’ll get the most flattering contrast when you choose ashy, beige-tinged pieces, and deeper brunette lowlights just beneath them.
Part your hair in sections, then paint color in soft, vertical strokes that start near the roots. Blend thoroughly at the edges, so the shift stays seamless, and your gray looks intentional.
Finish by toning the mid-lengths, creating a smoky halo that moves when you do. You’ll love how it frames your face.
Add Mushroom Gray Halo for a Soft Neutral

Mushroom gray halo color gives you a soft neutral look, and you’ll feel it’s effortlessly flattering once you see how it frames your face.
To get it, you start with a warm, light gray base, then you blend a slightly mushroom-tinted halo around the crown. This keeps things calm, not icy, and it flatters most skin tones. Ask your stylist for mushroom glossing, so the strands catch light without turning silvery.
Next, request a neutral veil finish at the roots, it smooths the shift, and it makes your color feel gentle, not harsh. You’ll love the subtle depth.
Use Ashy Backdrop With Bright Top Halo Strands

After you’ve tried the soft neutrality of a mushroom gray halo, you can shift to something a bit more defined by using an ashy backdrop with bright top halo strands. You’ll get an elegant, close-up look, because the cool base quiets, while the top strands wake up.
Ask your stylist to paint an ashy contrast around the mid-lengths, then lift select pieces at the crown for bright accents. Keep the bright strands thin and strategic, so your gray still feels smooth.
Finish with a toner that matches your undertone, and use color-safe shampoo, to keep it looking fresh.
Make a Blonde-to-Gray Halo Fade

Create a blonde-to-gray halo fade by keeping the roots and mid-lengths light, then gradually blending into soft gray near the crown. You’ll love how this platinum gradient frames your face, it looks airy and modern, without harsh stripes.
Start with a light blonde base on the top halo section, then choose a demi or toner for the gradation. Apply gray higher as you move inward, feather it with a brush, and blend until it feels seamless.
Watch for soft banding, keep your timing tight, and rinse only when the color matches your target. Finally, tone, condition, and enjoy the glow.
Go for Charcoal Halo to Deepen Cool Grays

Ready to take that blonde-to-gray halo a step deeper? Add a charcoal halo where your lightest streaks fade into cooler tones, you’ll instantly see more dimension.
You keep the gray feeling fresh, not washed out, by choosing charcoal depth rather than flat silver. Apply a charcoal root smudge near the part line, then blend downward into your existing gray with a soft, wet comb technique.
This creates cool contrast, especially around the halo area, so your face looks brighter. For best results, tone after processing, and check under natural light, you’ll love how intimate and polished it feels.
Try Face-Framing Halo Layers for Volume

Face-framing halo layers give your halo highlight more life, because they add lift right where your hair meets your face. You’ll notice how volumizing layers soften your features, and how the strands curl or flip with natural halo movement.
Ask your stylist for face framing pieces that start near your cheekbone, then blend into the halo section. This shape creates a gentle crown lift, without making the top look flat or heavy.
If your gray hair feels fine or tired, choose layers that add movement at the sides and crown. You’ll feel refreshed, and your color will glow.
Match Halo Color to Your Skin Undertone

Matching your halo color to your skin undertone helps the highlight look natural, not pasted on.
Look at your wrist veins in daylight, if they seem blue or gray, you likely have cool undertones. For you, choose ashy silver, pearl gray, or soft smoky shades, they blend smoothly.
If your veins look green, you probably have warm undertones. Then go for creamy gray, champagne highlights, or beige-toned dimension, they make your face look bright.
When you choose the undertone, your gray halo frames you gently, and it flatters you every time you catch your reflection.
Maintain Gray Halo Color With Toner Timing
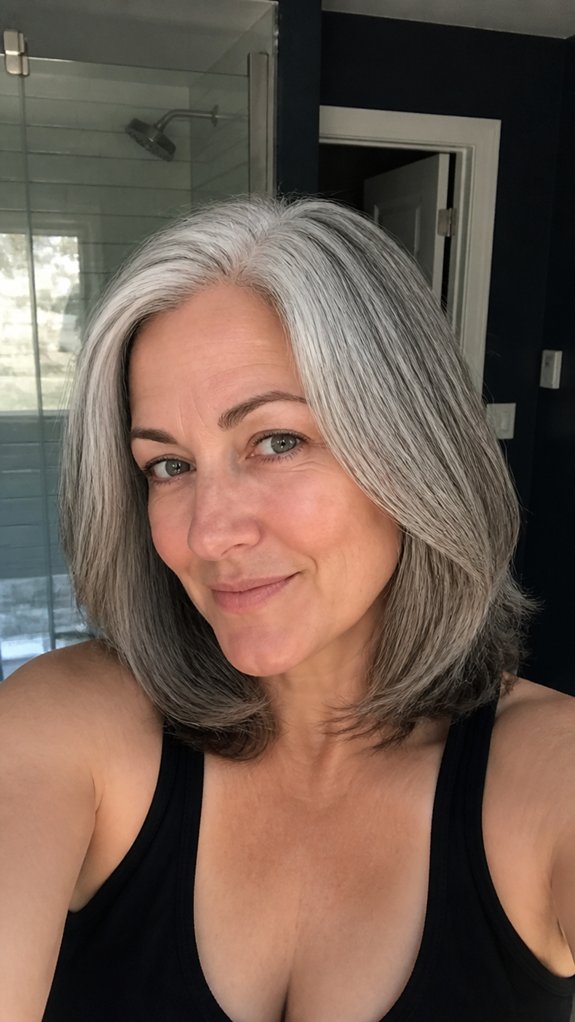
Once you’ve picked the right gray halo tone for your undertone, keep it looking fresh by timing your toner the right way. You want your color to stay soft, not dull, so follow a toner schedule that fits your hair’s speed.
After coloring, watch for the moment the halo turns brassy or feels flat, then plan your next toning session. Use maintenance tips like gentle, sulfate-free shampoo, cool water rinses, and limiting heat, because they stretch toner life.
If you tone too late, the gray can fade unevenly, but if you tone on time, you keep that silky halo glow.
DIY vs Salon: Get the Halo Look Safely?
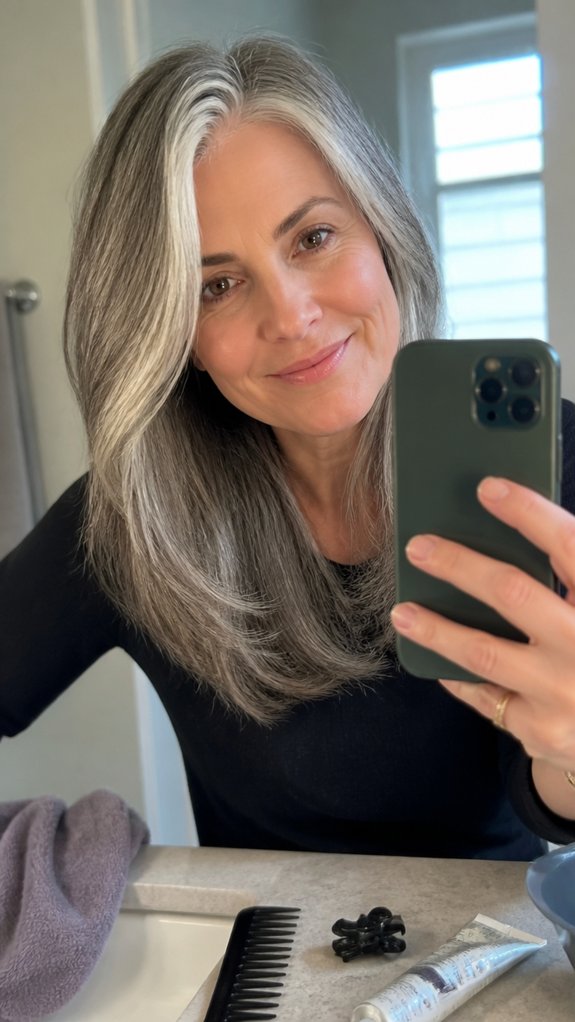
When you want a gray halo that looks smooth and bright, you need more than a good picture, you need safe technique. If you DIY, start with safety precautions, wear gloves, protect your neckline, and follow the box timing exactly.
Use color striping techniques, like thin, even parting, so your gray sits cleanly above darker roots. In a salon, you get a trained eye for lift level, toner shade, and scalp comfort, plus a smoother blend.
Still, you can prep at home by washing, deep conditioning, and showing your inspo. Either way, test a strand first, and don’t rush.