A haircut that looks right in the mirror can still fall apart in a group photo. Side hair shades the eyes, a flat crown makes the head look narrow from the back row, or bangs hit the frames of your glasses. Mother’s Day is Sunday, May 10, and a trim booked one to two weeks ahead is a typical salon suggestion so the cut has time to settle.
The 15 styles below are sorted by hair texture, glasses, morning effort, and how high your arms need to reach to style them. Use one rule to narrow the list: choose the cut where your eyes and ears stay visible and the shape works with your natural texture instead of fighting it. Each entry includes the words to say at the salon.
1. Gray Pixie for Fine Hair
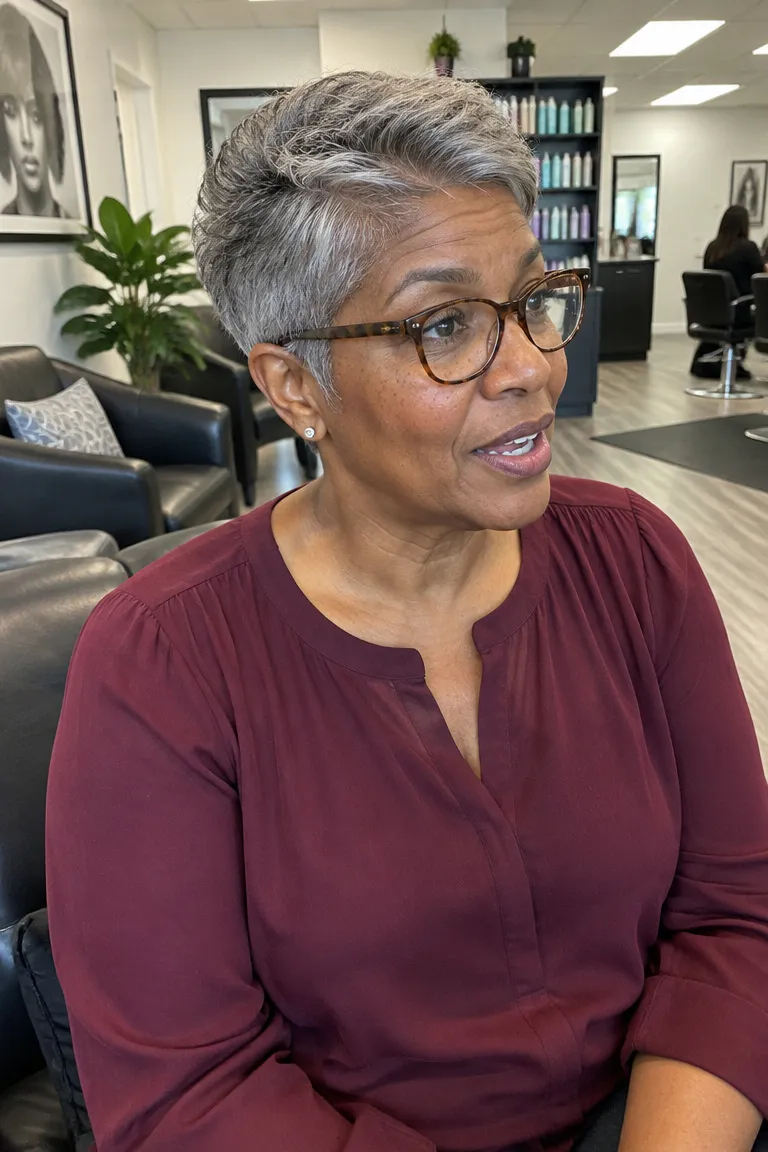
Mother’s Day is Sunday, May 10, so if this cut appeals to you, book the appointment one to two weeks ahead. That’s a typical salon suggestion, and it gives the shape time to settle after the clippers. If you’re the daughter or granddaughter making the call, mention it’s for a family photo so the stylist checks the back and sides carefully.
In a group shot, a pixie works when your ears and eyes stay visible and no side hair shades the face. Ask for the crown to stay slightly longer so it lifts, which makes the head read fuller from the back row.
Morning work is about two minutes: a pea-size amount of matte paste or texture spray on dry hair, worked through with your fingertips. Pixies usually need frequent shaping to keep the outline crisp. If your gray looks yellow or dull, a stylist can discuss a gloss or toner, and soft pixie cuts for fine hair shows more variations on this shape.
Ask your stylist: “Short pixie, textured on top, tapered at the nape and around the ears.”
2. Chin-Length Bob for Glasses
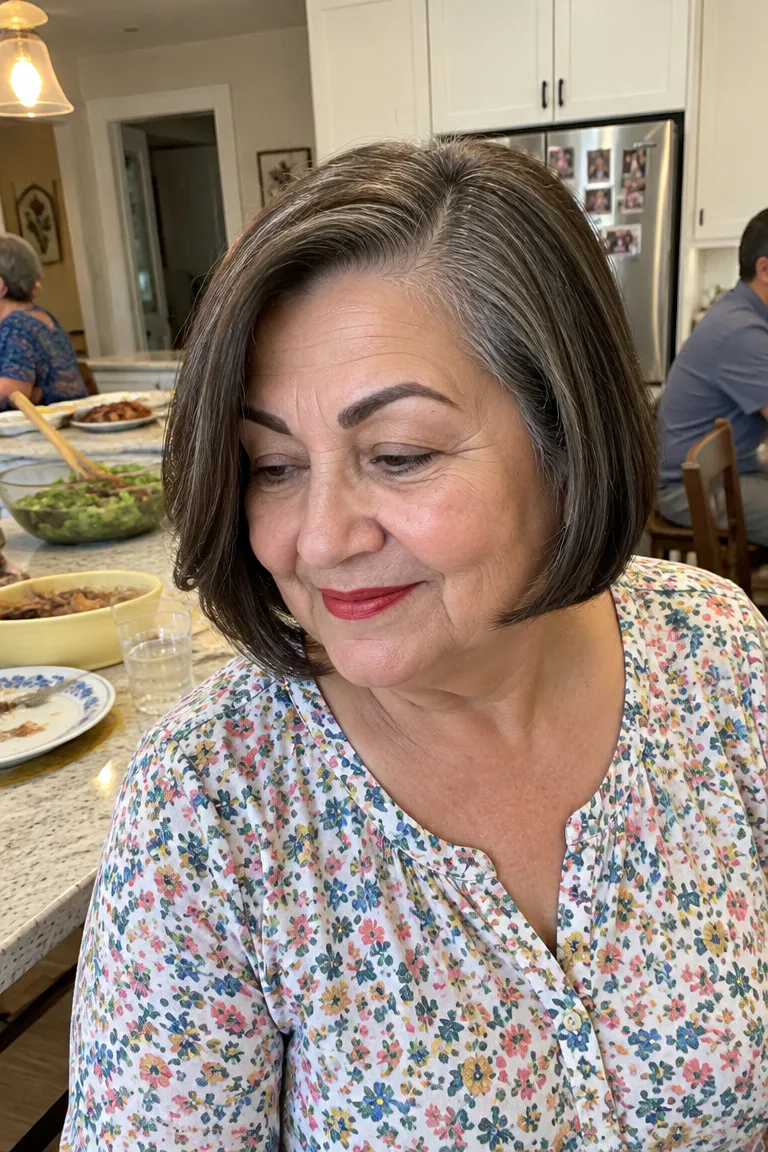
A length that stops at the jawline keeps hair from colliding with your frames or needing to be tucked behind the arms. Add a deep side part and the hair sits off the lens edge and out of your eyes. That matters in photos, where a strand across the lens can read as a shadow.
Use a matte cream instead of a shiny serum. Shine near the lenses gives flash one more surface to bounce off. This cut suits medium-density hair that’s straight or slightly wavy, while thin hair may want a stylist’s advice on how blunt the ends should be.
At the salon, say: “chin-length bob with soft layers, deep side part, nothing heavy over the eyebrows.”
Comfort check: If the cut is blunt enough to air dry smooth, you don’t need a flat iron or round brush. Try it once at home before May 10 to confirm it settles without heat.
3. Soft Shoulder-Length Waves
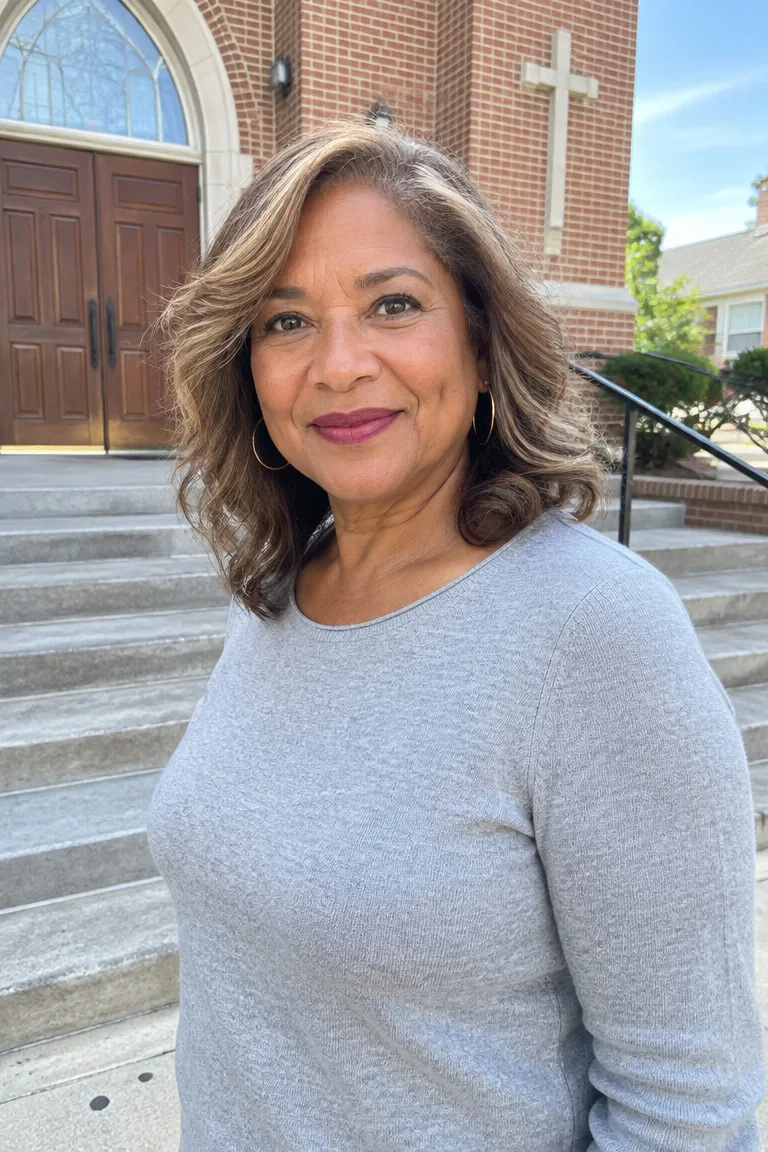
Loose waves look softer than straight hair in a group photo, but they depend on work done that day. Pick the route that matches what you already do at home.
- Have the stylist set the waves at the appointment, and ask what to avoid touching afterward.
- Use a large-barrel iron, but only if you already own one and use it comfortably.
- Ask for a cut that waves on its own when air-dried, so the effort moves to the haircut.
This takes the most morning time of the early styles, and arthritis or limited shoulder reach can make an iron hard to manage. Finish with a light-hold spray, then brush the waves out gently so they read as soft movement instead of tight curls.
Fine hair left in one length at this point can look flat or stringy. Ask for a slightly shorter, lightly layered cut so the ends have some movement of their own.
4. Short Curly Crop
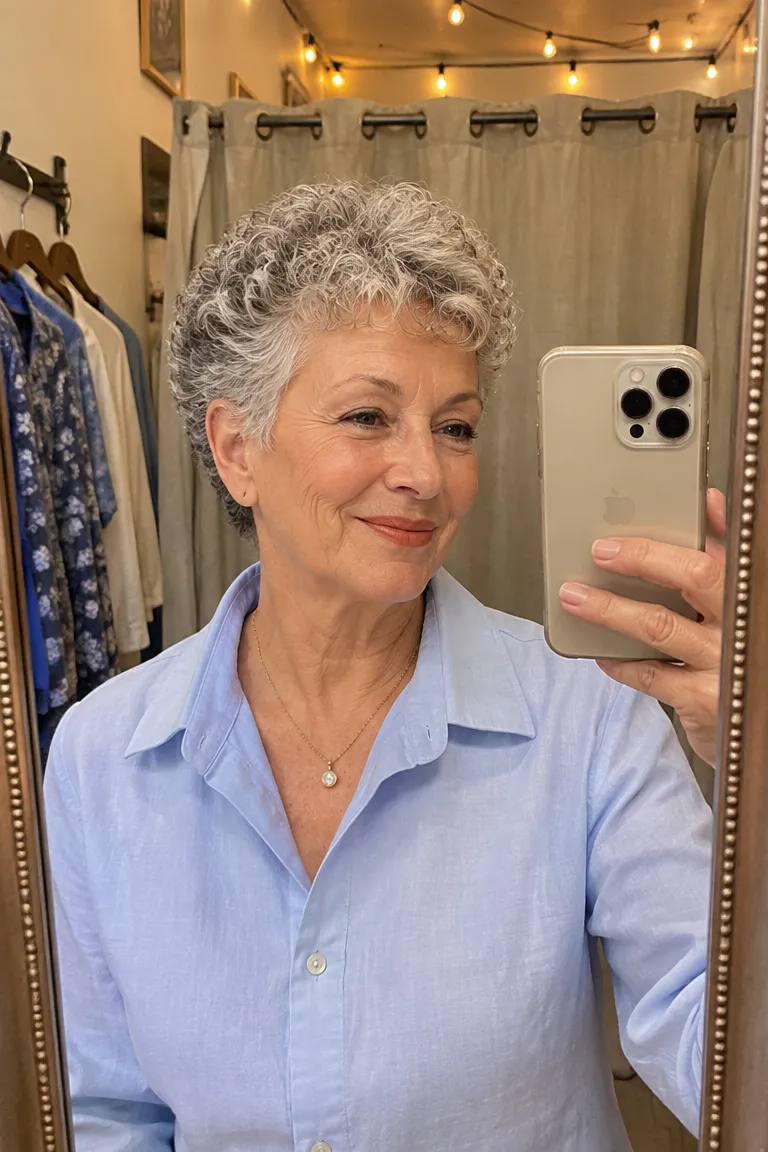
This one is for natural curl or tight wave that already forms on its own. A crop shaped around your curl pattern keeps the silhouette round and even from every direction, so it holds up when the whole family squeezes in for a photo. Silver curls look especially dense when the shape is even.
The routine involves no heat. Scrunch a curl cream through damp hair, then air dry, or use a diffuser if you already have one.
Tell your stylist: “short layered crop cut curl by curl, tapered at the nape, no thinning shears unless you say so.” Thinning shears can leave curls uneven and frizzy, which is why it’s worth saying out loud.
Maintenance tip: Curls show frizz in photos when they’re touched while dry. Fluff once with your fingers, then leave them alone.
5. Layered Bob With Crown Volume
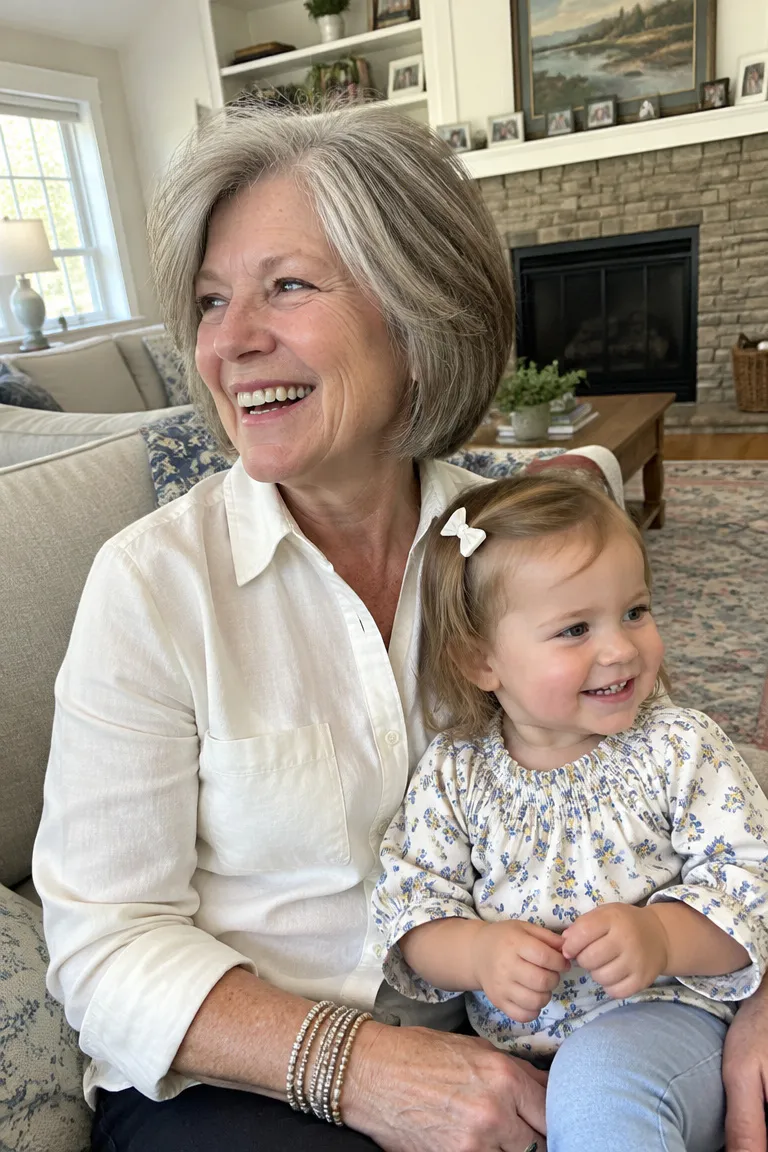
In a back-row position, a flat top makes the head look narrower than it is. Soft layers through the crown, with the length at chin to jaw, give apparent volume without a round brush. This suits fine or thin hair that tends to fall flat at the roots, and bobs for fine, thin hair that add volume covers more options.
For a quick fix on the day, lift your roots with your fingers while blow-drying, then set them with a light-hold spray. It adds lift, not thickness, so don’t expect the cut to change how much hair you have.
If shedding is new or sudden, talk to a doctor or dermatologist rather than relying on a cut.
Ask your stylist: “Layered bob, short layers at the crown for lift, ends kept full.”
6. Long Pixie With Swept Bangs
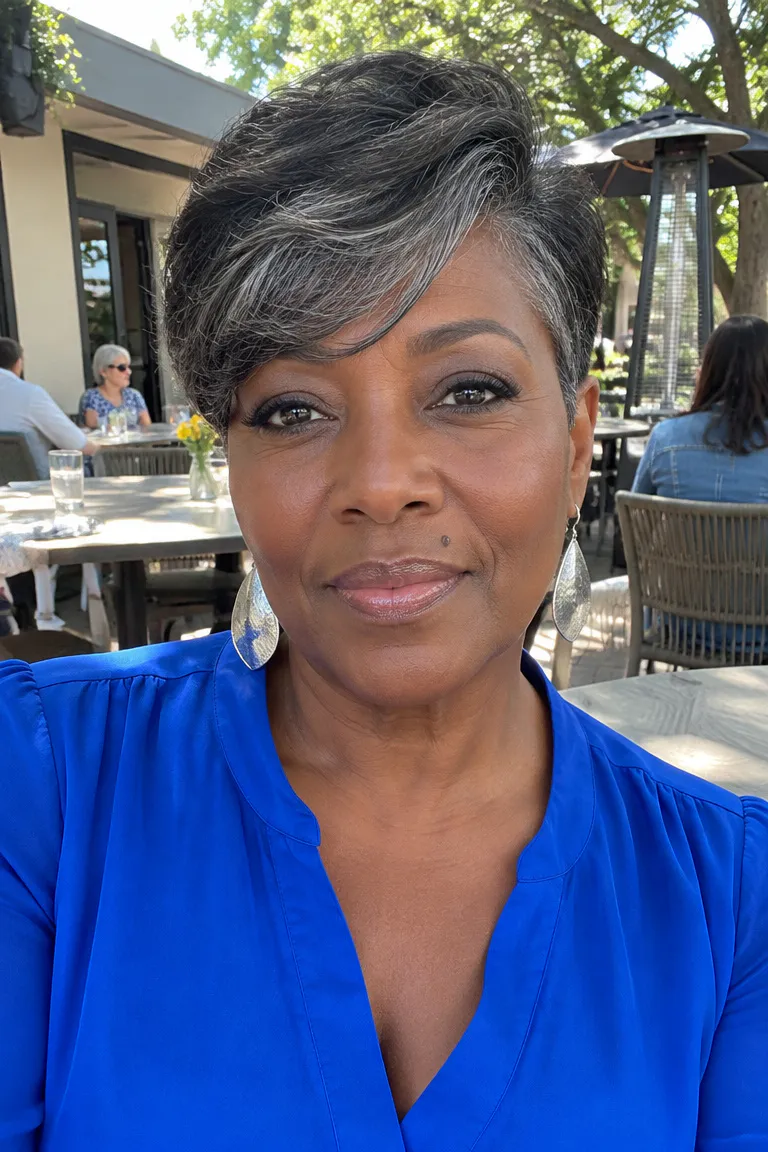
Longer hair on top, swept to the side, opens the forehead and brow so your eyes read clearly in the photo. The catch is the bangs: they have to clear your glasses frames, so tell the stylist you wear them and bring them to the appointment. The sides and nape stay short and tapered.
Plan on about five minutes with a blow-dryer and your fingers. Practice the sweep direction before May 10, because the first try rarely lands where you want it. A matte paste or texture spray holds the shape without the shine that makes bangs look wet under flash.
This works best on medium to thick straight hair, though fine hair can wear it with extra root lift. Say: “long pixie, longer on top, swept side bangs, tapered at the nape.”
7. Shag Bob With Curtain Bangs
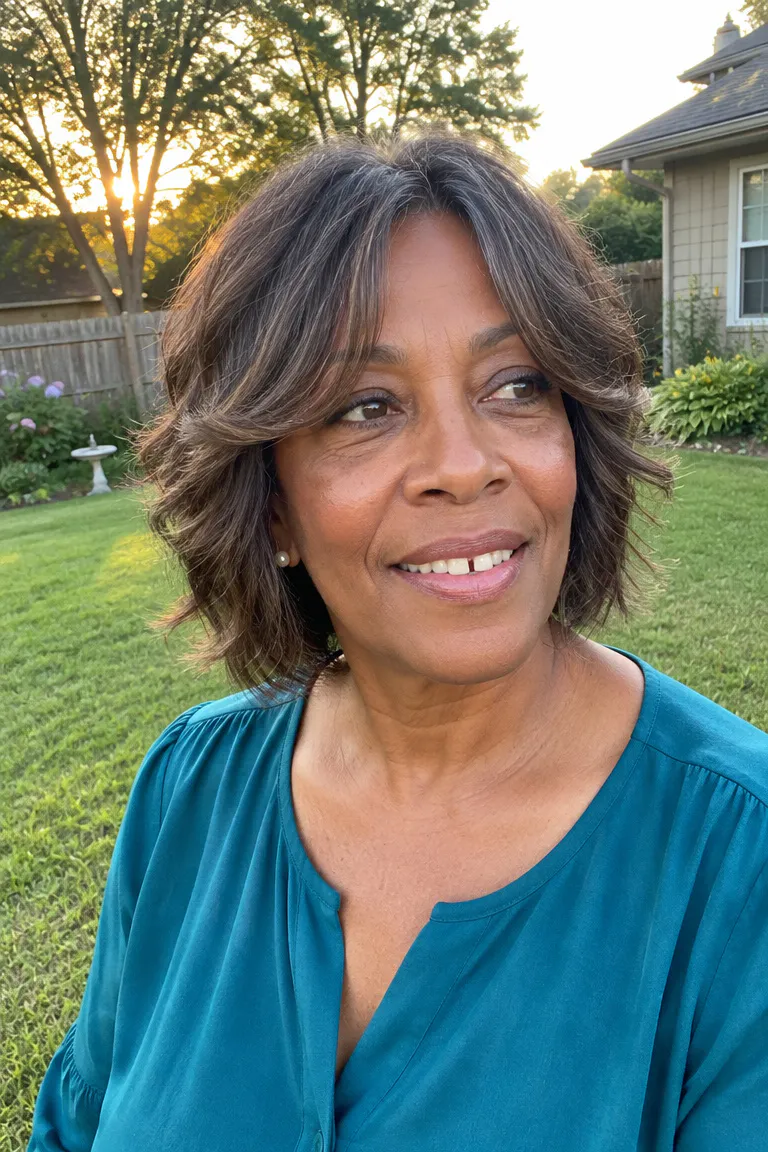
This is the pick if you’d rather not rebook every few weeks. Choppy layers and middle-parted curtain bangs blur as they grow, where a blunt line shows a few weeks past the trim. A grown-out shag still looks like a shag.
Daily effort is small: tousle with your fingers, add a little texture spray, and you’re done. If you wear glasses, have the curtain bangs cut long enough to sweep to the sides, since short ones brush the lenses.
It fits wavy or thick hair best. Very fine hair may want fewer, softer layers so the ends don’t look sparse.
Ask for: “shag bob, chin to collarbone length, wispy curtain bangs that end at the cheekbone.”
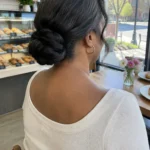
8. Low Chignon at the Nape
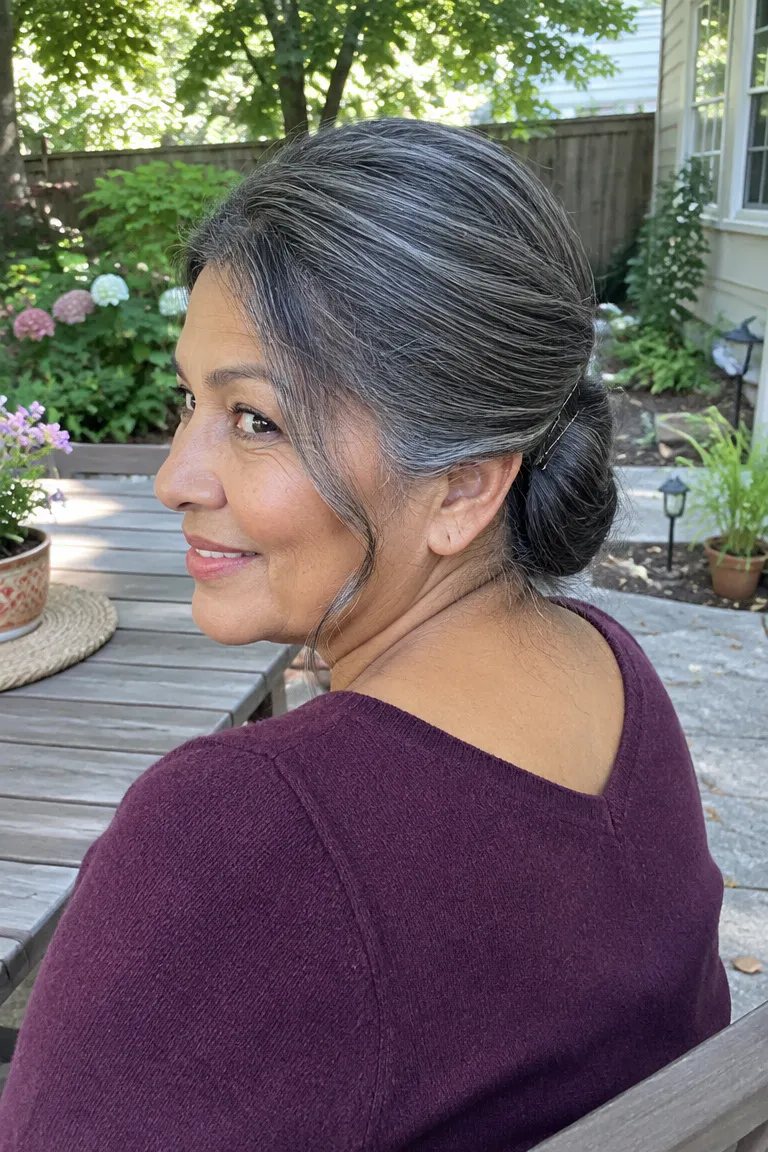
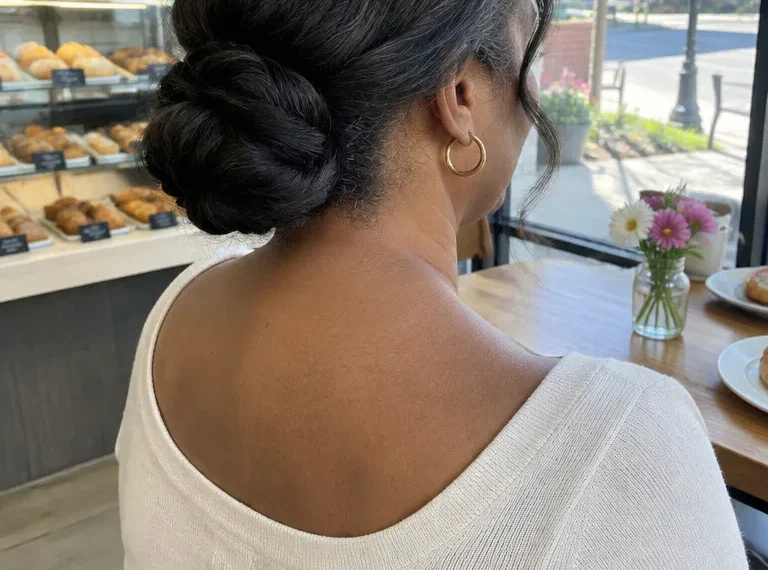
A low chignon needs enough length to reach a small knot at the nape, which usually means past the shoulders. Very fine or short hair needs a stylist’s check first. The bun should either be shaped by the stylist beforehand, or you can practice a simple twist at home.
- Ask for a loose hold with no tight pulling at the temples.
- Use a few pins and a light-hold spray instead of a tight elastic.
- Add extra pins at the base, because hugs and a toddler grabbing for it are real risks.
- Let a family member place the pins if lifting your arms is difficult.
Comfort check: Wear the style for an hour at home before May 10. If your scalp feels tugged at the temples or behind the ears, loosen the knot.
9. A-Line Bob for Back Row
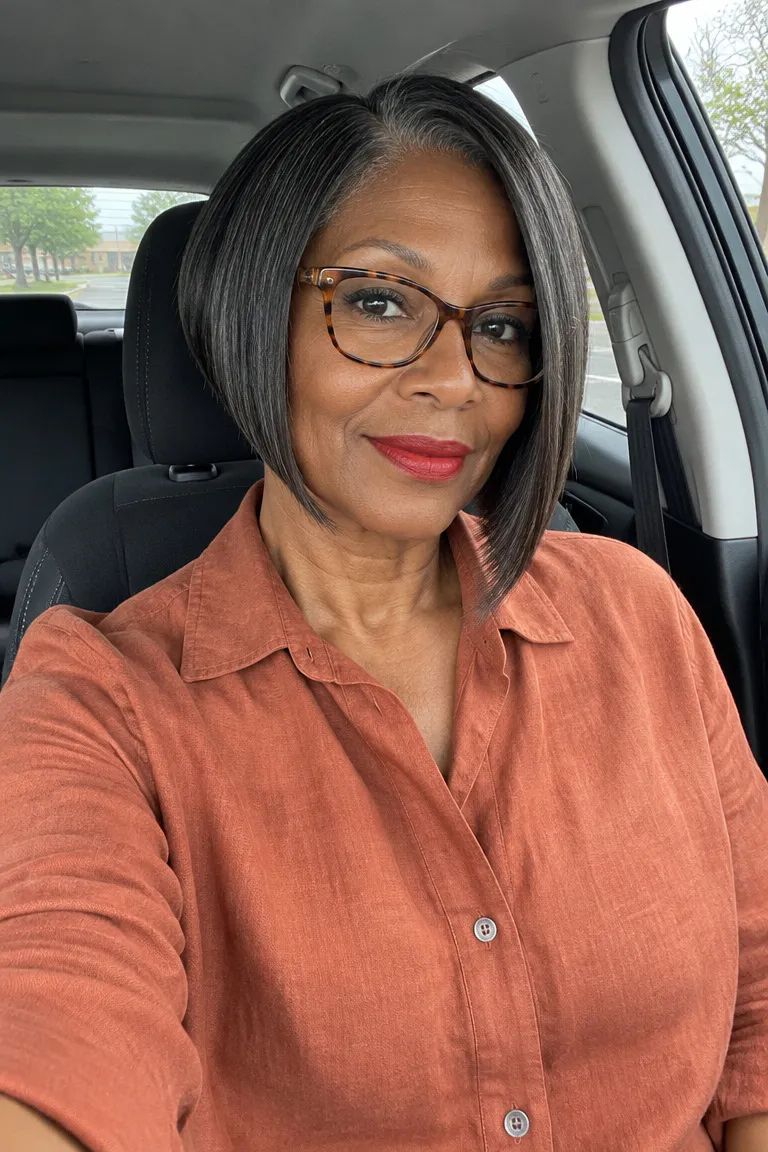
An A-line bob is shorter in the back and slightly longer toward the front. That angle stays defined when you’re standing behind others, because the line is visible even if only your head and shoulders show. It also keeps the jawline visible without hair covering the cheeks.
Blunt, precise lines show growth sooner than layered ones, so a trim before May 10 matters more here. It fits straight to slightly wavy hair, but curly hair may not hold the clean line.
Ask your stylist: “A-line bob, stacked slightly at the back, longer toward the chin in front.”
10. Feathered Cut With Side Bangs

If arthritis or limited shoulder reach makes styling a chore, this is the wash-and-wear option. Short feathered layers and side-swept bangs dry into shape with your fingers, with no pins, no round brush, and no hot tools. The ends are cut soft and light so they move instead of sitting stiff.
Side bangs should sit above or beside your glasses frames, not on them. A light-hold spray at the roots only is plenty for lift.
Comfort check: You shouldn’t have to raise your arms above shoulder level at any step. If a part of the routine requires it, ask the stylist for a simpler finish.
Tell the salon: “short feathered layers, side-swept bangs, wash-and-wear finish.”
11. Long Inverted Bob for Silver
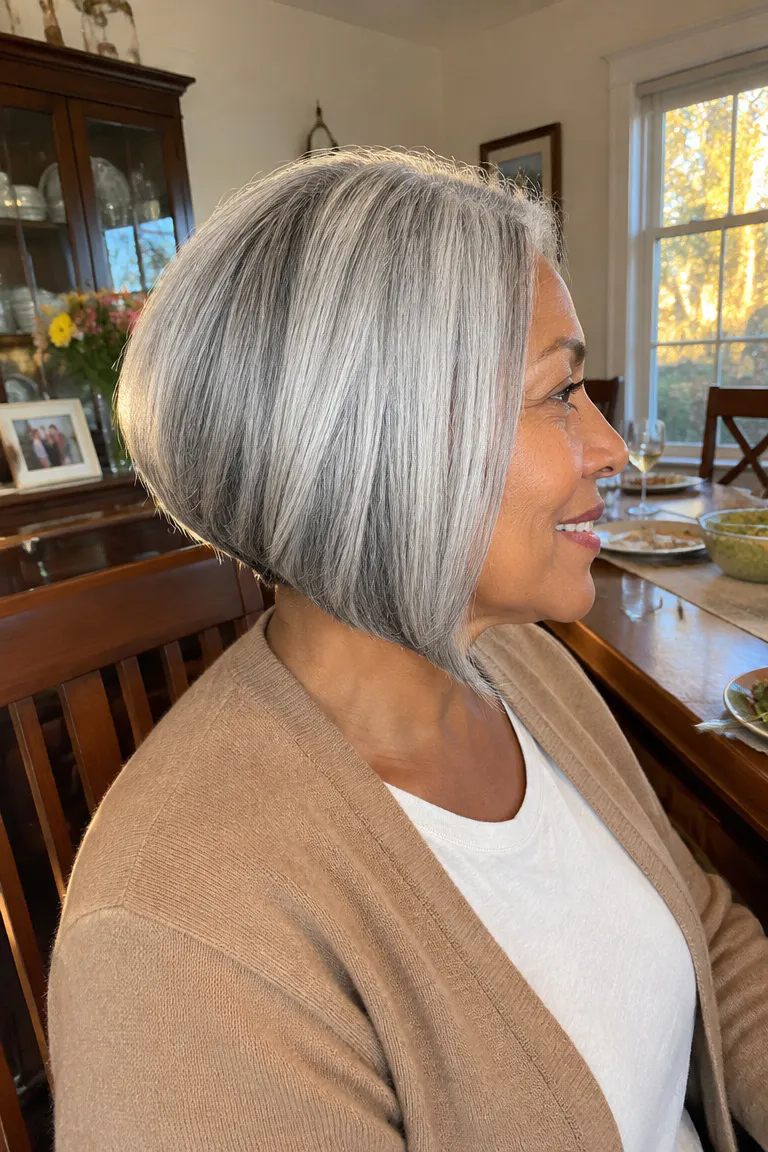
An inverted bob, shorter at the nape and longer at the front, shows silver as a clean, solid shape. In photos, yellow or dull tones can show up more than they do in the bathroom mirror. A purple or gray-specific shampoo and a stylist’s gloss or toner are worth discussing, though results vary by hair.
Any color change or toner test should happen well before the week of the photo, so you have time to adjust if you don’t like the tone.
Smooth ends need a quick pass with a blow-dryer, so this isn’t zero effort. Say: “long inverted bob, longer in front, stacked at the nape, ask about a gloss for the silver.”
12. Curly Bob With Defined Curls
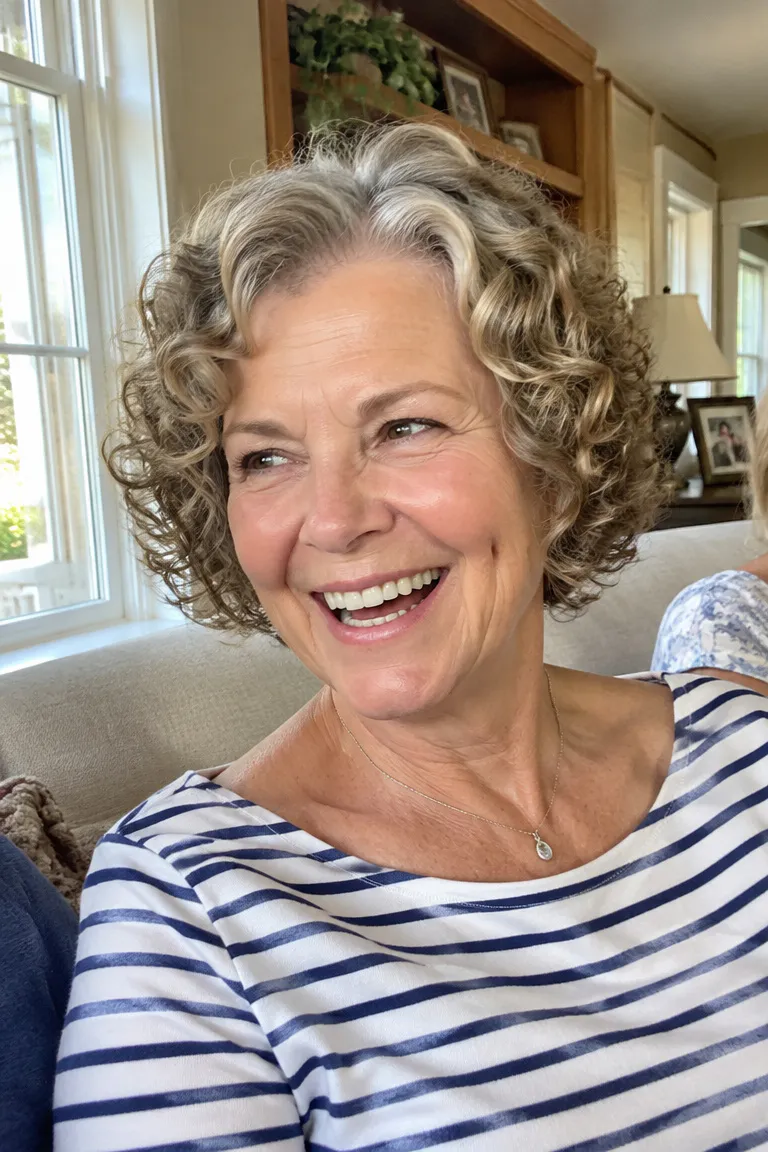
At jaw length, curls look best when the product matches the job. A curl cream gives definition, while a gel gives hold. Skip shiny oils, which can make curls look greasy in flash photos.
| Product | Best for | Watch for |
|---|---|---|
| Curl cream | Definition and soft hold on damp hair | Too much can feel heavy on fine curls |
| Gel | More control if the photo is outdoors and the air is humid or windy | Feels stiff if you touch curls before they dry |
| Shiny oil or serum | Nothing in this case | Adds glare and a greasy look under flash |
Apply product on damp hair and don’t touch the curls while they dry. This works for natural curl in fine to thick hair, and face-framing bobs for fine curly hair shows more shapes.
At the salon, ask for: “curly bob cut dry or curl by curl, rounded shape, no blunt line at the ends.”
13. Shoulder-Grazing Layers
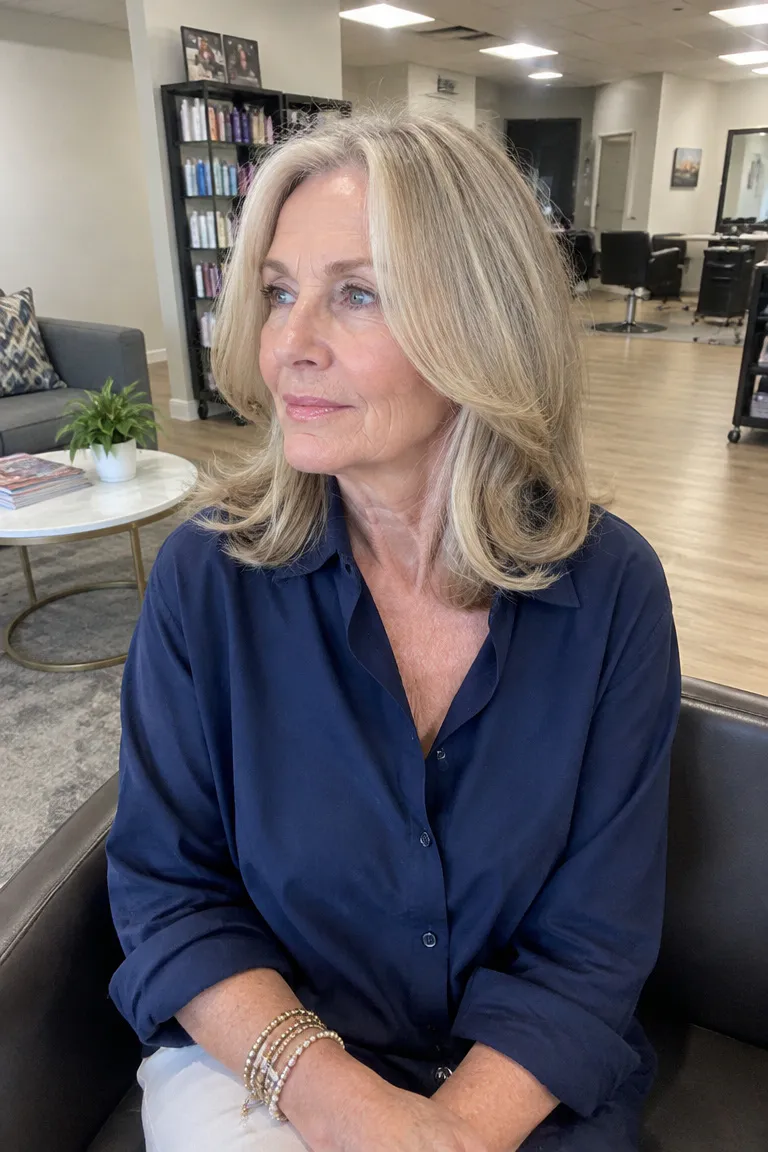
If you’d like to keep your length, this cut adds shape without losing it. Long, face-framing layers starting at the chin give movement and grow out without a noticeable line. Fine hair left in one length can look stringy, so don’t skip the layers.
Styling is a quick blow-dry with your fingers, or air dry with a light cream. If you wear glasses, ask for the front layers to sit forward of the frame arms so hair doesn’t get tucked behind them.
A trim one to two weeks ahead is typical. Say: “shoulder-grazing cut, long layers, face-framing pieces starting at the chin.”
14. Bixie for In-Between Length
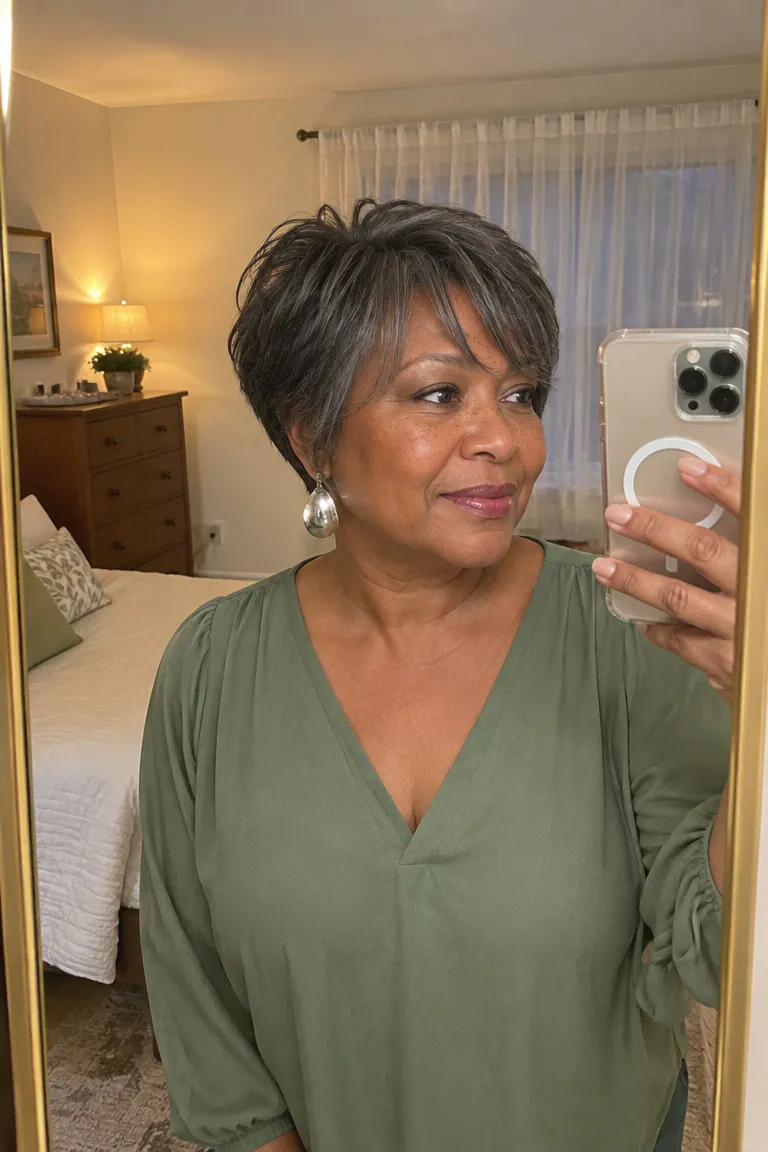
A bixie sits between a pixie and a bob. It keeps the sides and nape short but leaves enough length on top and at the back to tuck or sweep. That makes it a good stop for anyone growing out a pixie or deciding between the two.
The cut is forgiving if the trim lands just before May 10. A test cut or consultation is smarter than a drastic change that week.
Daily work is drying with your fingers and adding a bit of texture spray at the crown. It suits wavy or fine hair that needs body.
Ask your stylist: “Bixie, soft layers, longer fringe, shorter at the nape, not too choppy.”
15. Half-Up Swept-Back Style
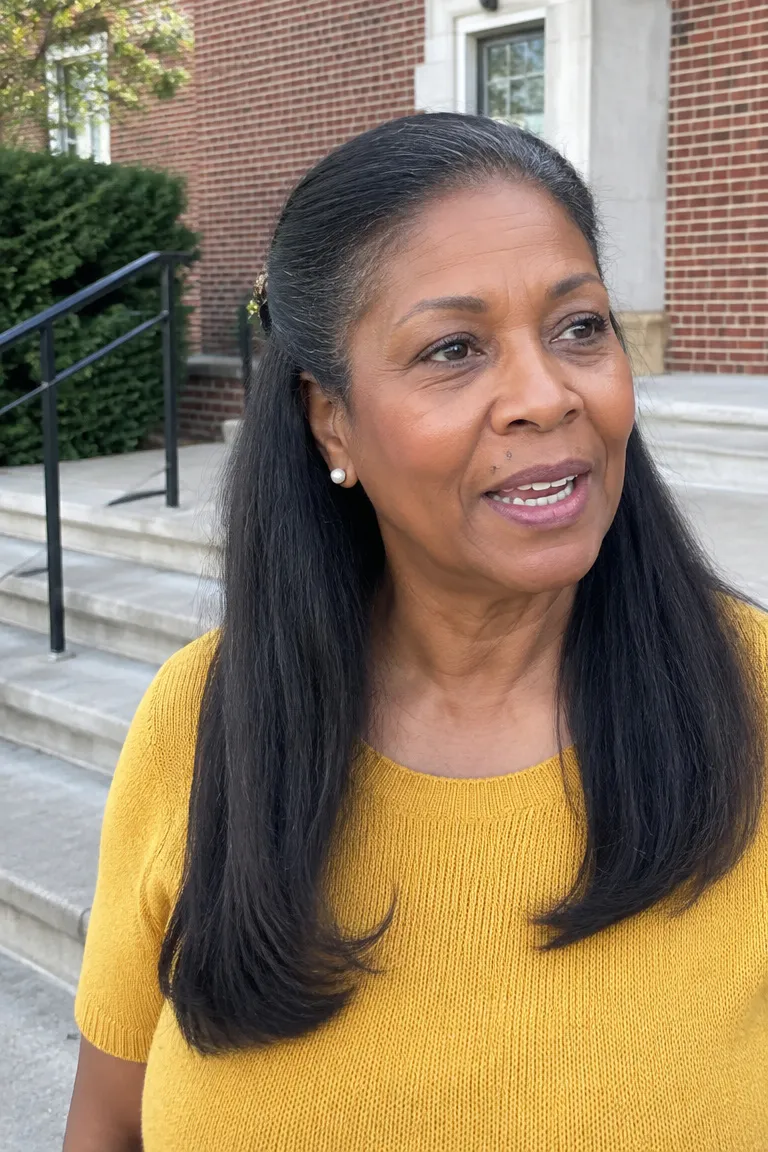
For hair past the shoulders, this is the hug-proof option. Sweep the top sections back and secure them with one clip or a couple of pins, and the length stays down. The photo benefit is an open forehead and no side hair shadowing the eyes.
It takes a few seconds of arm lift and fingers only, though some hair may need pins, so a family member can help. Very fine or short hair may not hold without a stylist’s advice.
- Save two or three favorites from this list.
- Bring the photos to your appointment.
- Book the trim before May 10.
Bring Photos to Your Appointment
Before you head to the salon, pack three things: your saved photos, your glasses so the stylist can check the frames against the cut, and an honest note about how much time and arm reach you have in the morning. Those three details do more for the result than any product.