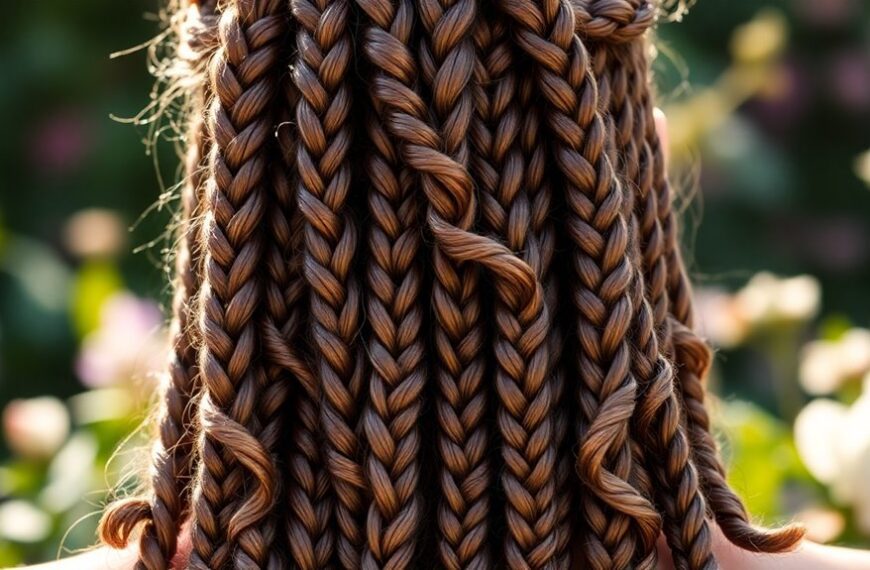
Thick hair that stops at the shoulders often turns into a triangle: flat at the crown, wide at the ends, and hot against the neck by noon. The cause is usually weight, not length. A cut can stay at the collarbone and still feel noticeably lighter if the right bulk comes out of the right places.
These 12 shoulder-to-collarbone cuts each name where the weight comes off, which texture they suit, and what to say in the chair. Use one rule before you save any photo: find the back view, and if the stylist can’t tell you where the shortest layer will land, keep asking until they can.
1. Collarbone Layers, Notched Ends

For thick hair, light is something you can feel. There’s less weight pulling at the nape, the blow-dry takes a few minutes less, the shape doesn’t widen into a triangle, and the ends swing instead of stacking into one dense line.
This cut gets there with long layers that begin below the chin, so the shortest piece stays well past the jaw and the length still reads as collarbone. The bottom inch or two gets notched or deep point cut, meaning the stylist snips into the ends at an angle. Thick ends break into soft pieces without getting any shorter.
It works best on straight to slightly wavy hair, where the feathered ends show clearly.
Ask your stylist: Where will the shortest layer land, and is the weight coming off with point cutting or thinning shears? Thinning shears should stay off the top half of each strand, because short broken hairs there poke through the surface and frizz.
2. Long Face-Framing Layers

Straight thick hair tends to look heavy and flat in the bottom third, with the sides hanging like curtains. Face-framing layers fix that by starting at the cheekbone or just under it and blending into a fuller back. The sides lift, and the crown doesn’t get wider.
A side part helps with round faces when the layers begin below the chin, because the diagonal line lengthens the face. Dry the front pieces with a round brush and leave the rest alone; lifting only those sections gives movement near the face without adding bulk behind it.
When you collect reference photos, save the back view as well as the front. Front-only photos hide how much weight stays behind, and that back section decides whether the cut feels light or just looks light from one angle.
3. Soft Shag on Waves

Thick waves already want to move, so a shag gives them somewhere to go. Shorter interior layers create the bounce, while the bottom edge stays fuller so the shape doesn’t turn stringy. Keep the longest layers around the collarbone so it stays a medium cut.
Styling is quick. Work a lightweight leave-in or mousse through damp hair, air-dry until it’s about 80 percent done, then diffuse on low to set the waves. A few wispy pieces near the face finish the shape.
Maintenance tip: Too many short layers, or heavy layering at the crown, makes thick hair wider rather than lighter. If your shag starts to puff out sideways, ask for the crown layers to be left longer at the next visit instead of thinning them further.
4. Shaggy Lob, Fuller Back

This is a lob that ends just above the shoulders, not the collarbone shag from the previous cut, and it suits straight to slightly wavy hair. The layering is concentrated in specific zones so the cut keeps its structure:
- Around the face: choppy layers that add movement at the cheeks and jaw.
- Crown-front: enough shorter pieces for lift and a lived-in top.
- Back: left denser and closer to one length so the shape holds.
Ask where the shortest layer will fall, and have your stylist show the layering with a section of dry hair. If you suspect your density is lower than it feels, long shag haircuts that avoid over-thinning the ends show the same layering idea with a lighter hand.
As it grows out, the face layers lengthen and the shape softens rather than collapsing, so book your next visit for around week 8 to 10.
5. Curtain Bangs With Long Layers

Center-parted curtain bangs sweep to each side and blend into cheekbone-to-chin layers, while the rest of the hair stays collarbone-long. On thick hair the fringe can puff out or split at the part, so check your cowlicks and hairline before you commit. Ask the stylist to dry-cut a test section if you’re unsure.
Many stylists do a quick bang trim every 3 to 5 weeks, often as a short visit, so confirm what your salon charges for it. For styling, dry the bangs first with a small round brush while the rest of your hair air-dries. That gives you the soft bend without heating all that thick hair.
Comfort check: Heat and sweat make bangs cling to the forehead. Ask for a length that can be tucked behind the ears, so you have an option when the fringe gets in the way.
6. Blunt Shoulder Cut, Side Part

A blunt edge can still feel light when the weight comes out inside the cut. The perimeter stays clean, but the stylist uses internal layering or thinning below the surface layer, so the hair collapses less at the ends. It’s best for straight hair with strong density.
Place the side part where it suits your face: a deeper part gives a longer diagonal on rounder faces, while a part closer to the center softens a strong jaw. Ask the stylist to part your hair dry and look at it in the mirror before cutting.
The tradeoff is upkeep. A blunt line shows split ends sooner, so plan a trim in the 6 to 8 week range and confirm the timing with your stylist. Styling stays simple: rough-dry, then flat iron only the ends if they flip out.
7. Angled Lob Off the Neck

This is the pick if thick hair makes your neck feel hot. The back sits shorter than the front, so hair stays off the nape and holds less heat. The shape is an A-line, and the front should land at the collarbone rather than the chin to stay within medium length.
Angle matters. A gentle slope reads as relaxed, while a steep one can look severe on thick hair, so ask the stylist to show you the slope with their fingers before cutting. Request light graduation in the back to avoid a stacked bulge at the nape.
It suits straight and slightly wavy hair, where the smooth ends curve gently inward.
Maintenance tip: The nape grows out fastest. A clean-up every 6 to 8 weeks keeps the line sharp, and many salons will do just the back as a short appointment.
8. Textured Chin-Length Bob

This is the shortest option here, and the one most likely to look like a helmet if it’s cut wrong. A jaw-to-chin bob with point-cut ends and internal weight removal moves instead of sitting like a dome, even in humidity. Subtle layering through the crown stops the shape from rounding out.
It works on straight and wavy hair. A very dense, uniform bob can turn rounded, so ask the stylist to remove weight at the underside and keep the perimeter slightly piecey. If your hair is dense but fine, chin-length layered bobs for thin hair cover similar lengths with more fullness in mind.
For products, use a lightweight root spray or mousse on damp hair, then a dry texture spray on dry ends. Book a trim closer to every 6 weeks, since the shape changes quickly at this length.
9. Silver Shoulder-Length Cut

Silver strands can feel coarser or wirier than the pigmented hair around them, which makes ragged ends more obvious. A shoulder-length cut with soft long layers and a clean perimeter keeps the shape tidy without exposing frayed tips.
Plan regular trims, because split ends show faster on gray hair. For care, use a gentle cleanser, condition every wash, add a deeper treatment now and then, and lower the heat on dry hair. A smooth, glossy finish matters more here than extra volume.
Ask your stylist: How do you keep this cut shiny without over-thinning coarse hair? Thinning shears should never go near the mid-lengths of coarse strands, since the cut ends stick out and make the hair look rougher, not lighter.
10. Curly Cut, Done Dry
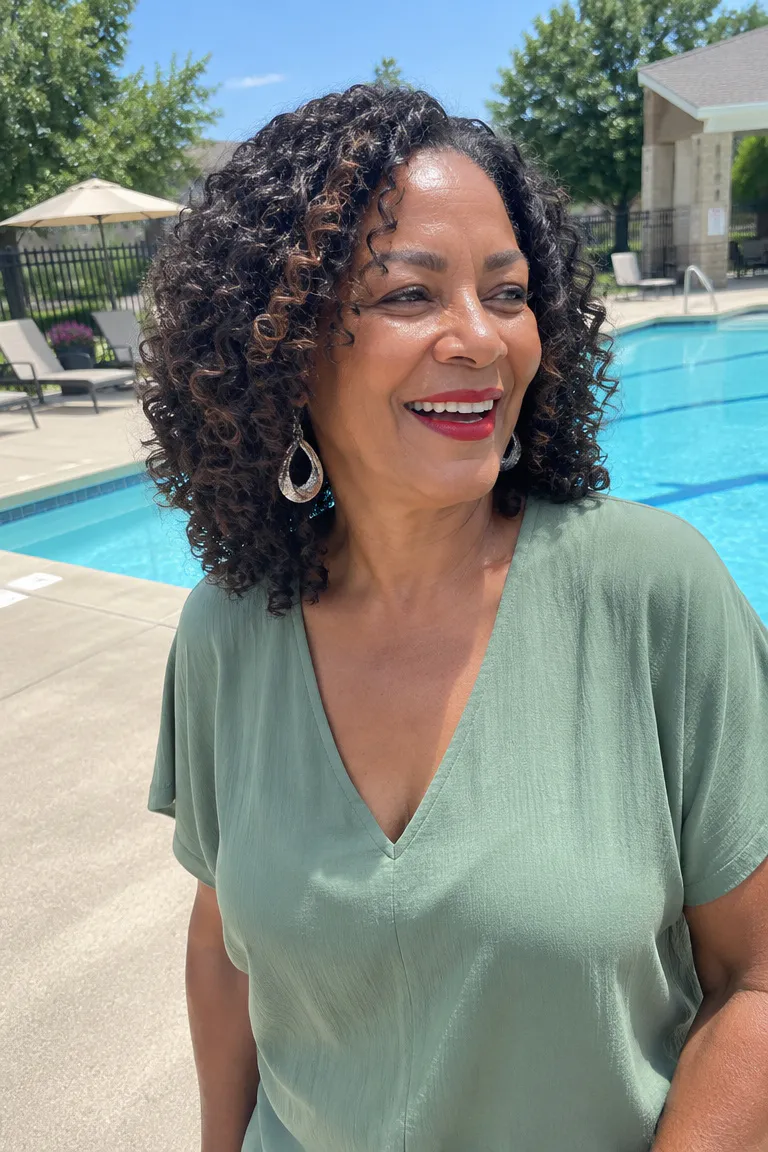
Thick curls at collarbone length do best when they’re cut dry. The stylist shapes curl by curl and sees where each pattern actually sits, rather than guessing while the hair is stretched wet. Expect rounded layers with weight kept at the bottom, not a pyramid.
Razoring or heavy thinning can leave short frizzy pieces that stick out, so ask for scissors and a light hand. Curls also shrink, which means the length will look a few inches shorter once dry. Choose a length with that in mind.
- Apply leave-in to wet hair.
- Diffuse on low or air-dry.
- Don’t touch it until it’s fully dry.
Touching curls while they’re still damp breaks up the clumps and brings the frizz back.
11. Wispy Ends for Dense, Fine Strands

Some hair is dense but fine-stranded, and some people notice density dropping. Heavy texturizing helps truly thick hair, but it can make lower-density hair look thin. Run a quick check: wrap your hair in a ponytail and note the circumference, then look at your ends when dry to see if they’re sparse.
If the ends look thin, request soft, light feathering only on the last inch, with long subtle layers above it. For more length ideas at this density, shoulder-length cuts for thin or fine hair are worth comparing.
Keep styling light with volumizing mousse at the roots and no heavy oils. If you notice sudden shedding, see a stylist or doctor rather than guessing at the cause.
12. Air-Dry Cut for Humid Days
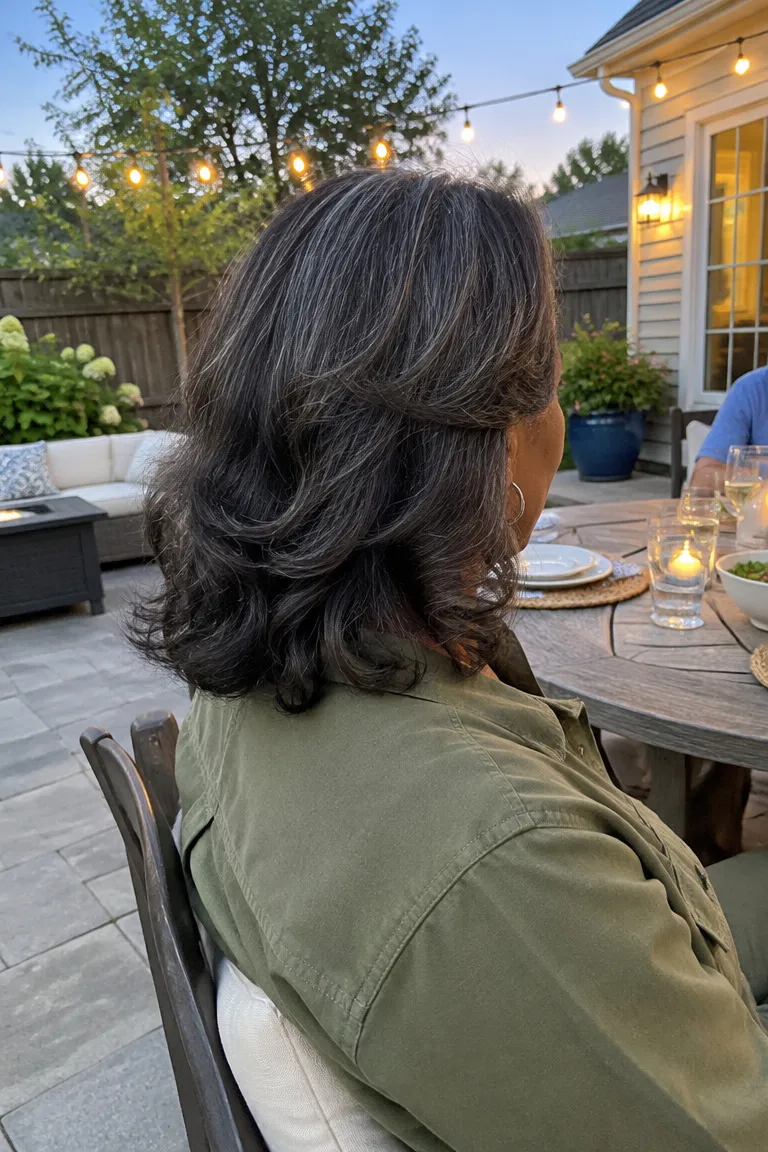
This one is optional, for anyone heading into summer or living somewhere humid. Dense hair holds heat at the nape, so ask for weight removed there, plus long layers that dry into shape without a round brush.
- Apply leave-in to damp mid-lengths and ends.
- Add a drop of light serum for frizz.
- Scrunch or comb through, then air-dry.
If you want a smoother finish, use a flat iron only on the ends, at lower heat, with a protectant. Skip the roots and crown, where heat adds nothing but dryness.
Watch for buildup: heavy creams weigh the hair down and undo the light feel the cut was built for. If your hair starts to look flat by midday, switch to a lighter leave-in before changing the cut.
Salon Prep Checklist
Bring two photos to your appointment, one front and one back, and write down three questions: where the shortest layer lands, how the weight comes off, and how often you’ll need a trim. If the answers don’t match what you pictured, ask to see the layering on a dry section before the first cut.