Eyeshadow that looks right with your eyes closed often disappears the moment you look straight ahead, because the fold of a hooded lid covers the color you put on the moving lid. Add a lid that creases by noon, skin that’s gone a little crepey, and a brow that sits lower than it used to, and the usual advice stops working.
These 14 looks each solve one placement, finish, or product problem, so you can pick by what’s bothering you. One rule applies to all of them: check every step with your eyes open, looking straight ahead into a mirror at eye level. If you can’t see the color, move it higher or farther out.
1. Raised Matte Crease

Start with your eyes open and looking straight ahead. Find the natural fold, then place a matte taupe or soft brown just above it instead of inside it. This doesn’t physically lift anything.
It paints a crease where it stays visible, so the eye looks like it has more room.
- Choose a matte powder in a mid-tone, a shade or two deeper than your lid.
- Tap excess off a fluffy blending brush before it touches skin.
- Press the color just above the fold and blend up and out in small back-and-forth strokes.
- Close your eyes only to soften the edges, then open them and check again.
Try a blink test: open and close your eyes once with the brush down. If the color vanishes under the hood when you look ahead, nudge it higher and blend again. You’re done when you can see a soft band of color with your eyes open.
2. Cream Tint Lid

A cream or liquid shadow tint suits lids that crinkle or crease easily, because it moves with the skin instead of settling into lines. Matte powder is the better shaper when you want a crease or outer corner, since it blends to a soft edge. Many lids need both, with cream on the visible lid and powder for shape.
| Lid type | How to tell | Start with |
|---|---|---|
| Hooded | Brow-bone skin folds over the crease and covers part of the lid when your eyes are open | Matte powder for shape, cream only on the visible lid |
| Crepey | Fine crinkles show across the lid even when your face is relaxed | Sheer cream tint in thin layers |
| Drooping | Lid skin rests on or near the lashes | Matte powder above the lid, with a very sheer lid color or none |
Pat the tint on with a fingertip in two thin layers, letting the first one settle for a few seconds. Set only the fold with a little matte powder on a small brush.
Go easy on primer: A thick layer of primer under cream shadow makes the surface slippery, and the product slides into the fold. Use a rice-grain amount or skip it, and let the cream act as its own base.
3. Inner Corner Champagne
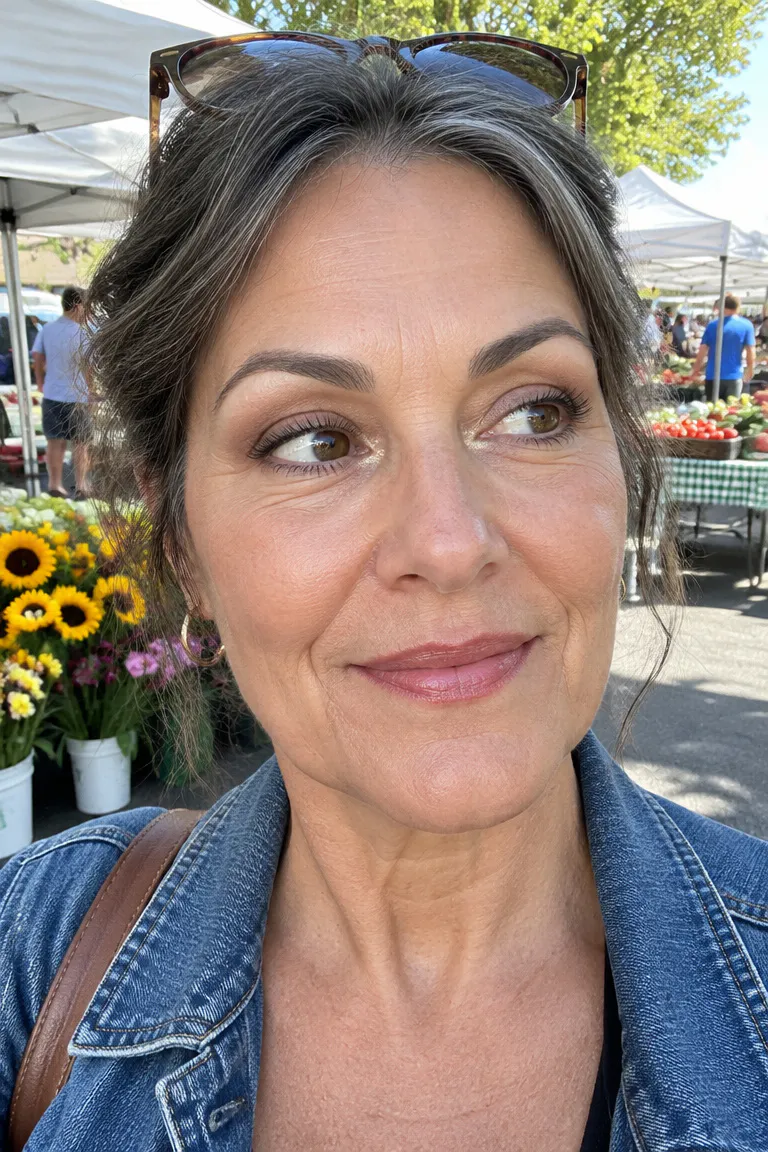
A pinhead of fine champagne, soft ivory, or pale gold at the inner corner brightens the eye. Tap it on with a small dense brush or a fingertip, right where the lid meets the side of the nose. Light in that corner makes the eye read as more open without putting shimmer across the lid.
- Champagne: the easiest middle ground, as long as it’s finely milled and not sparkly.
- Soft ivory: a quieter choice, especially in a satin finish.
- Pale gold: adds warmth, so keep the dot small.
Add a light tap of satin or matte highlight just under the arch of the brow, not a stripe along the whole bone. Skip chunky glitter and pressed frost in both spots. Larger particles settle into fine lines and catch light on texture, which is the opposite of what you want here.
4. Tightlined Upper Waterline

A drawn liner line on a hooded lid often gets hidden by the fold the moment you open your eyes. Tightlining skips that problem by putting a soft brown or black-brown pencil into the upper waterline, so the lashes look fuller and no liner shows on the lid.
Look for a pencil that’s creamy but not greasy. A greasy formula slips onto the lid or smudges within a couple of hours. Lift the lid gently at the outer edge with one finger, look slightly down into a mirror, and press the pencil between the lashes in short strokes, working from the center out.
Skip this step if your eyes are sensitive or tend to water, since the pencil can migrate or feel uncomfortable. In that case, pressing a dark matte shadow into the base of the upper lashes with a thin brush gives a similar effect with less contact.
5. Windshield-Wiper Blend
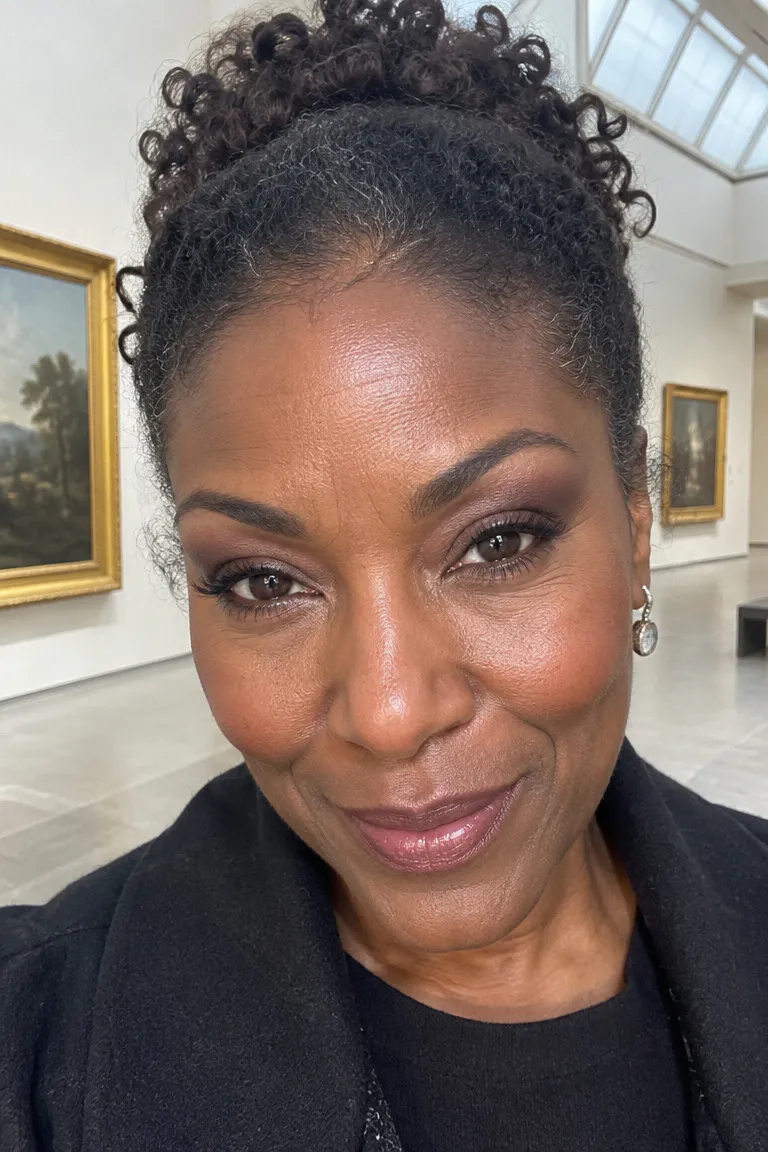
This taupe blend is a technique sources attribute to Charlotte Tilbury. You sweep a soft taupe from the lid up through the crease and past it in one diagonal motion, so the color reads on the open eye instead of hiding in the fold.
Use a medium fluffy brush and a light hand. Build in layers: one pass, check with your eyes open, then add another only where the color is missing. The shade should fade out above the fold, not stop in a line.
Fix a harsh edge: If the top edge looks like a stripe, take a clean fluffy brush, pick up a trace of matte powder close to your skin tone, and sweep it back and forth over the edge. Use less than you think you need.
6. Brow Arch, Minimal Eye
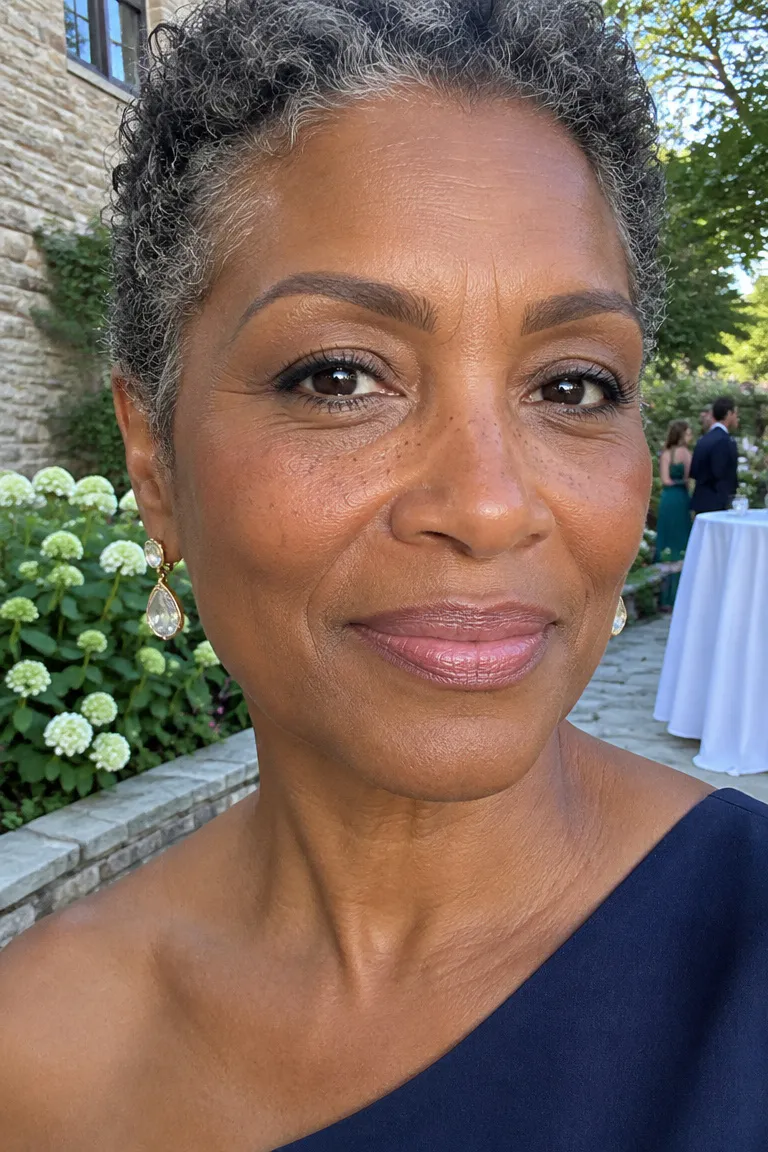
When you don’t want to fuss with shadow, build the look around the brow. Keep a noticeable arch, because a brow that sits low or flat can make the eye look droopier. Brush the hairs up first, then fill sparse or thinning spots with light, hair-like strokes using a pencil or powder close to your natural color.
For the eye itself, use one sheer wash of matte neutral and a single coat of mascara. That’s the whole routine.
If you wear a fringe, check that it doesn’t cover the arch you just drew. Trimming it or sweeping it to the side helps, and these bob styles with fringe tips for thin hair show fringe options to bring to your stylist.
Skip-it day: No time for shadow? Do brows and mascara and leave the lids bare. A defined arch carries the face on its own.
7. Short Liner Wing

A long wing can disappear into the fold or drag the outer corner down. A short one follows the angle of the lower lash line toward the end of the brow and stays visible when your eyes are open. Use a felt-tip liner for a crisp line or a gel pencil for a softer one.
- Draw a thin line along the upper lashes, as close to the roots as you can.
- Look straight ahead and place a dot where the wing should end, a few millimeters past the outer lash.
- Connect the dot back to the lash line, then fill any gap.
Check the wing with your eyes open and looking straight ahead, not downward. If the end tucks under the hood, shorten it or angle it slightly higher. Curl your lashes first so they don’t touch the line.
8. Bronzer Outer V

The matte bronzer already in your makeup bag can stand in for a shadow in the outer V and above the outer crease. Pick one with no shimmer, since sparkle catches on the hood. A powder in a soft brown-tan shade usually works better than a very orange one.
Use a small fluffy brush, tap off the excess, and place color only on the outer third of the eye. Start at the outer corner, sweep it up and slightly inward above the crease, then blend the edges until it fades.
The result varies with undertone. A bronzer that looks warm and soft on one person can look muddy or gray on another, so test it in daylight, beside a window, before you leave the house. Keep the center of the lid plain.
9. Baked Shimmer Center

Artists disagree about shimmer. Some allow it on the center of the lid, while other sources say to keep the whole lid matte. The decision comes down to lid texture: smooth lids can usually handle a little, while crepey lids often show every crinkle.
If you want to test it, choose a finely milled baked or satin shade in champagne or bronze and press it only on the center of the lid with a fingertip. On crepey lids, try satin before shimmer. Keep matte shadow on the hood and crease, and check the result in daylight with your eyes open.
- Skip chunky glitter.
- Skip pressed frost.
- Skip shimmer on the fold, where it emphasizes the line.
10. Curled Lashes, Waterproof Mascara
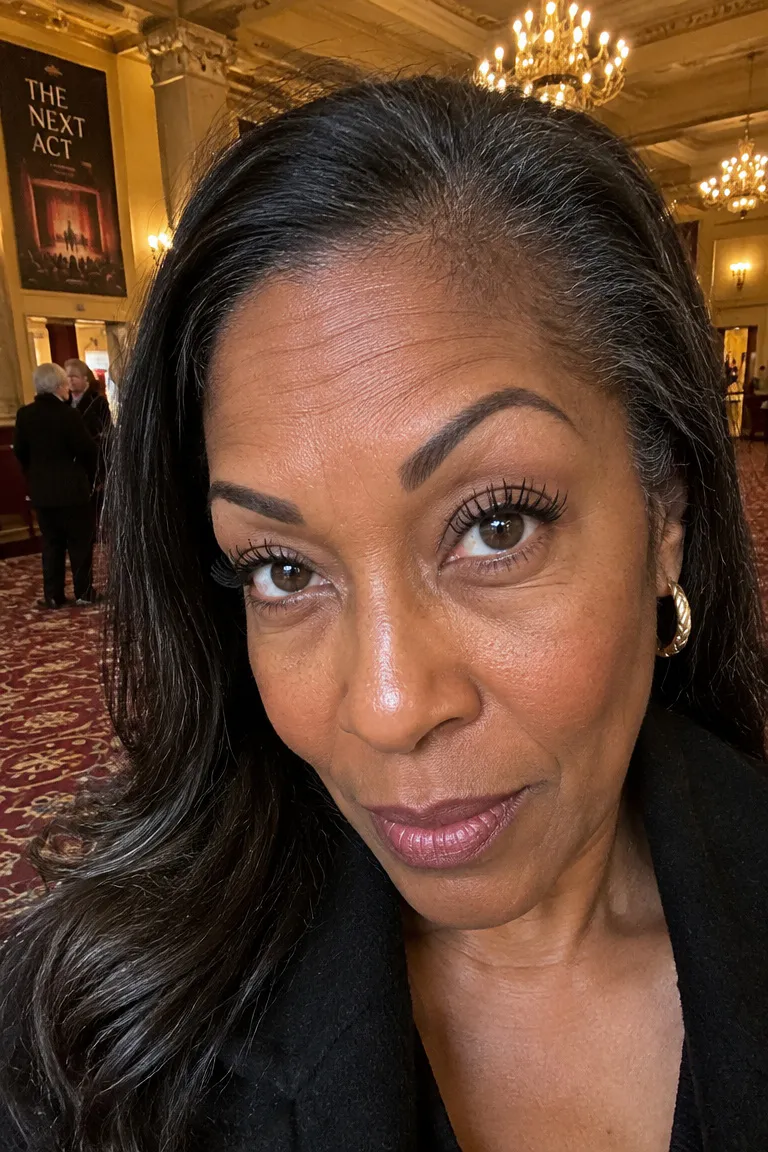
Smudges on the hood usually come from lashes that point straight out or down and brush the lid with every blink. Curl first, then use waterproof mascara on the upper lashes only. Skip the lower lashes so nothing transfers under the eye.
Place the curler at the base of the lashes with your lid relaxed, squeeze, and hold for a few seconds. Wiggle the mascara wand at the roots before pulling it through. One coat gives clean, separated lashes, and a second coat only on the outer half adds length without clumping.
Heavy false lashes can weigh the eye down, so skip full strips. If you want more, use a lightweight option or individual lashes at the outer corners. Waterproof formulas need a dedicated remover at night, so keep one on hand.
11. Rose-Brown Monochrome

One color family looks cohesive because there’s no contrast fighting the fold. Use matte rose-brown or soft brown shades in three depths from a single palette. Warmer rose-browns tend to suit warm undertones, while cooler, dustier shades sit better on cool ones.
Try both against your skin in daylight before deciding.
- Lid: lightest dusty rose, patted on with a fingertip or brush.
- Crease: the mid rose-brown, blended up and out above the fold.
- Outer corner: the deepest shade, kept to the outer third and blended into the crease color.
Use the same fluffy brush for all three steps, wiping it on a tissue between shades. That’s enough to keep the gradient soft.
12. Brow Bone Shadow Shape

The natural shadow under your brow bone sits in a specific spot, and following it gives the look of more lid space. Use a matte shade about half a step darker than your skin. Sweep a fluffy brush along that hollow and blend it upward until it fades.
If you wear glasses, put them on and check the mirror. Frame lines can cut across the shadow or hide it entirely, so adjust the shape to sit above or below the rim. Hair that falls over the temple can also cover the outer end of this shading, and these face-framing bob cuts for fine curly hair keep that area in mind.
Keep the lid itself light and neutral, so the shadow above it reads as space.
13. Lower Lash Smudge

Most of the ideas so far work on the upper lid. This one draws the eye up and out from below. Smudge your crease shade along the lower lashes, then sweep it up at the outer corner, only as wide as the brush, so it meets the crease color.
Use a small angled or pencil brush and keep the line thin. A heavy lower lid pulls the eye down, which works against a hooded shape. Set the smudge with a matching powder so it doesn’t travel.
Fine lines under the eye: If product collects in lines, switch to a dry brush and use less shadow. Tap off the brush first and build the color in the outer half only.
14. Plum Above the Crease
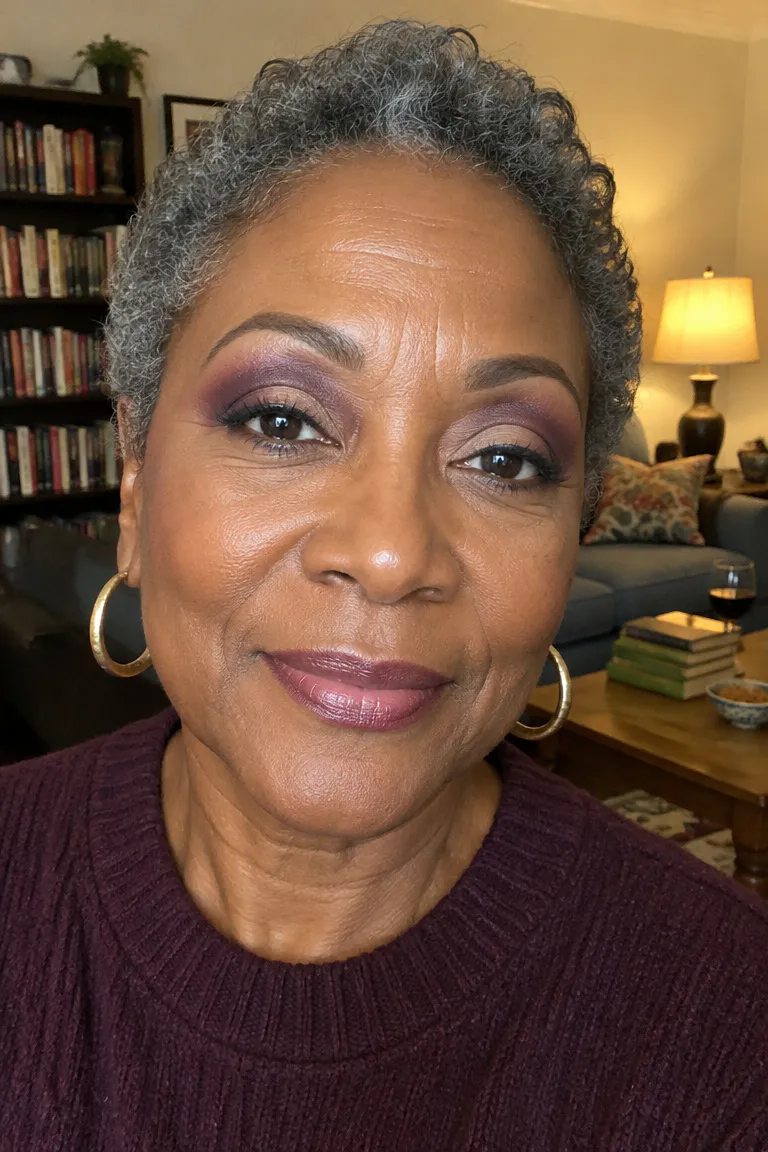
This is an editorial suggestion, not a source claim: deep plum or deep green matte shadow placed above the crease and in the outer V, with a neutral lid, adds definition. Dark color all over the lid, on the other hand, can make the eye look smaller. Keep the lid beige or taupe, and the eye keeps its size.
Start with a transition shade, such as a soft taupe, blended just above the fold. Then pick up the plum on a small fluffy brush with a light hand and press it into the outer V and above the crease, building in thin layers.
Pair it with a thin dark line at the upper lashes and black mascara. It suits evenings or any time you want a statement.
Pick One Look to Test First
Pick one shade, a matte taupe, and one brush, a fluffy blending brush, and try the raised crease in daylight with your eyes open. If the color still vanishes after one blink, move it higher before you change products.