Foundation that looks even at the bathroom mirror can settle into fine lines by lunch, and a concealer one shade too light can make dark spots stand out more instead of less. Here’s a simple decision rule: if your skin feels dry or tight by midday, build looks from cream and liquid products. If you get shiny, keep the glow to your cheekbones and let the rest of the face stay light.
You can pick a look by the minutes you have, the coverage you want, and which feature leads: skin, cheeks, eyes, or lips. Shade notes are written as families to test on your own skin, because no single shade works for every deeper skin tone. Each look also has a texture tip for dry or crepey areas and a rough idea of how long it lasts before a touch-up.
1. Five-Minute Skin Tint
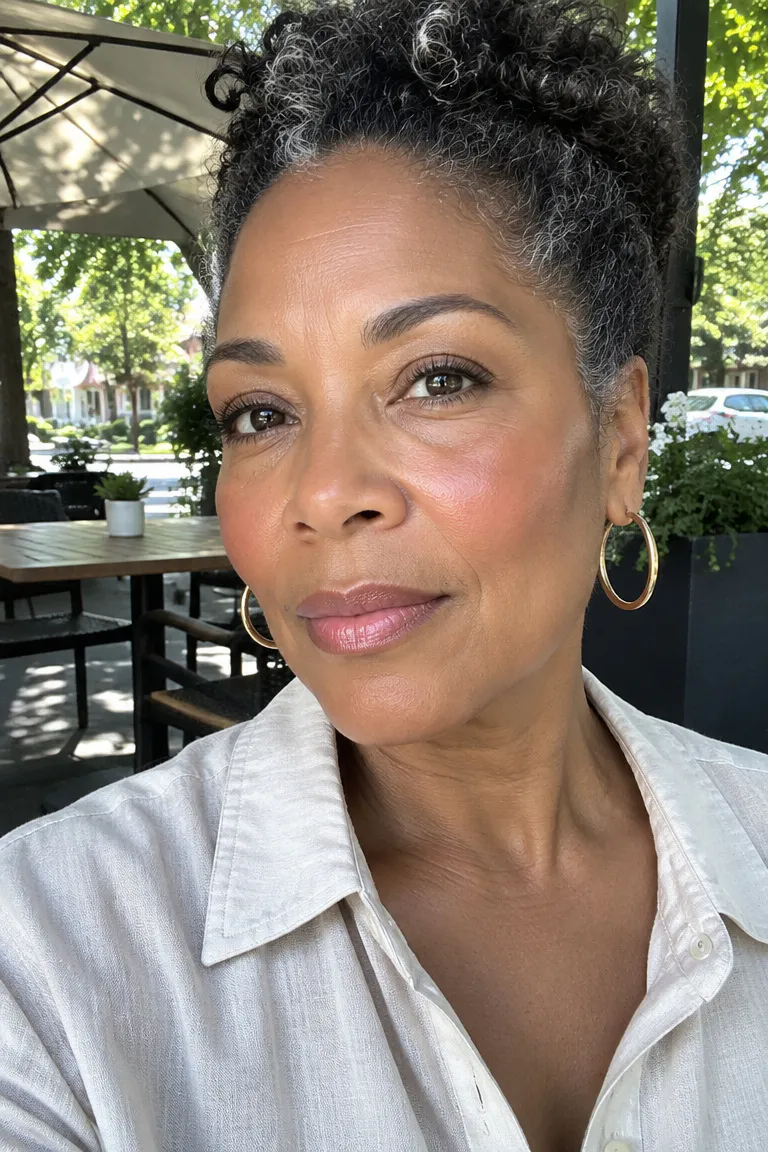
Moisturizer, then tint, then a damp sponge. The whole routine takes about five minutes.
- Smooth moisturizer over your face and neck, then give it a minute to sink in while you fill in your brows.
- Dot a skin tint or CC cream on the forehead, cheeks, nose, and chin, and blend outward from the center with your fingertips.
- Press a damp beauty sponge over the skin to pick up streaks, especially near the nose and hairline.
- Tap cream blush onto the upper cheeks.
A tint gives lighter coverage than foundation, so fine lines have less product to settle into. It works best for normal to dry skin and for mornings with no time to spare. Match the shade along your jawline in daylight.
Skip the heavy dusting of setting powder on top. It flattens the sheen and can grab onto dry patches by afternoon. If you shine, press a little powder at the sides of the nose only.
Drugstore tints can handle even tone, and pricier ones sometimes add more shades or finish options. Check the current shade range and price before you buy, since both change and no product is named here.
2. Concealer-Only Bare Glow
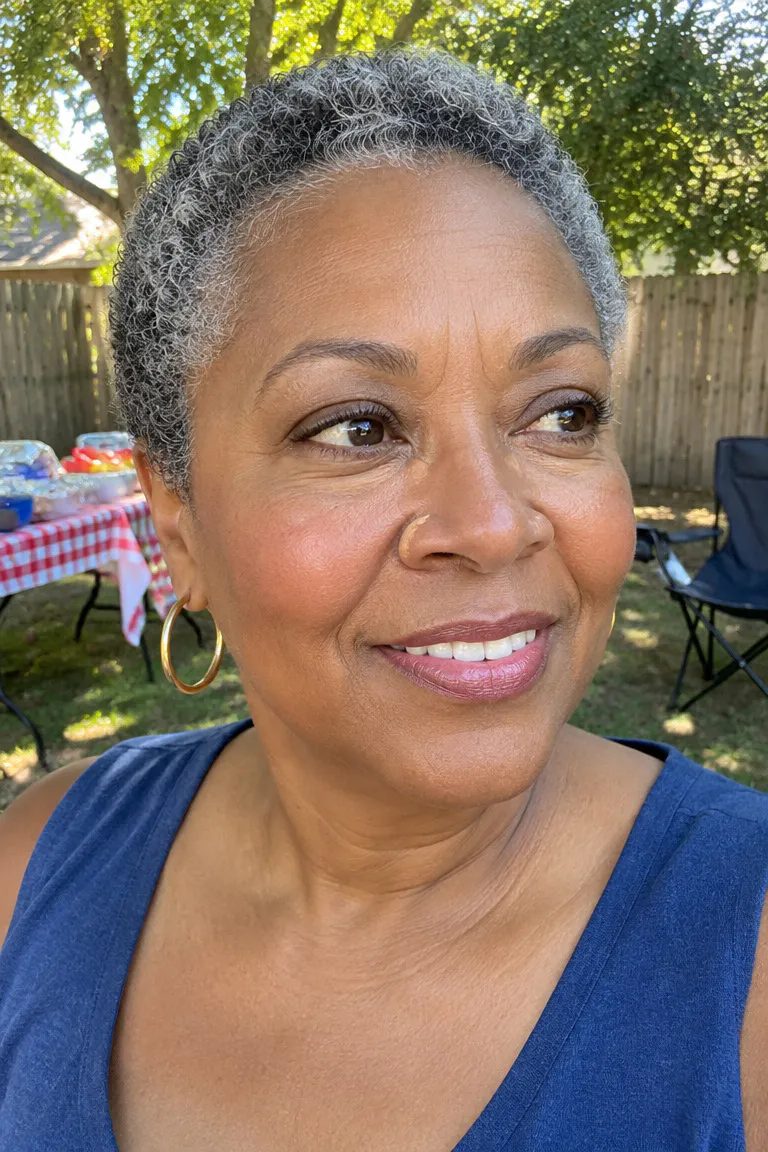
Concealer goes only on dark spots and under-eyes, and the rest of your skin shows through. It takes about three minutes and costs the least of any look here.
Choose a concealer that matches your skin exactly, not one shade lighter. On deeper skin, a lighter shade turns a dark spot into a pale patch that draws more attention than the spot did. An exact match lets the spot recede.
Shade check: Swipe a stripe along your collarbone, not the back of your hand, which is often a different color from your face. Look at it in daylight after a minute. Then check undertone: if the swatch looks grayish or chalky, try a warmer shade, and if it looks orange or red, try one that’s more neutral.
Dab concealer on with a ring finger or small brush, then pat the edges until they disappear. Add a touch of cream blush and leave everything else bare. Expect a few hours of wear before the under-eye needs a quick pat.
3. Dewy Hydrated Base
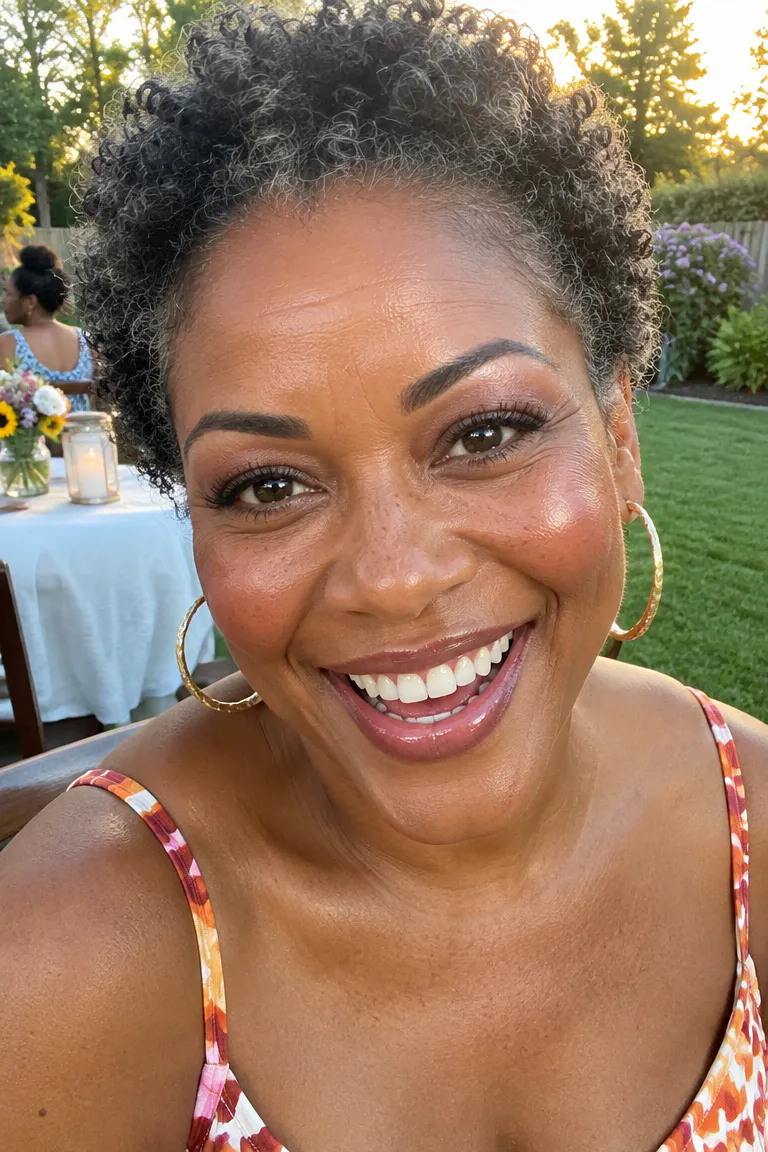
This look is built for dry skin and cooler months, when skin tends to lose moisture and powder-heavy bases can look rough. The prep stack has three layers:
- A hydrating moisturizer or primer, pressed in and left for a minute
- A thin layer of liquid base, applied with fingers or a damp sponge
- A cream highlighter, dabbed on with a fingertip
Put the highlighter on the tops of the cheekbones, the inner corners of the eyes, and the cupid’s bow. Keep shimmer off the forehead, smile lines, and brow bone, where it can emphasize texture. Finish with a soft balm blush and a clear gloss.
Skip fragranced prep products and anything that stings. Patch-test new ones on your inner forearm for a day or two before they go on your face. A dewy base usually lasts through a morning or afternoon, and a tap of highlighter revives it.
4. Cheeky Temple Flush

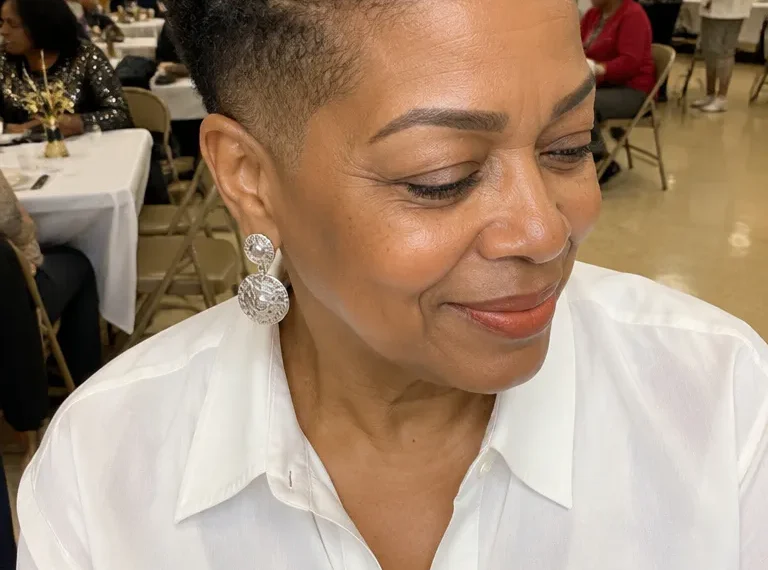
Cream blush goes high on the cheekbone and sweeps toward the temples, not onto the apples of the cheeks. The upward angle follows the bone and keeps color away from smile lines, where it can settle into creases. If your hair sits close to the temples, as it does with a short taper, more of the sweep shows, and these short tapered cuts for gray coily hair give a sense of how much of the face is exposed.
Test these shade families on your cheek, not your hand:
- Warm peach: soft and easy to control, a gentle place to start
- Cinnamon: earthy and warm, useful if peach disappears on you
- Brick: more depth while staying warm
- Berry: a richer pop, best with visible red in it rather than gray
- Rich brown: a sculpted flush that needs careful blending
To avoid an ashy or muddy result, choose a shade with visible warmth, build in thin layers, and tap with your fingertips so the color melts into the base. Pinterest has reported rising searches for dusty rose, mauve, and peach blush, and dusty rose and mauve are worth checking for a gray lean on your skin. Powder blush is an optional light layer over the cream if you want it to last longer.
5. Sun-Warmed Peach Glow
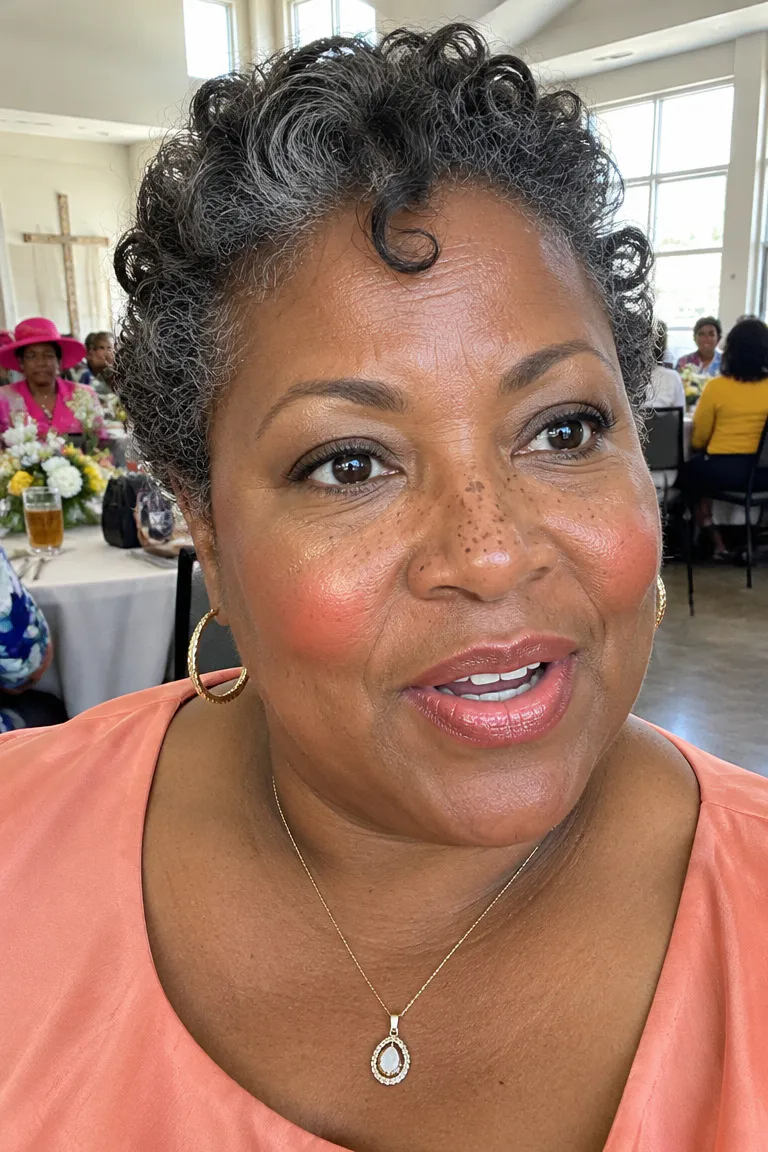
Heat and humidity can make traditional foundation look cakey or slide, so this look uses a light base, such as a skin tint or a sheer layer of liquid foundation. The color does the work instead.
Blend a peach or coral cream blush over the cheeks and across the bridge of the nose. Add a golden cream highlight on the tops of the cheekbones, then finish with a peachy tinted lip balm.
It’s a good fit if your skin runs oily, if you’ll be outdoors, or if you need the face to hold up for many hours.
Midday touch-up: Blot the T-zone with a tissue first. If it still looks shiny, press a tiny amount of powder on the T-zone only, or skip powder entirely. Then tap a little cream blush back on with a fingertip rather than rubbing it in.
6. Dark Spot Correction

Peach or orange corrector goes on the spot first, then a thin tap of concealer that matches the surrounding skin exactly. On deeper skin, green and purple correctors are often the wrong choice because they can leave a gray cast over the spot.
- Dot a small amount of corrector on the spot only, even smaller than seems necessary.
- Tap with a fingertip until the edges fade into the skin.
- Tap a thin layer of skin-matched concealer over it.
- Check in daylight and stop there.
The goal is evening, not covering. If a little of the spot still shows through, it’ll look more like skin than a thick layer of product will, and thin layers hold up better as the day goes on.
Patch-test first: Irritating formulas can leave new dark marks on skin that’s prone to them. Skip harsh or fragranced products, patch-test anything new, and tap instead of rubbing.
7. Brightened Under-Eyes
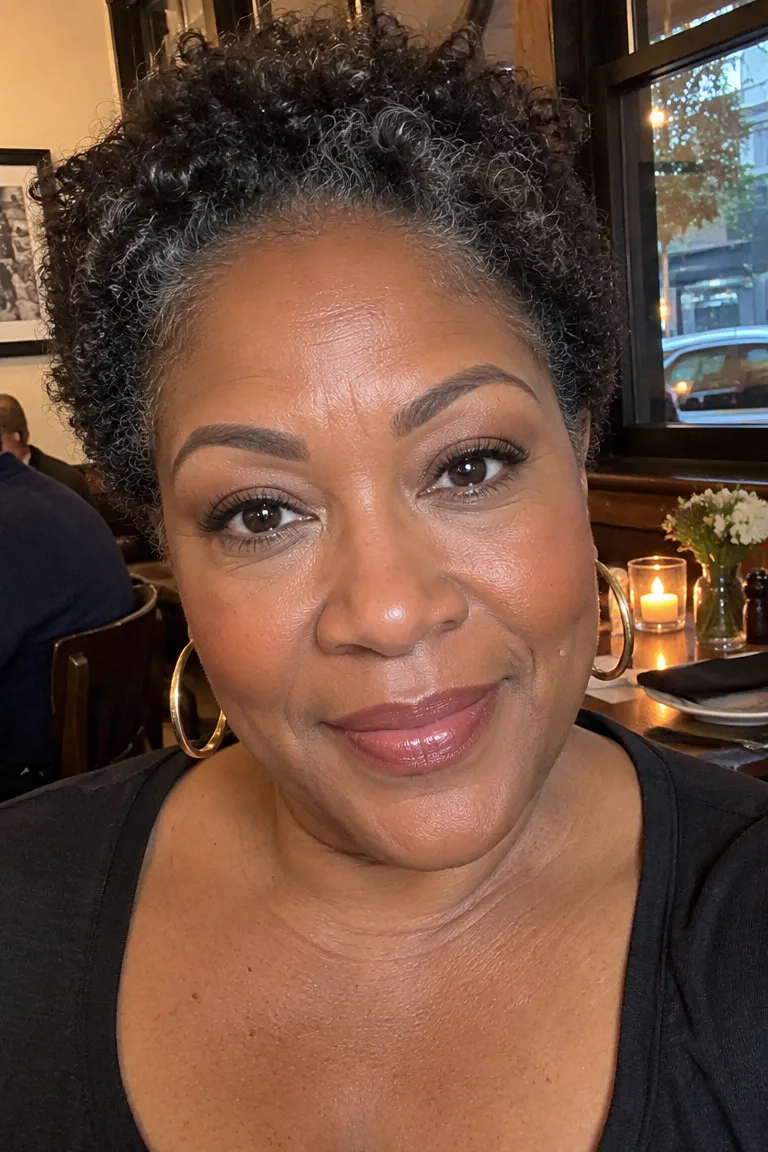
Where look 6 treats scattered spots, this one covers a single zone, and it takes about two minutes. Apply corrector, then a thin layer of concealer, and tap both with a ring finger or damp sponge.
Creasing usually comes from too much product. Use less than you think you need, choose a cream formula, and skip heavy powder over the area. If it creases by midday, press the lines gently with a clean ring finger.
Check in daylight to decide whether you need corrector at all. Skip it if:
- The under-eye is only slightly deeper than your cheek, so a skin-matched concealer alone will do
- Your skin looks dry or papery there, since an extra layer can sit on top and emphasize that
Corrector earns its place when the area is clearly darker than the rest of your face, with a brown or purple-brown cast.
8. Soft Brown Eye
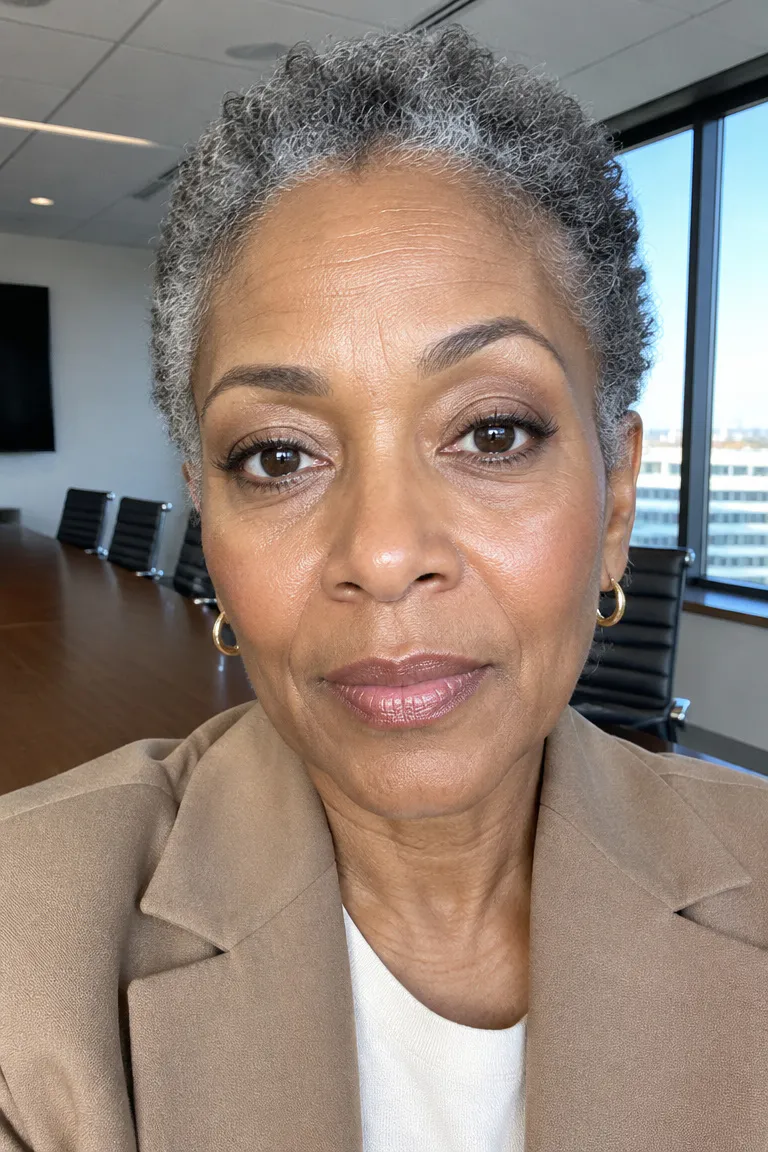
Use a cream or gel shadow in warm champagne or soft beige across the lid. Add brown mascara and, if you like, a brown liner smudged along the upper lash line. Powder shadow tends to cling to dry or crepey lids, so cream is the safer texture here.
Check shade fit on your own skin, because no champagne or beige suits every deep tone. A shade that’s too pale or gray can look chalky on the lid, so swatch it and look for warmth. For placement that works around a hood, these hooded eye makeup ideas for women over 50 go into more detail.
If your brows have thinned, fill them with short, hair-like strokes in a shade close to your natural brow. Go lighter than you think and build only where the gaps are.
9. Navy Mascara, Bare Lids
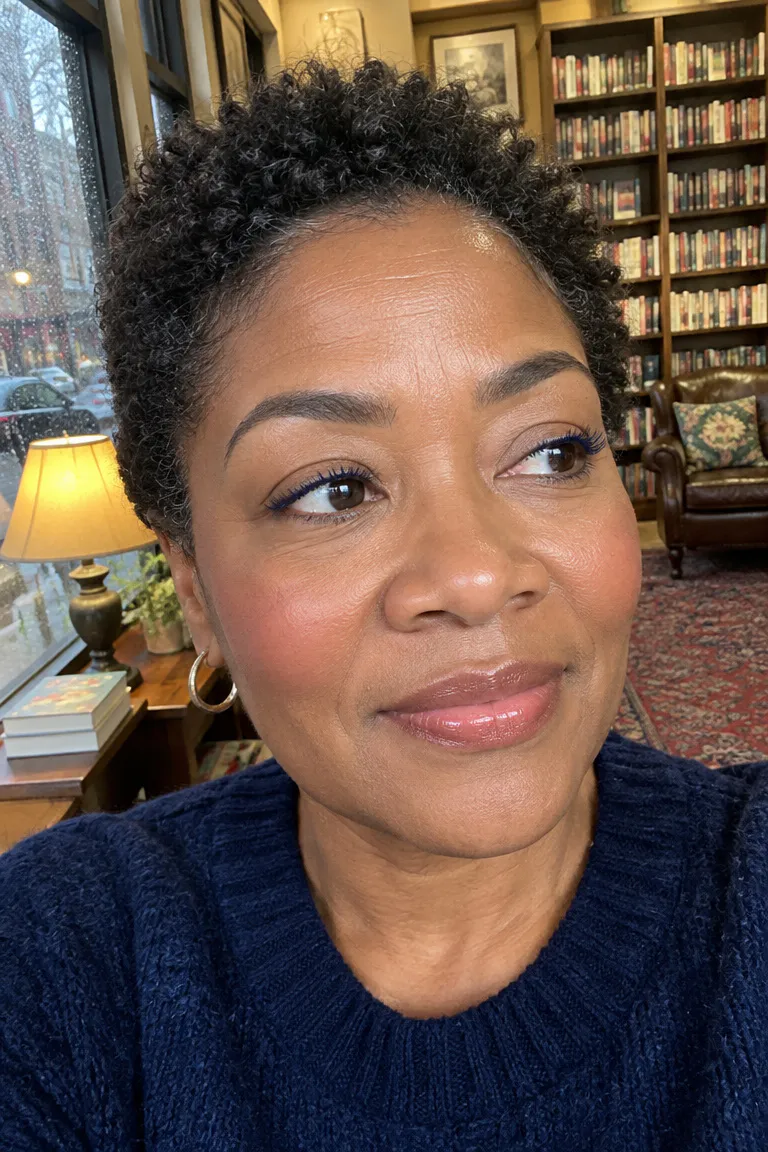
This is the lowest-effort eye option: no shadow, just mascara. Navy or brown defines lashes with a softer look than black, though navy is an option, not a rule. Skip it if brown feels more like you.
Unlike look 8, there’s no lid color at all, so it’s good for days with little time. Add a few soft brow strokes and a light cream blush, and you’re done in about two minutes.
For hooded eyes, wiggle the wand at the lash roots, then sweep outward. Wait for the first coat to set before adding a second, which cuts down on transfer onto the lid.
For a clump check, look at the lashes in a mirror right after the second coat. If any have stuck together, comb through them with a clean spoolie while the formula is still wet.
10. Glossy Warm Nude Lip

The product format matters as much as the shade. Dry matte liquid lipsticks can emphasize lines because they sit on the surface and cling to creases, so look for creamier textures.
| Product | Finish | Best for | Watch for |
|---|---|---|---|
| Gloss | High shine | A fuller look and light color | Can drift into lines if applied thickly |
| Tinted balm | Sheer, soft | Comfort and a quick swipe | Needs frequent reapplication |
| Lip oil | Slick, glassy | Dry lips and minimal color | Little pigment on its own |
| Satin lipstick | Soft sheen | The most color and the longest wear | Can feel heavy if lips are dry |
I’m not naming a best nude, because it depends on your own lip color and skin tone. Swipe a shade on your inner wrist or along the edge of your lip first, since the center of the lip can read differently.
Before applying, wear a lip balm for a few minutes, then blot off the excess. If lips feel irritated, switch to a fragrance-free formula.
11. Rosy Blurred Lip

One focal point does the work here. Dab a rose or berry tint onto the center of your lips with a fingertip and tap it outward to blur the edges. Leave your eyes bare, with just a touch of brown mascara.
- Dab color on the center of both lips.
- Press your lips together, then tap the edges with a clean finger.
- Blot with a tissue for a soft stain.
To keep color from feathering into the fine lines around the mouth, use less product than you’d expect and keep it away from the lip border. A thin layer of balm on top adds comfort and helps the tint last.
Expect to reapply after eating or drinking, or about every two to three hours. Look 10 is a glossy warm nude with light color, while this one has more color payoff and a diffused, cushiony finish.
12. Luminous Matte Base
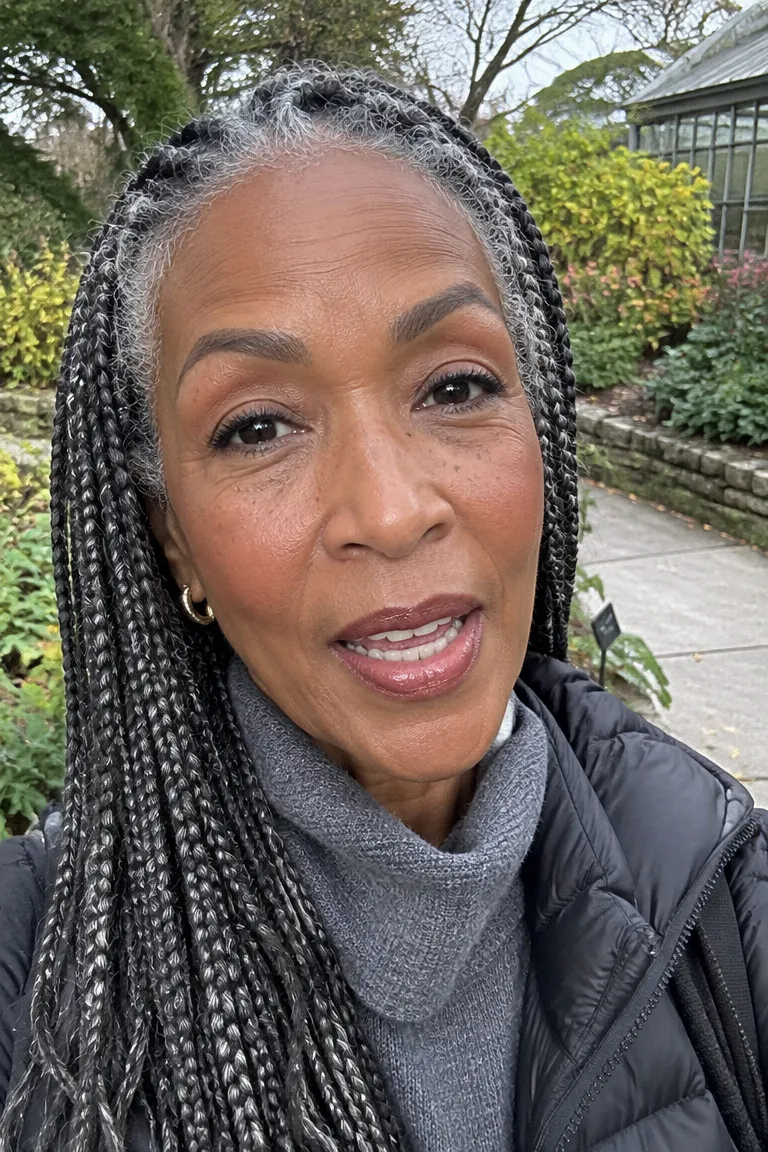
If you like how matte foundation wears but not how flat it looks, there’s a trade-off to weigh. One makeup artist mixes a drop of facial oil into matte foundation for a soft sheen. Other sources say full matte can look dull on mature skin.
Decide by skin type. Choose matte if your skin is oily and you want long wear. Choose satin or luminous if your skin is dry.
If you try the oil trick, mix only one drop on the back of your hand and test it along your jaw. Oil can shorten wear time, so keep it light on an oily T-zone.
Add a cream bronzer, tapped along the cheekbones, plus a soft blush and a satin-finish lip.
Seasonal shade swap: Keep two foundation shades and mix them as your skin shifts lighter or darker through the year. Drugstore lines can give you a workable pair, while pricier ones sometimes offer more shades and finishes. Verify the current prices and shade ranges before buying.
Choosing Your First Look
If you’ve only got five minutes, start with look 1 or look 9. If dry skin is your main problem, try look 3, and if dark spots are, try look 6. A cream blush, a skin-matched concealer, and a tinted balm in one small pouch will cover most of these.