Senegalese twists can look weightless in a photo and feel heavy by day three. Usually the cause is tight hairline parts, too much extension hair, or a length your edges don’t want to carry. This list stays between a chin-length bob and mid-back, and each style comes with a part size, a reason it stays lighter, one thing to watch for, and what to say in the chair.
Use one rule while you scroll: if a style needs smaller parts than you’ve comfortably worn before, go up one size and keep the length shorter. You’ll also find typical US time and price ranges, ways to blend natural gray without a full color commitment, and wear-time limits so you can plan the takedown before you book.
1. Shoulder-Length Medium Twists
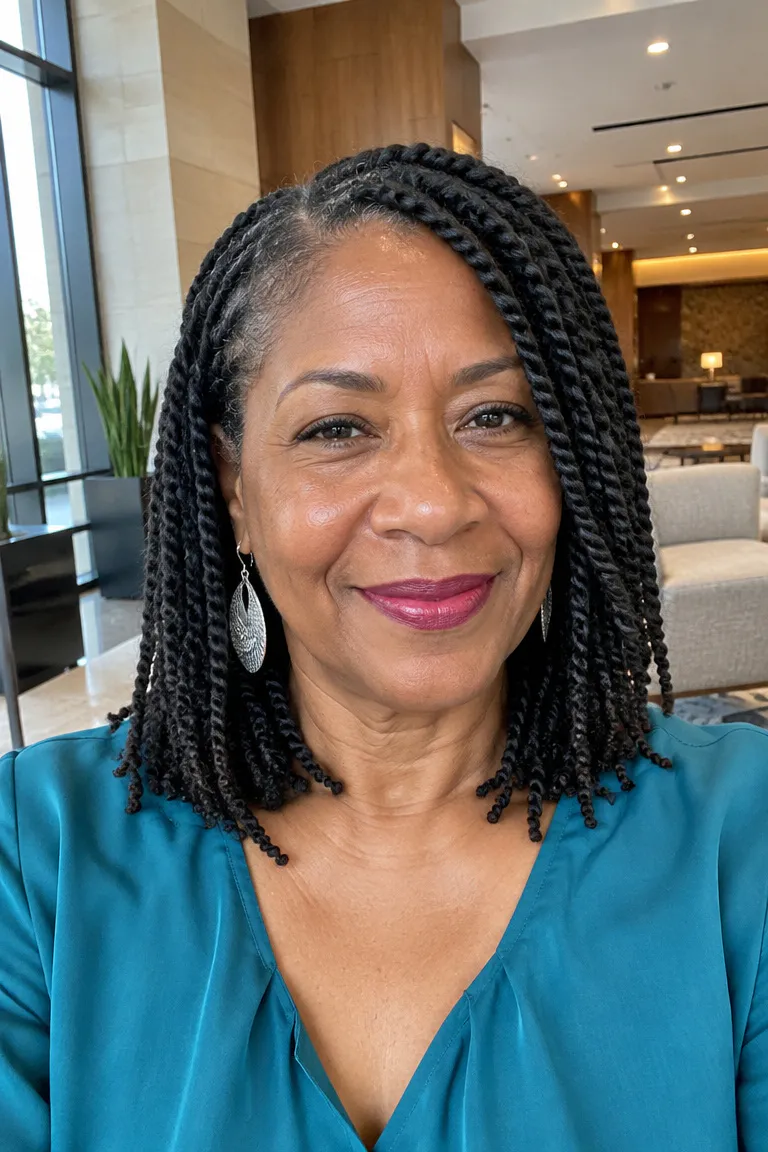
Think collarbone to just past the shoulder, medium parts, and a soft side part that doesn’t need a razor-sharp line. Medium is the middle ground. Smaller parts mean more roots to hold and more hours in the chair, while larger parts put more hair and more weight on each single root.
Typical US listings run roughly 4 to 6 hours for this size, though that varies by stylist and city. At this length the twists swing instead of hanging flat, so the style looks full without much extra hair at the ends. Ask for tapered tips if you want the bottom to feel lighter.
Tell your braider up front if your roots are relaxed, bleached, or heavily dyed. Those strands are more fragile, and the braider may adjust the part size or tension to suit them.
Ask your stylist: Request low tension at the hairline and lightweight extension hair at the front. Ask for slightly larger parts around the perimeter, and skip tiny twists packed along the edges to fake fullness. If the install pulls while you’re sitting there, say so right away so that section can be redone.
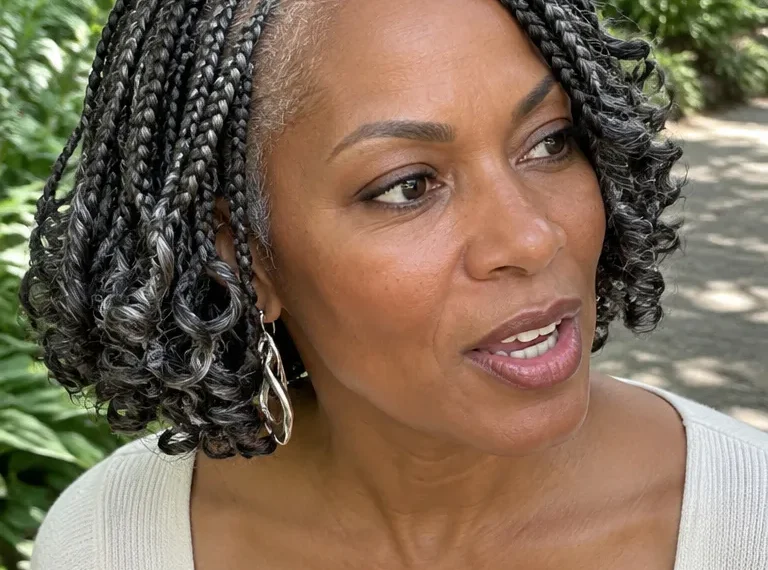
2. Senegalese Twist Bob
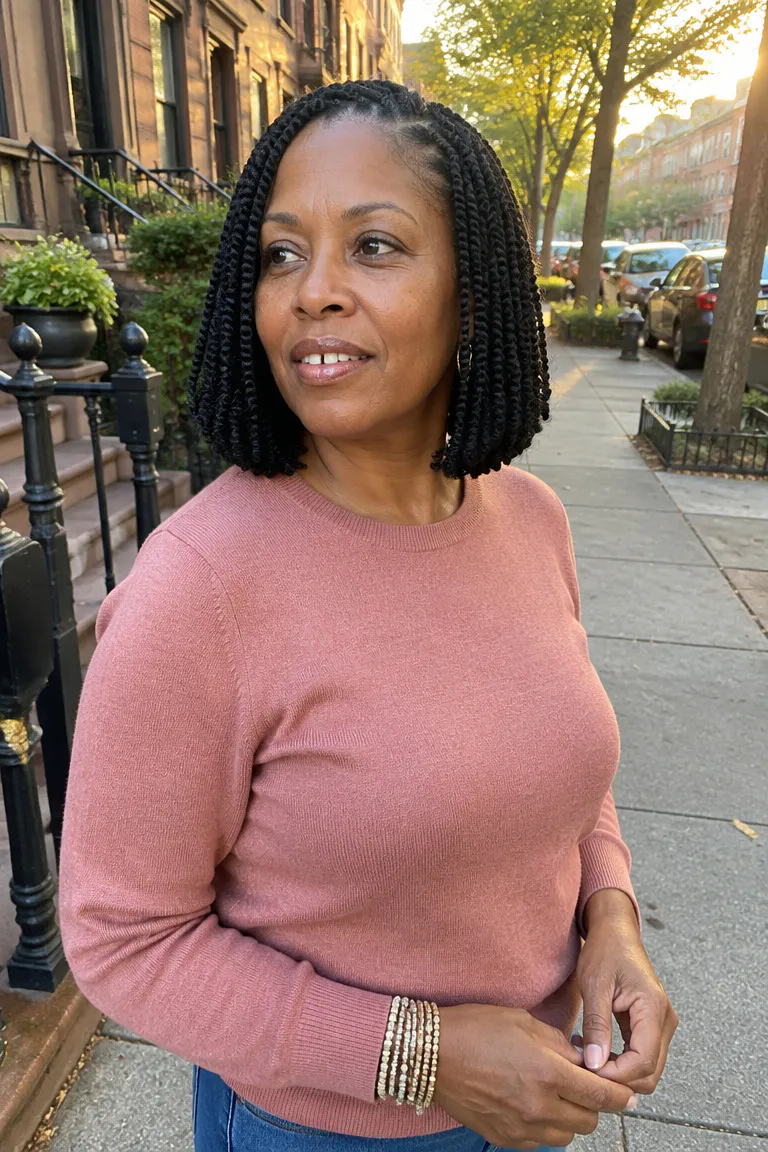
A bob is the lightest length on this list, so the choices come down to texture and finish. Jaw to collarbone is the usual range. Blunt ends give a clean, defined edge at the bottom, while slightly layered ends look softer and move more.
Loose ends stay straight and rope-like, and curly ends add bounce.
Twists unravel and fluff sooner than box braids, so the ends and hairline show wear first. Kinkier extension hair grips better and slips less, which helps a short set hold its shape. A bob is also the easiest length to keep off your neck in summer heat, or if long appointments are hard to sit through.
Maintenance tip: Re-twist loose hairline sections every 2 to 3 weeks, using water or a light mousse on your fingers rather than heavy gel. Fixing a few loosened twists early keeps the perimeter neat without redoing the whole set.
3. Small Crochet Senegalese Twists
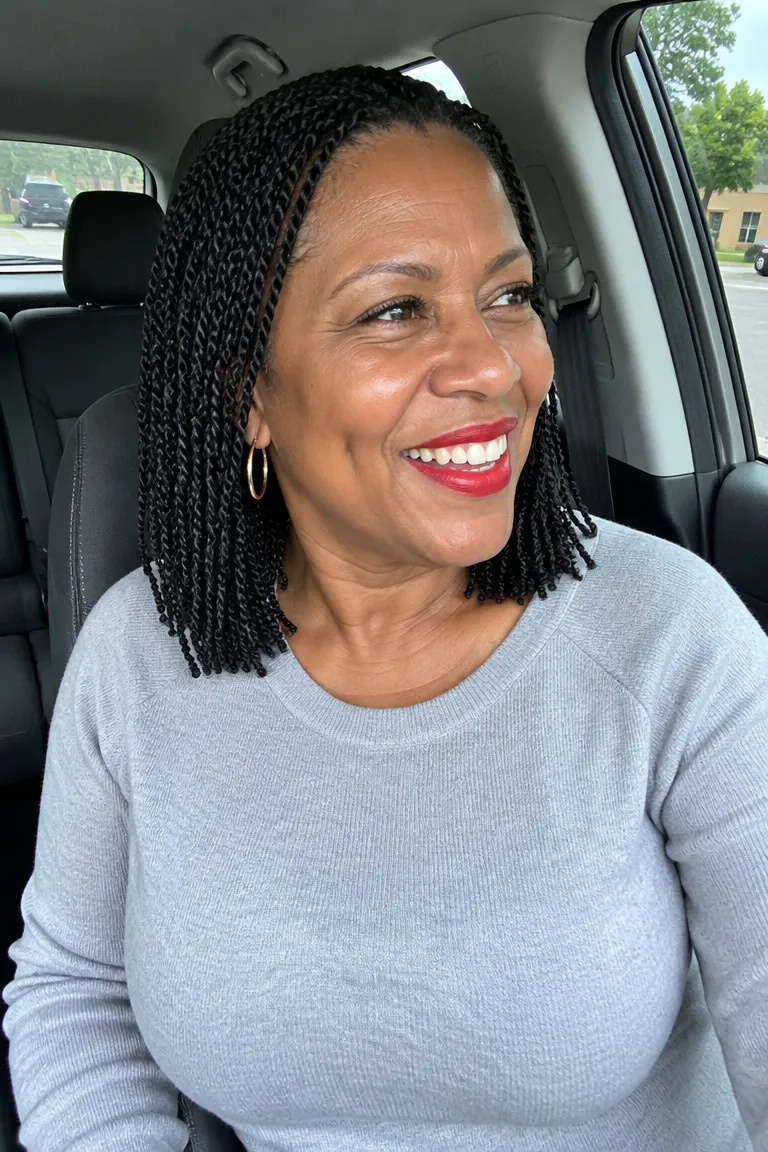
Individually twisted installs mean the braider twists extension hair into each section, starting at your root. Crochet means your own hair is braided into flat base lines, then pre-twisted hair is looped onto those lines with a latch hook. Because the twists arrive already made, crochet usually means less time in the chair.
Small to medium sizes suit shoulder length. Ask for loose base lines, since a tight base defeats the purpose, and confirm whether extension hair is included in the quote. Crochet can be a gentler option when your hairline feels tender, because the added hair isn’t braided into your roots.
If the soreness stays, see a dermatologist rather than waiting it out.
For more crochet options sorted by length and weight, browse these low-maintenance crochet braids for women over 60 before you book. The ranges below come from typical US marketplace listings and vary by stylist and city.
| Install | Typical chair time | Typical US price |
|---|---|---|
| Crochet, small to medium | About 2 to 3.5 hours | $120 to $180 |
| Individual, medium | About 4 to 6 hours | $180 to $260 |
| Individual, small or mini | About 5 to 8+ hours | $220 to $350+ |
4. Loose Low Bun With Twists
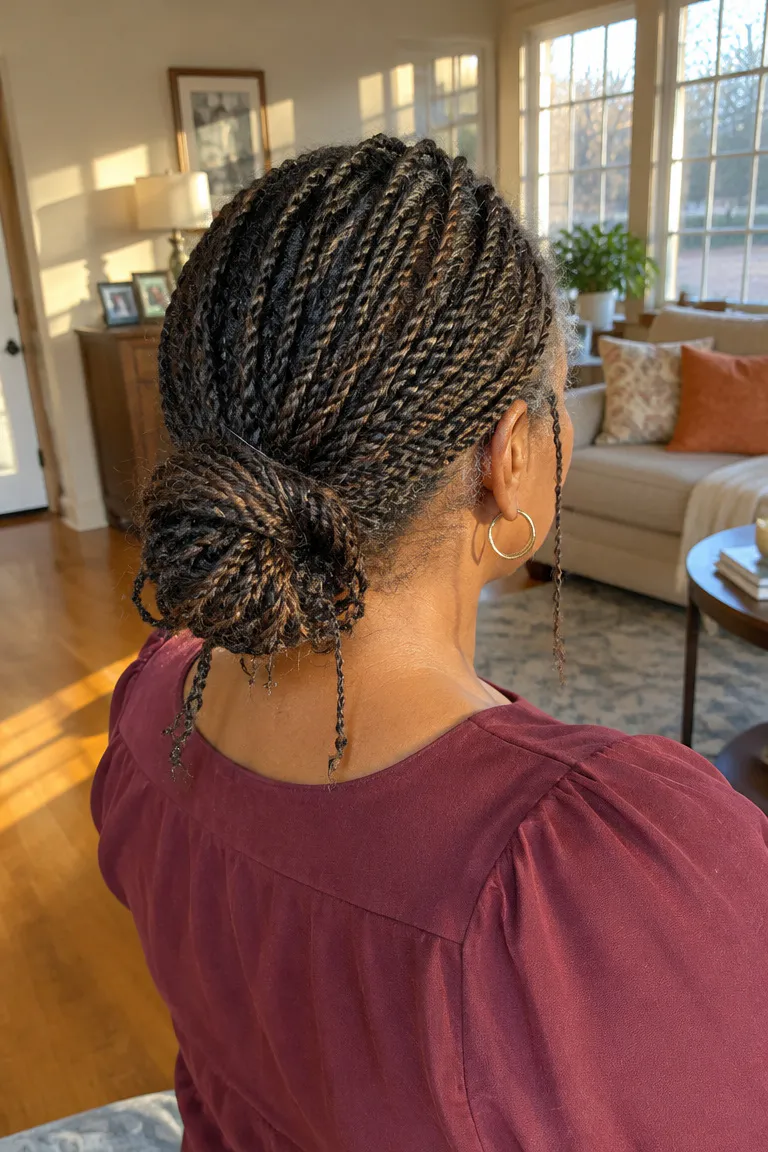
Start with mid-back medium twists. Small twists slip out of pins, and large ones resist bending, so medium is the easiest size to shape into a low bun at the nape. Skip the tight elastic and let a coil and a few pins do the holding.
- Gather the twists with your fingers at the nape, without pulling them back from the hairline.
- Loop the bundle into a loose coil and tuck the ends underneath.
- Push three or four pins through the twist ropes in the coil, not into the roots.
- Pull out a strand or two at each side if you want a softer outline.
Avoid yanking twists into a tight high bun or ponytail every day. The weight lands on the same roots each time, and the front edges take most of the pull.
Comfort check: Wear the bun for an hour. If you feel tugging at the nape or temples, or keep reaching up to adjust it, loosen the coil and move the pins.
5. Half-Up Twists With Crown Tie
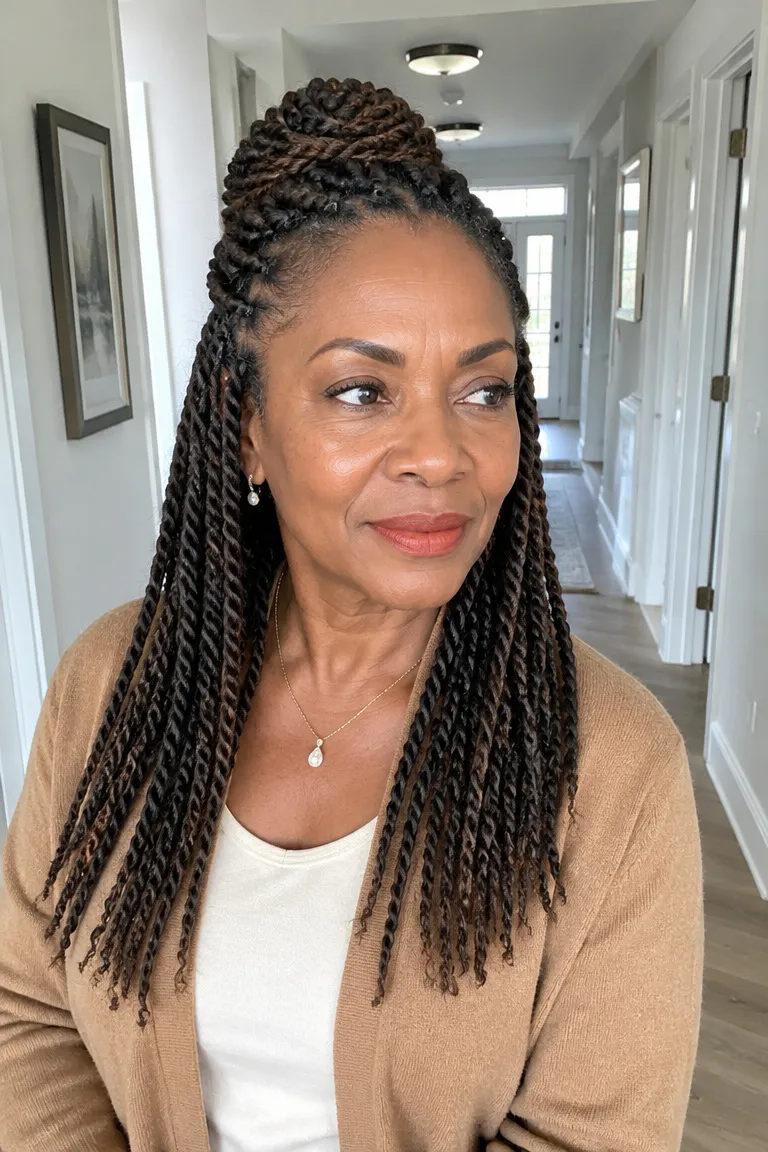
Gather only the top half of the twists at the crown and let the lower half hang. Pick a length between shoulder and mid-back. This lifts hair off your neck and shifts some of the weight away from the back of it.
Skip the high, tight knot, which tugs at the front edges. Instead, wrap a few twists around the base of the gathered section, tuck the ends in, and leave the front sections free. The routine takes about two minutes: gather, wrap, tuck, then pull a couple of face-side twists forward.
Tell your braider you plan to wear the crown pulled up. The crown and front twists need lightweight hair and enough length to be gathered without stretching, so nothing pulls at the root when you tie them.
6. Silver Accent Ropes Near Face
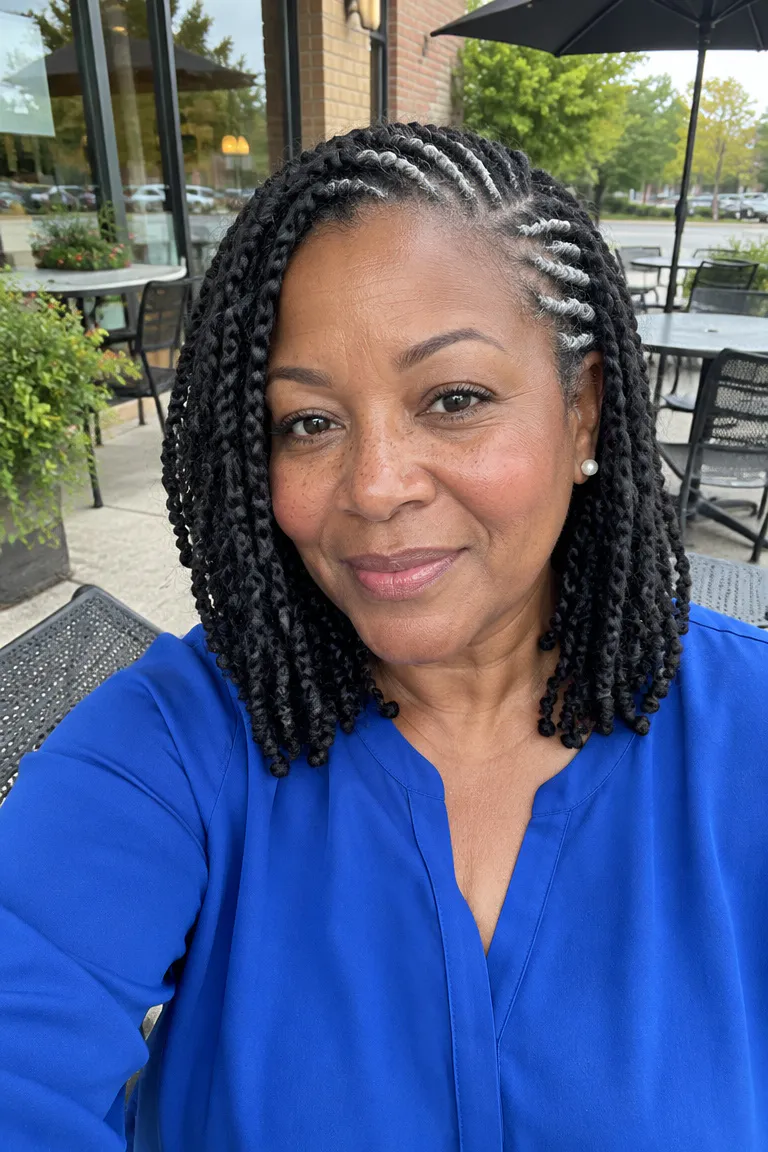
Five or six silver ropes read as an accent. A full panel starts to look like a color block. Place them along a side part or the front hairline, where natural gray tends to show first.
That’s a placement choice, not a rule about face shape.
Silver gives bold contrast against black twists. Salt-and-pepper mixes black and gray strands in the same rope, so it sits closer to natural gray. Matching the extension hair to your own gray means new growth blends in around week four instead of showing a hard line.
If your edges are the main concern, these low-tension gray braids that protect thin edges cover gentler parting and sizing.
Ask your stylist: Bring a photo of your gray, ideally taken in daylight, so the braider can match the shade. Ask for lightweight hair at the front, and agree on the number of silver ropes before the install starts.
7. Black-to-Gray Ombre Micro Twists
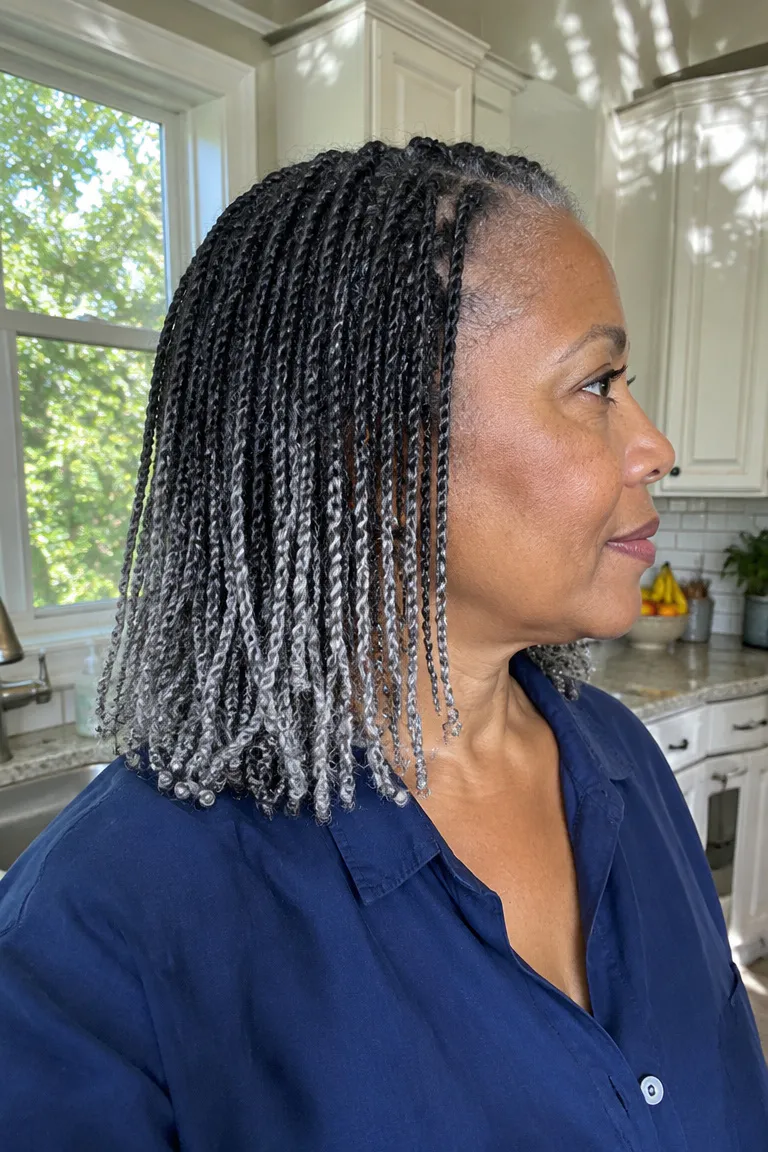
Small or micro twists with a gradual black-to-gray ombre give a neat, finer look at shoulder length. The trade is time and money. Expect more roots and often 5 to 8+ hours, with typical US listings around $220 to $350+.
Ask about breaks during a long sitting so you can stand and stretch.
Gray new growth gives you two ways to plan the color:
- If you have natural gray at the roots, keep the gray at the ends so the silver tips echo your own hair as it grows in.
- If your roots are mostly dark, choose an ombre that starts darker, with a longer black-to-charcoal stretch before the silver begins.
Don’t let anyone pack tiny twists along the edges for extra density. Keep the micro sizes in the interior and use larger parts around the perimeter.
8. Flat-Twist Base, Free Twists
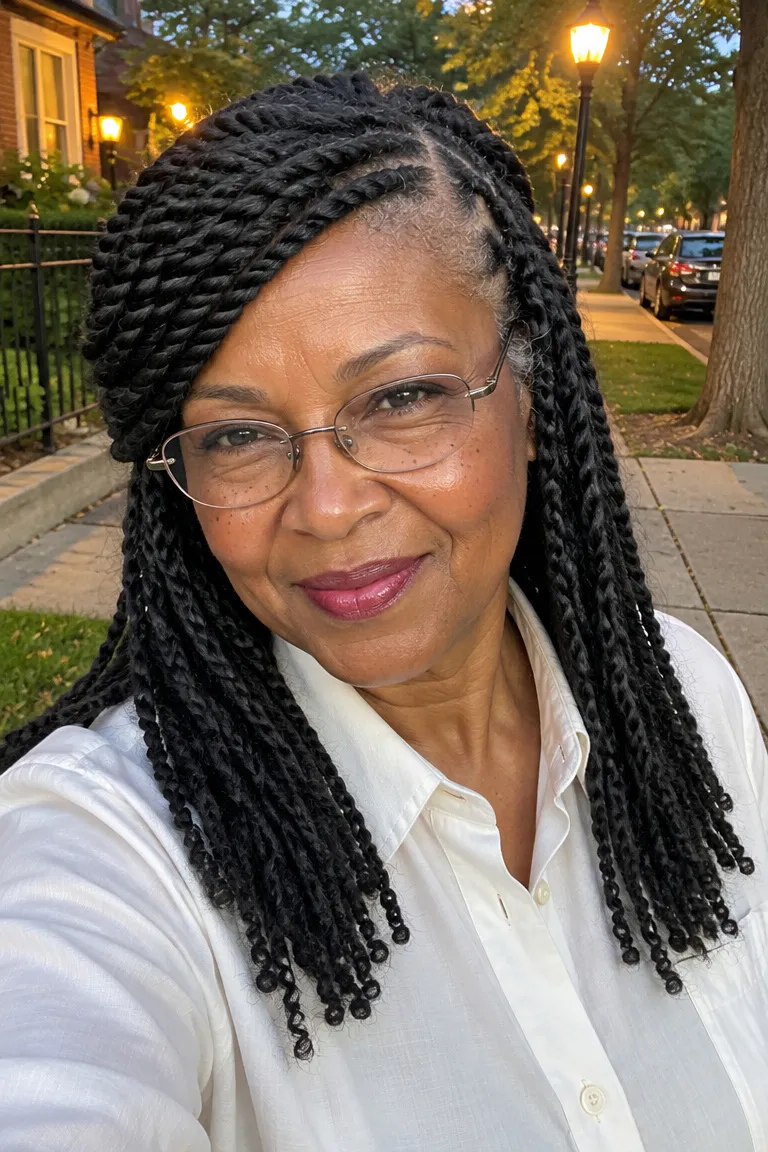
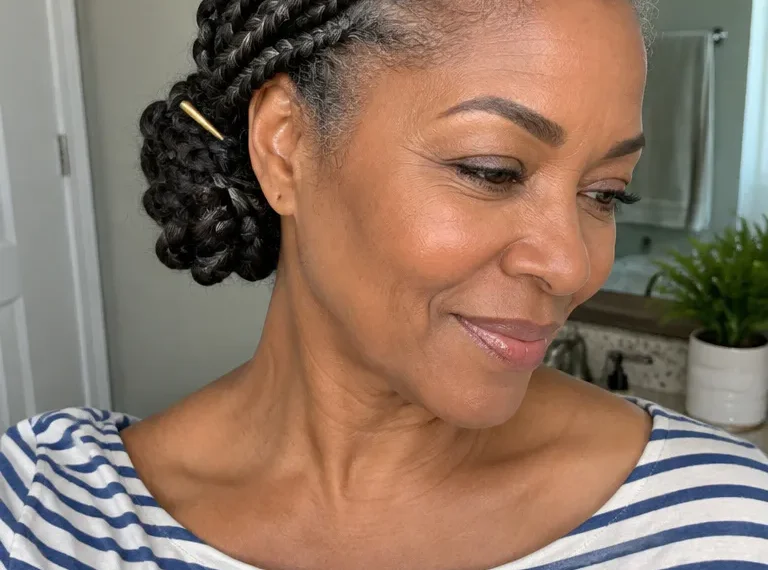
Two-strand flat twists or loose cornrows run along the front or crown, and the Senegalese twists fall free from the back. The flat section keeps the front tidy and gives the part line a clear shape. It’s a good choice if you want the front to stay neat as the back loosens.
Tight hairline cornrows are the risk here. Ask for wide, loose flat twists with soft tension and lightweight hair at the perimeter. Request three to five flat twists swept to one side, or two meeting at a center part, rather than a dense row of thin ones.
Comfort check: Your scalp shouldn’t feel tight, hot, or tender after the first day. If the flat twists pull, have them redone instead of waiting for them to loosen.
9. Silk Headwrap Over Twists
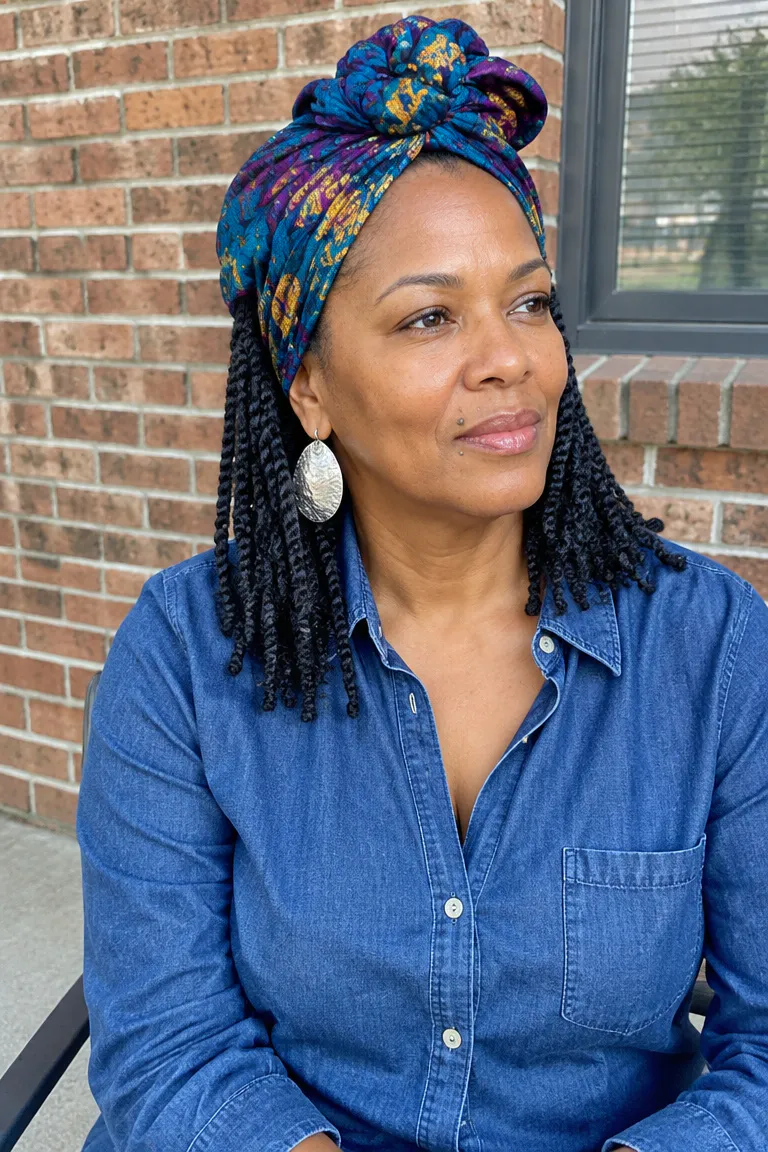
A loose silk or satin wrap over the crown or front, with the twists hanging below, hides frizz and new growth in weeks 4 to 6. Treat it as a hair accessory: fold it into a wide band and knot it at the front or crown. A few rules keep it comfortable:
- Tie it loosely enough that you can slide a finger underneath.
- Rest it on the crown, not pressed against the edges.
- Skip heavy gel or edge control under it, since sticky product makes the fabric slip and cling.
- Switch to a satin bonnet or loose scarf at night.
A few light cuffs on the twists add detail without much weight. Heavy beads at the ends pull on each twist and add up quickly at the nape, so limit them to a handful of twists if you wear them.
10. Long Mid-Back Twists
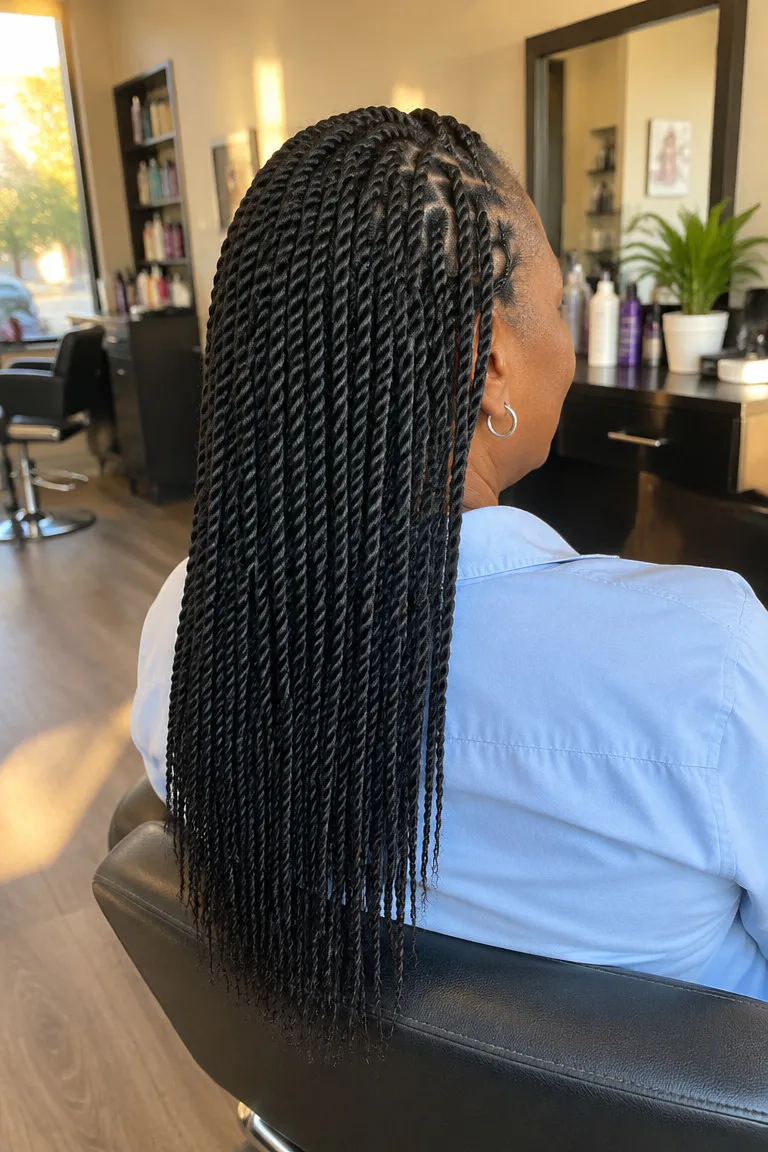
This is the heaviest style on the list. Length, wet hair, and shed hair all add weight, so stay at mid-back rather than waist length. Choose medium parts over jumbo, since a jumbo twist hangs from one large root.
Plan on 6 to 8 weeks at most. Some braiders say up to 10, but new growth makes twists heavier at the root. After takedown, wait 2 to 4 weeks before another tension style, wash with diluted shampoo, and dry thoroughly, since damp twists stay heavy.
If long still feels like too much, these lightweight braids for all-day comfort stay lighter at the root.
Ask your stylist: Ask for lighter hair near the front. Settle a takedown plan before the install: your removal date, whether you’ll do it yourself or return to the braider, and how long it takes.
Save This List for Your Braider
Screenshot the style you like and write four details under it: length, part size, how much hair goes at the front, and your takedown date. Hand that to your braider before the install so tension and weight are settled before you sit down.