A French curl braid can look light in a photo and still pull at your temples by day three if the length, part size, and pack count weren’t planned. Those same three details decide how much weight you carry and how much natural gray shows at the parts. You’ll be able to choose a length, a color blend, and a styling option before you book.
Use one rule to narrow the list: stay between chin and shoulder length for the lightest install, and match the gray in the braids to the gray you see at your own parts. Each look has a pack-count note, a comfort check, or a skip-if line. Pack counts shift with brand and curl fullness, so treat every number below as a question for your braider, not a promise.
1. Chin-Length Salt-and-Pepper Bob
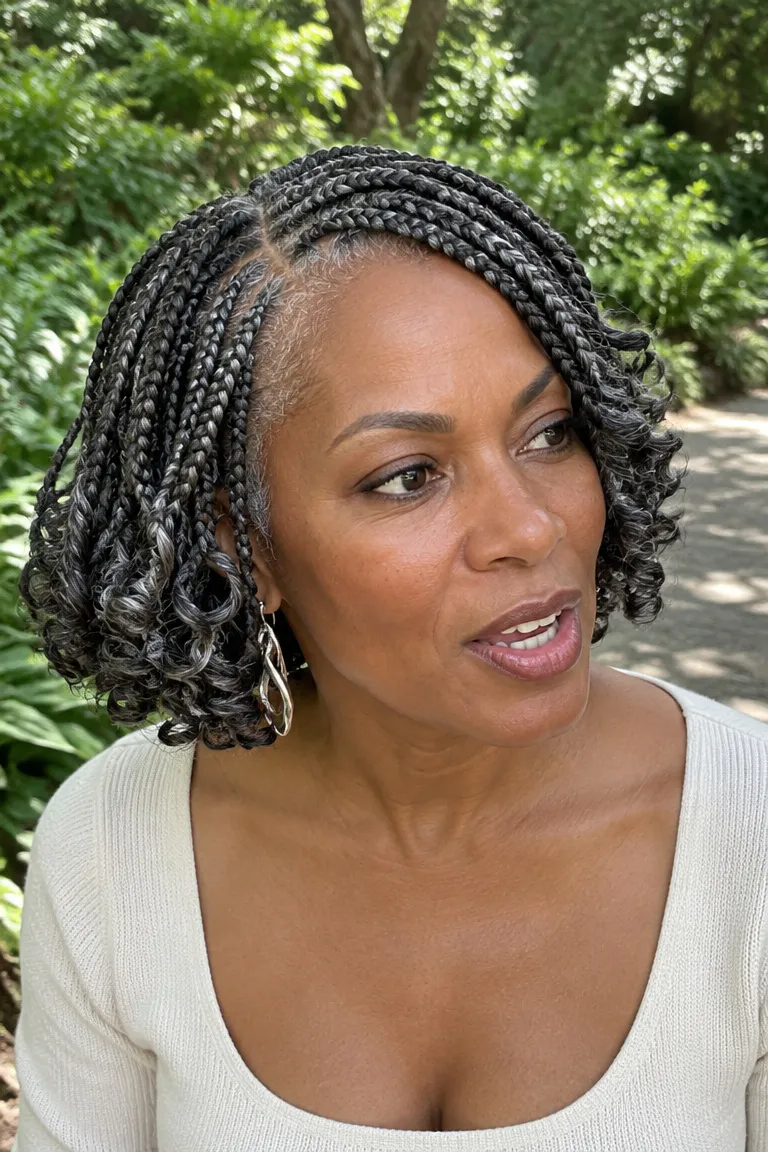
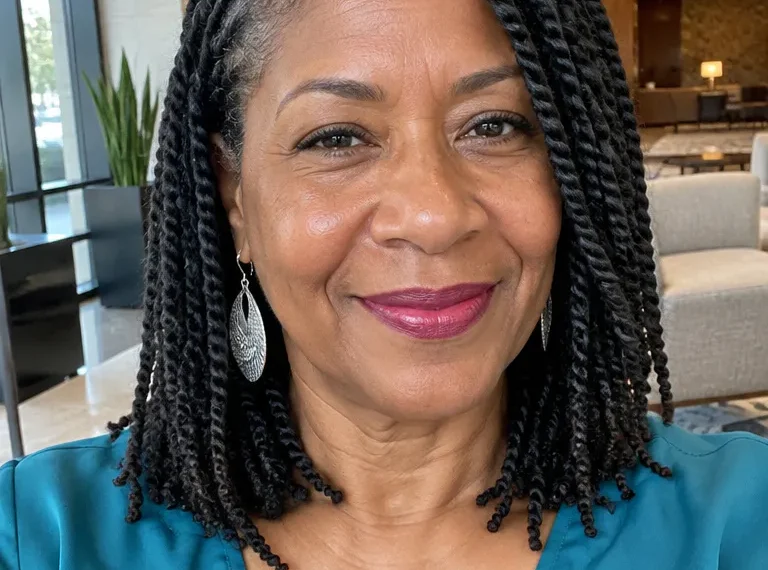
Chin length is the lightest French curl length on this list, so it goes first. Ask for medium parts and a deep side part. The curled ends will swing along your jaw, and the top will lie smooth across the front.
Shorter braids use fewer packs, often around 2 to 4 at this length, though brand and curl fullness change the count. Confirm it with your braider. Less hair per braid means less weight pulling on each root.
Pick a salt-and-pepper blend sized to your own gray. If roughly a quarter of your hair is gray, choose a pack that leans dark. If half or more is gray, an even mix will look more natural.
Check the pack in daylight first, because store lighting can push silver toward blue or yellow.
Comfort check: In the first days, notice whether the braids drag on your neck when you turn your head and whether the skin at your temples feels pulled. Tightness that hasn’t eased after a day or two is a reason to ask your braider to loosen those braids.
Skip this one if you want enough length to pull into a high bun or ponytail.
2. Dark Base With Silver Ends
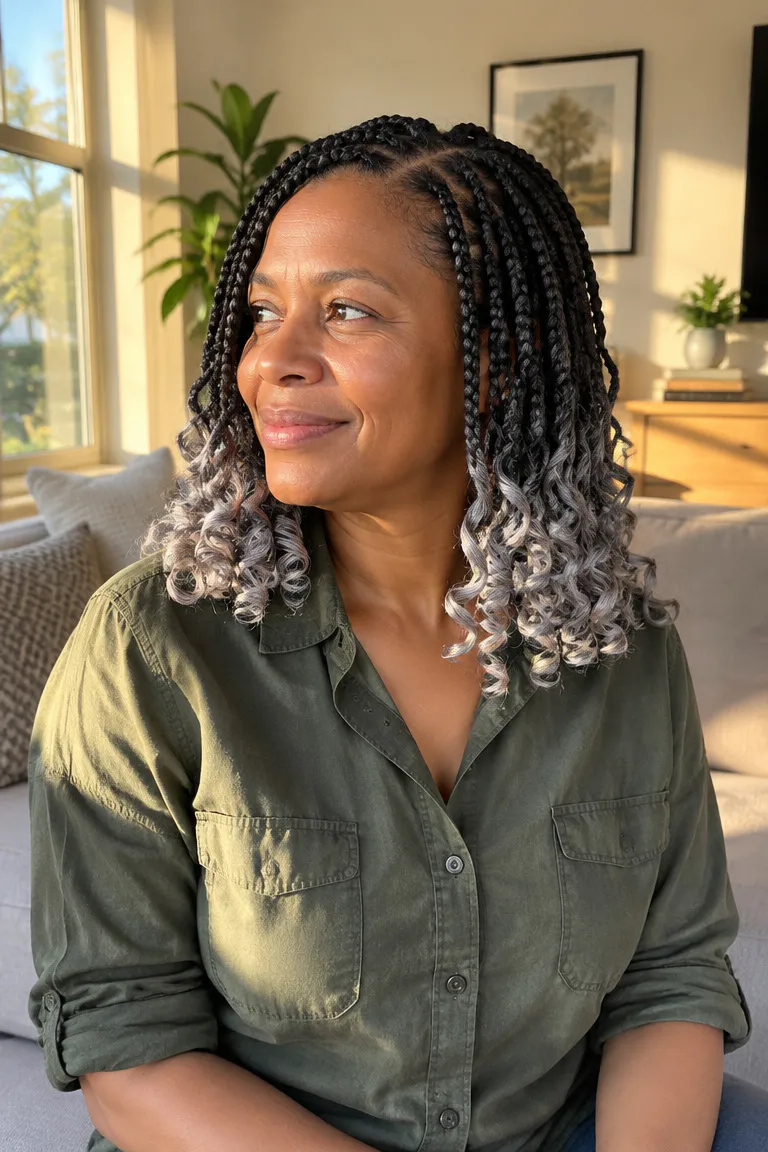
This is the color plan for hair that’s mostly dark with some gray. Picture shoulder-length medium braids that start black or dark brown at the root and move into silver curls through the ends.
A gradual change hides regrowth and gray at the parts better than a hard color block. The dark base keeps the scalp area one tone, and the silver sits farther down, where it’s no longer compared against your new growth.
Settle these points with your braider before the appointment:
- How many packs of the dark shade and how many of silver. Shoulder length at medium parts often lands around 3 to 5 packs total, depending on the brand.
- Whether the fade is blended inside each braid or made by switching shades partway down.
- Whether the silver is a cool true silver or a warmer gray. View both in daylight.
Skip this if gray is already heavy at your roots. The dark base will contrast sharply at every part.
3. Collarbone Gray Highlights
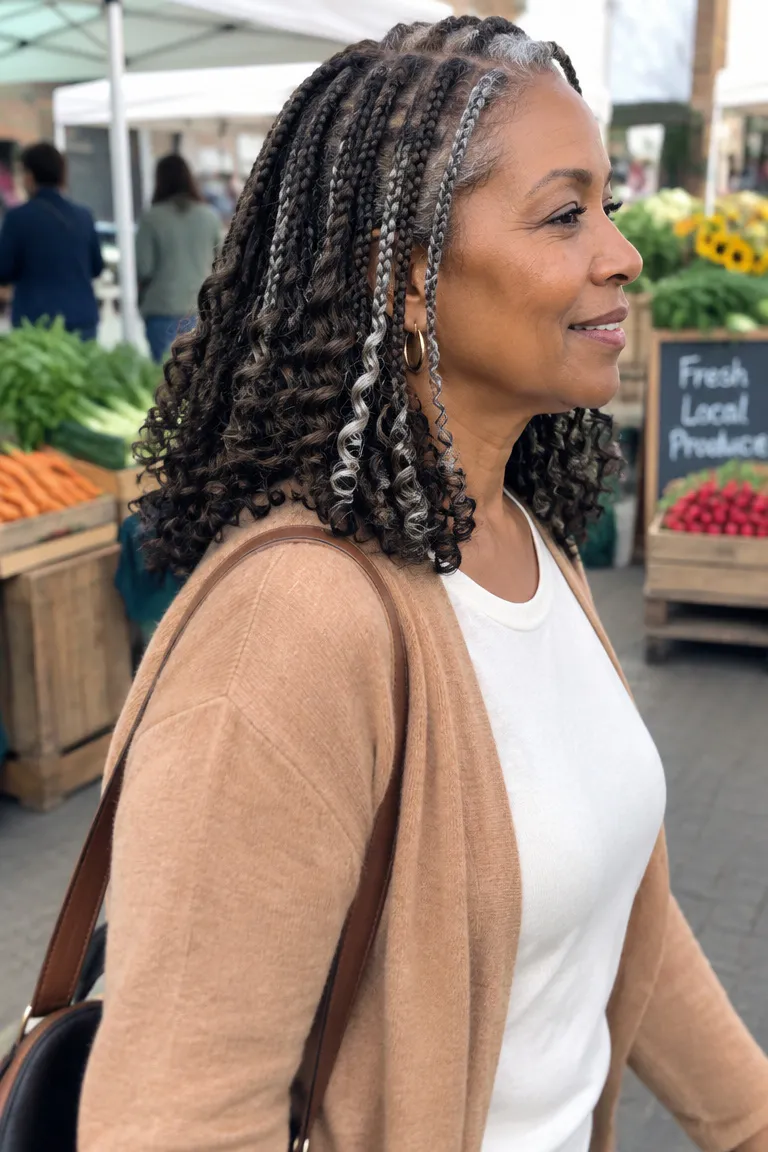
Here, collarbone-length braids stay dark brown-black, with a handful of gray or silver braids concentrated near the front and sides. Only some braids carry gray, so you buy less gray hair and the braider spends less time blending shades than on a full gray mix.
Medium parts work well. Total hair often runs about 3 to 4 packs, with one pack or less of that being gray, but ask your braider to confirm.
Put the gray where the eye lands first: two or three braids on each side of your face, plus a few along the front of the part. Leaving the back mostly dark keeps the look from feeling scattered.
Ask your stylist: Ask where the gray braids will start and stop. Request that they sit one braid back from the hairline, so the front edge stays dark and the gray frames your face without crowding it.
4. Half-Up, Back Left Loose
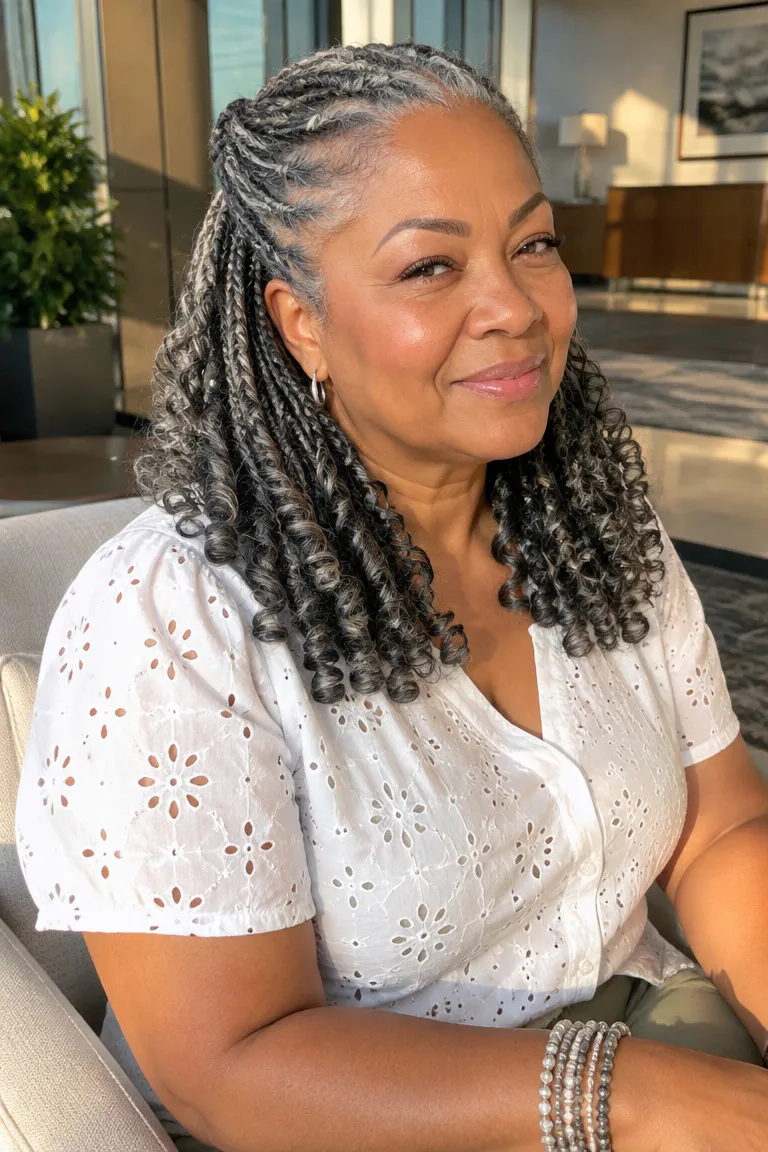
Gather only the top section of shoulder-length braids, roughly from the crown forward, and secure it at the back of your head. The rest hangs loose, and the curled ends stay free. It takes under a minute.
Treat it as a warm-weather suggestion, since it gets hair off your neck without committing you to a full updo. A salt-and-pepper blend suits it because the gray near your face stays visible.
Maintenance tip: Use a soft, non-pinching clip or a wide band, and keep curls out of the hold so they don’t flatten. Set it at the crown rather than near the hairline, and shift its position from day to day so the same braids aren’t pulled every time.
Skip this if your edges are tender. Any pulled-back style adds tension at the front.
5. Low Side Ponytail
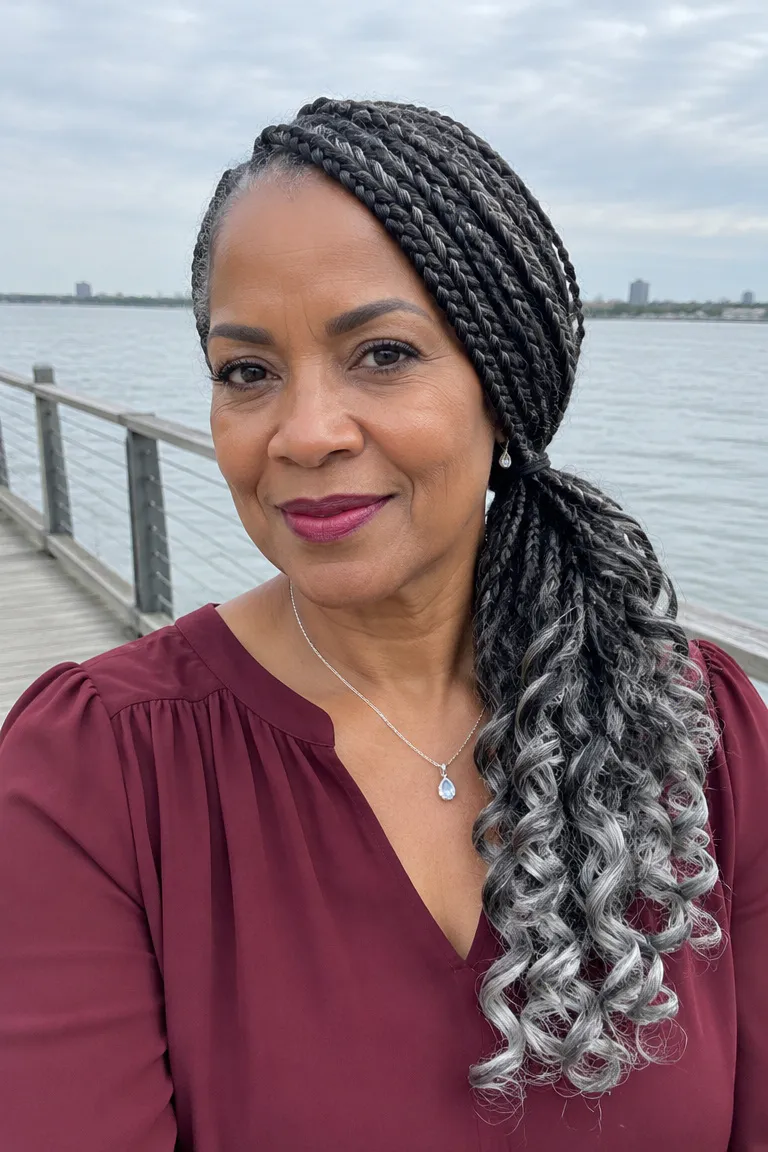
Shoulder-to-collarbone braids are the right length for this. Low beats high because a high ponytail concentrates the weight of long braids on the hairline and crown, while a low one lets the weight settle at the nape.
- Gather the braids at the nape with your hands, not a brush.
- Secure them with a soft covered band or a loose clip, wrapped once or twice instead of cranked down.
- Drape the tail over one shoulder and pull a few curls forward.
- Check the hold: you should be able to slide a finger under the band.
Comfort check: If the band tugs at your temples, loosen it or let the braids hang. Pulling at the front hairline isn’t something to push through.
Gray tip: silver curls at the ends of the tail make a natural focal point, so the rest of the blend can stay dark.
6. Large Parts, Fewer Packs
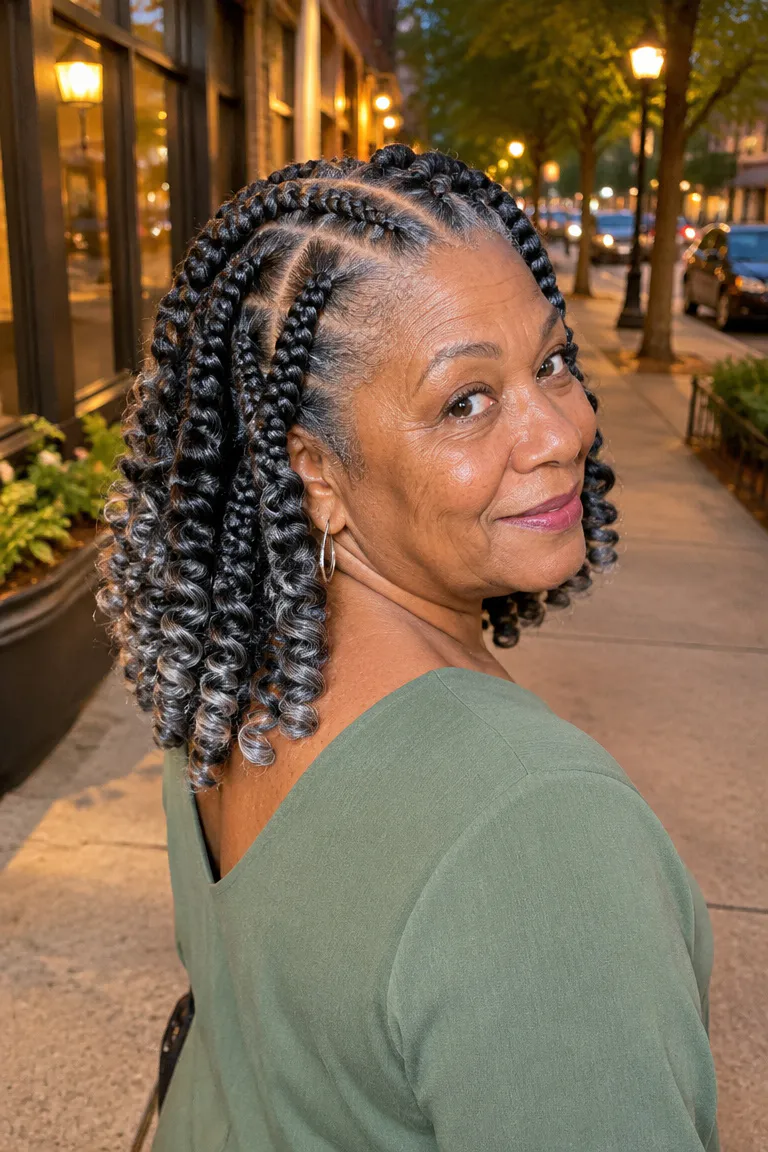
Large parts at chin to shoulder length are the lightest-feeling setup in this list. Large or jumbo parts typically take about 2 to 3 packs, and the sit is shorter than a medium-part install. Your braider should confirm the count.
The tradeoff is scalp visibility. Bigger parts show more scalp, so gray roots are more noticeable, and each braid is thicker. If weight is your main concern, these lightweight braids that feel comfortable all day show other ways to cut it down.
Black and gray mixed through the curls helps the scalp area look less stark. If you want the parts themselves to look blended, medium parts do that better.
Ask your stylist: Ask how much hair she plans to use and what the total quote is. Find out whether the price covers the hair or only the labor, so the number doesn’t change in the chair.
7. Brown and Gray Blend
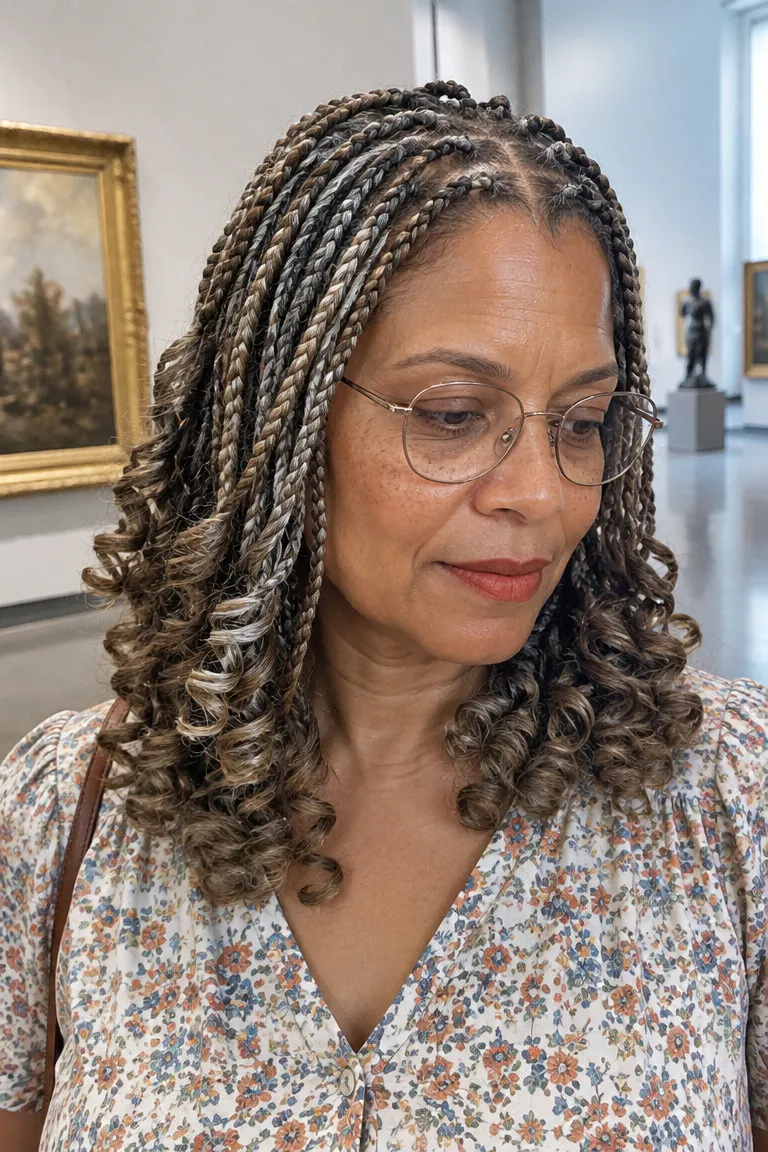
This is the softer color option: shoulder-length braids mixing medium brown, light brown, and gray strands. It suits you if your natural gray reads warm, or if jet black looks harsh against it.
Shoulder length at medium parts often takes about 3 to 5 packs, so you’d likely need a pack or less of each shade. The braider decides the ratio, so ask how she’ll divide it.
Test it before you buy: hold a warm brown strand next to the gray pack in daylight. If the gray looks softer and more silvery beside the brown, the blend will work. If the gray goes dull or muddy, try a cooler, less red brown.
Skip this if you want a clean, uniform color with no visible mixing. The brown and gray shades will show as separate strands.
8. Full Silver Bob
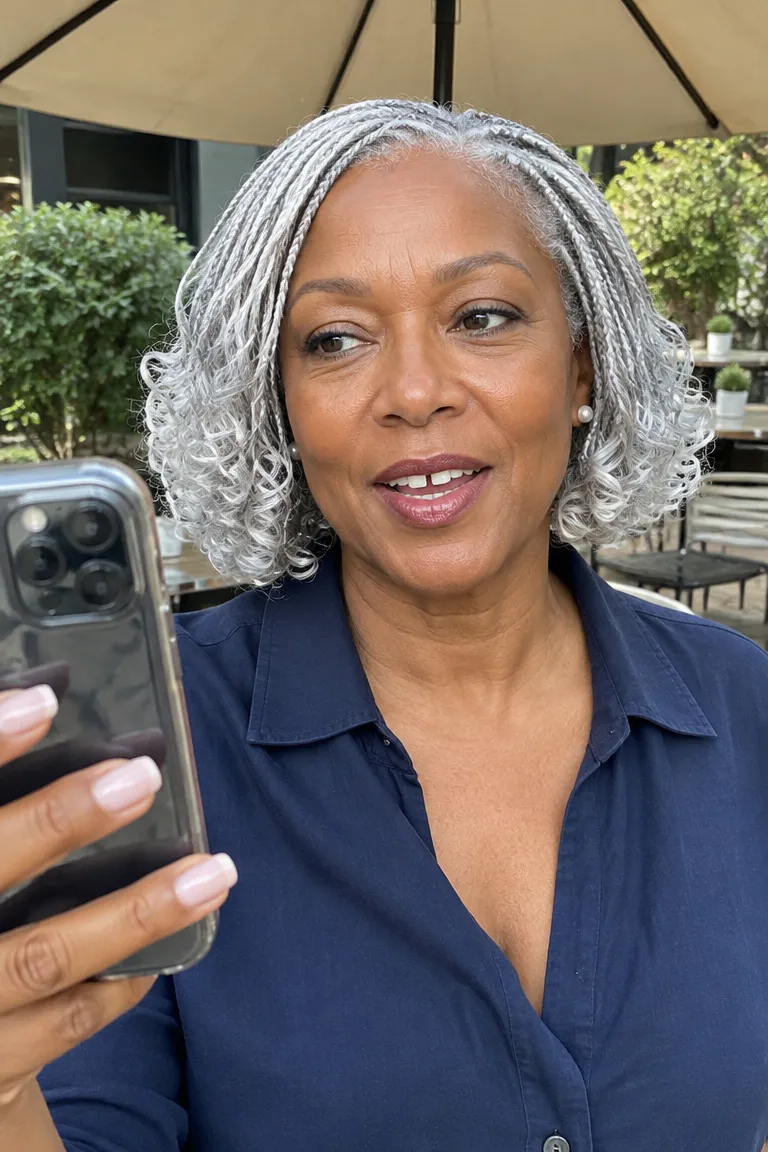
A chin-to-jaw bob in solid silver with medium parts is the boldest gray option here. The short length keeps a full-color head from feeling heavy, and it often needs only about 2 to 4 packs, which your braider can confirm.
The main risk is color. Silver fiber can look flat or yellowish beside some natural grays, so check it in daylight. If it looks off, ask her to mix in a darker or a warmer strand to break up the flatness.
Your own roots matter too. Natural black or dark roots will show more at the parts against solid silver, and that contrast is part of the look.
Skip this if you want a low-contrast look. A blend or a dark base with silver ends will be calmer.
9. Softer Front Hairline
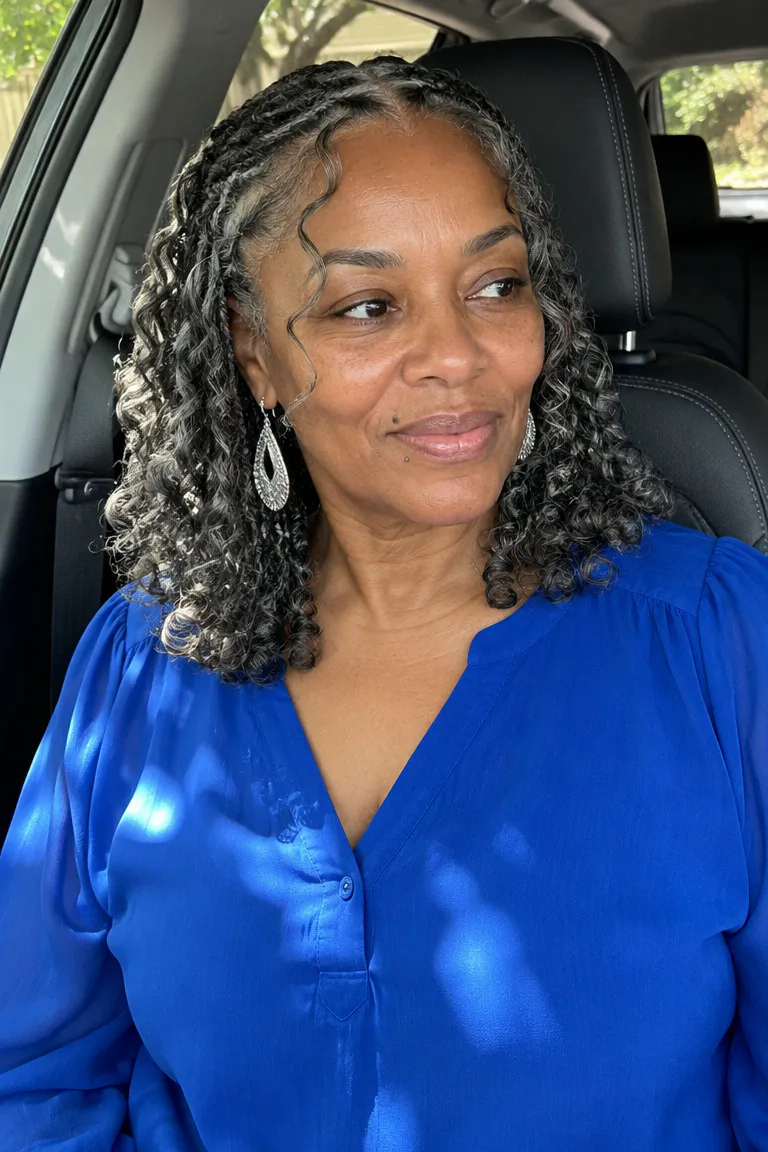
In this style, the front braids are slightly thinner, or the hairline is parted loosely, and the curl fiber is thinned near the face. Collarbone length in salt-and-pepper tones works well. It follows American Academy of Dermatology guidance to keep braids loose, especially at the hairline.
- Front braids one size smaller than the rest of the install.
- Curl fiber thinned on the first row so less weight sits at the edge.
- A loose part along the hairline instead of a sharply pulled one.
Comfort check: For the first few days, watch for pulling, soreness, or bumps along the hairline. If any appear, ask your braider to loosen or remove the front braids. See a dermatologist about noticeable thinning.
For more styles planned around fragile edges, browse these low-tension gray braids that protect thin edges.
10. Mid-Back Layered Option
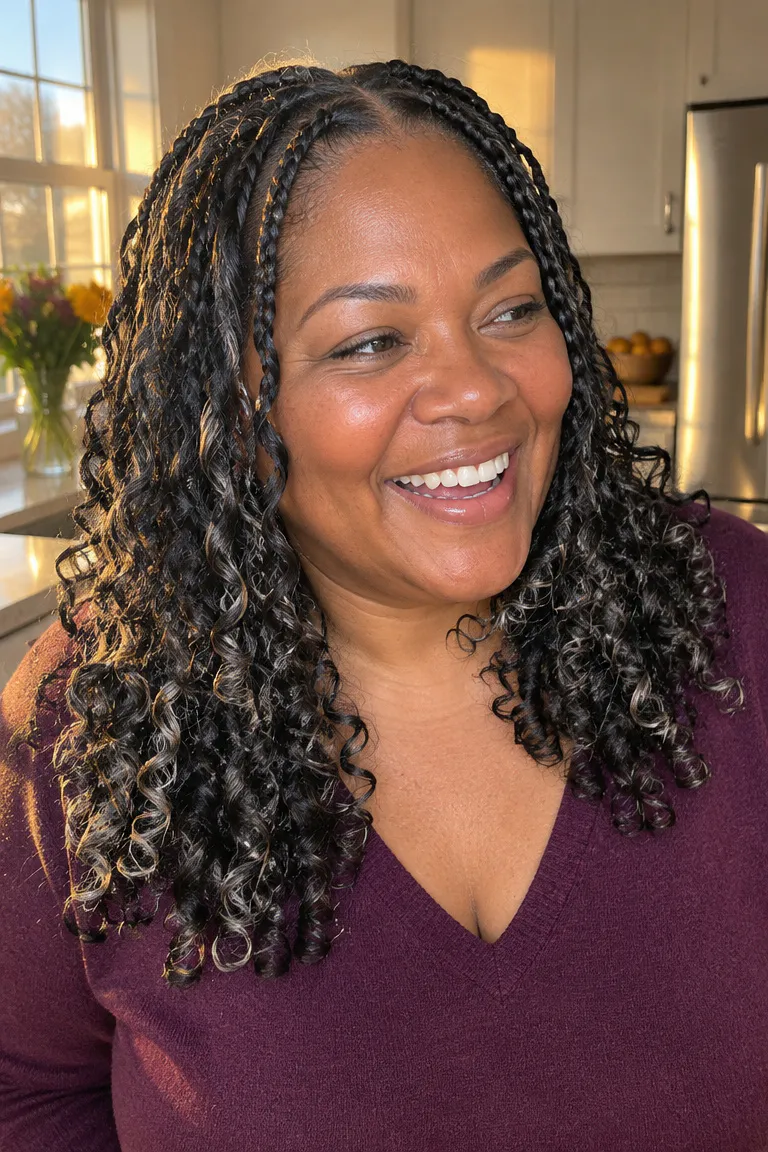
This is the heaviest entry on the list. Mid-back to waist length at medium parts typically takes about 4 to 6 packs, and your braider should confirm the count before she starts.
Curled fiber catches air, so it can feel bulkier than the same length in straight braids. A layered cut helps: ask for the curled ends to be trimmed at varied lengths so they don’t stack into one thick, bell-shaped block.
If you choose this length, ask for the low end of the pack range. Fewer packs means less hair on each root.
Skip this if you deal with neck pain or headaches, or if your edges are thin. Shoulder length gives you the same curl look with far less to carry.
11. Low Pinned Bun
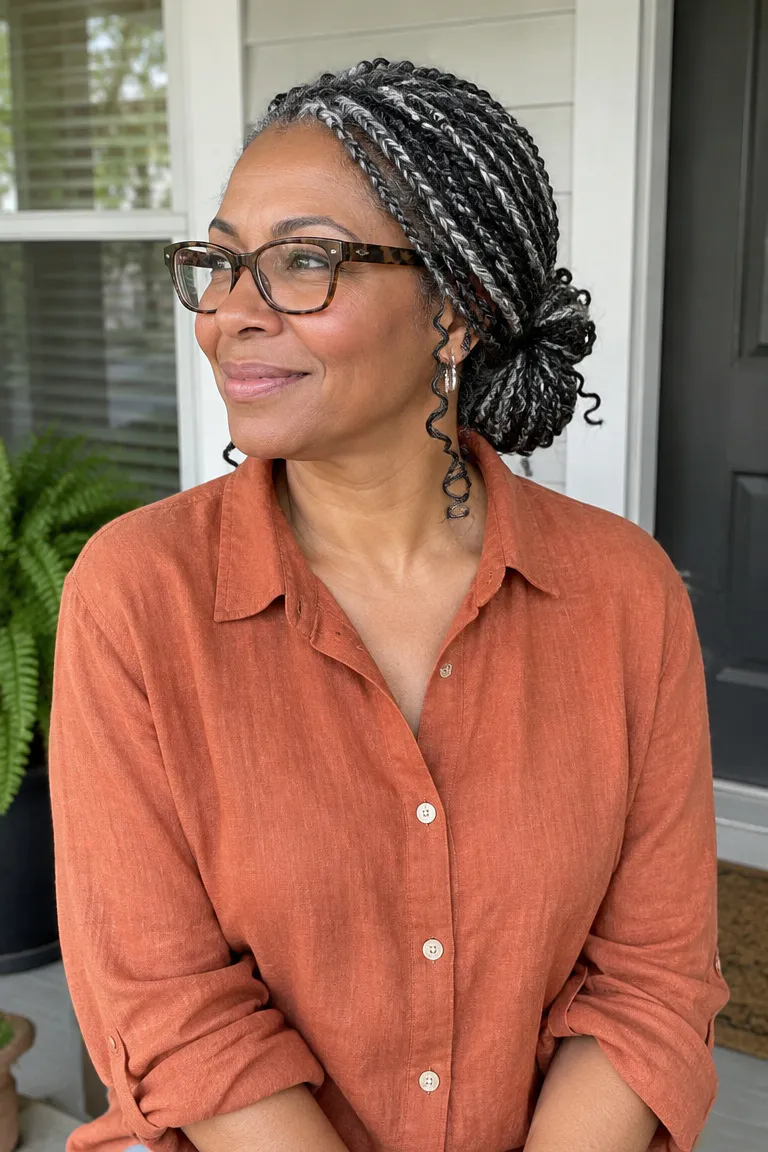
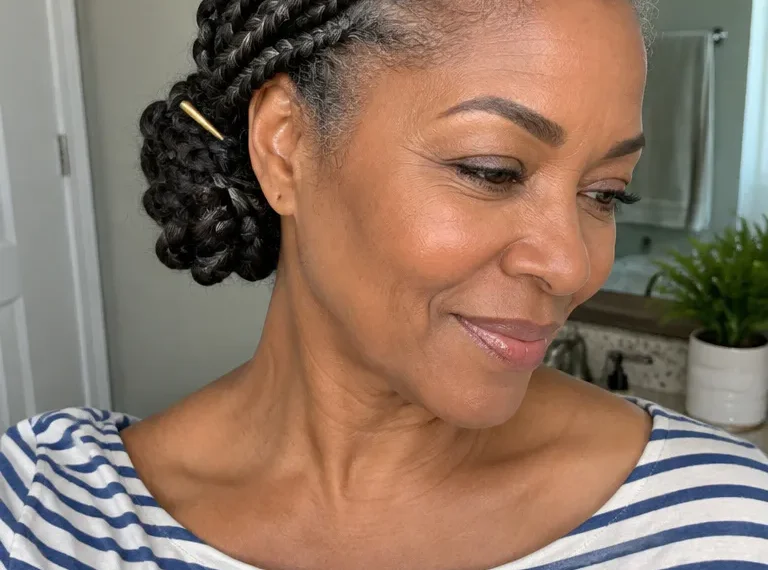
Shoulder or collarbone braids can be twisted into a loose bun at the nape. Think of it as a suggestion for warm days, since it keeps hair off your neck.
Twist the braids loosely in one direction and pin the bun in two or three spots with U-shaped pins. Pull a few curled ends out of the wrap. Curls tucked inside get flattened and tangled.
A gentle pin hold beats a tight band because it spreads the weight across several points instead of one hard line of tension. A black and silver mix looks good here, since the silver curls left out near the nape show up against the dark braids.
Maintenance tip: At night, take the bun down and let the curls hang loose under a satin bonnet or scarf. Sleeping in a pinned bun presses the curls flat and keeps pulling on the same spots.
12. Gray Matched at Temples
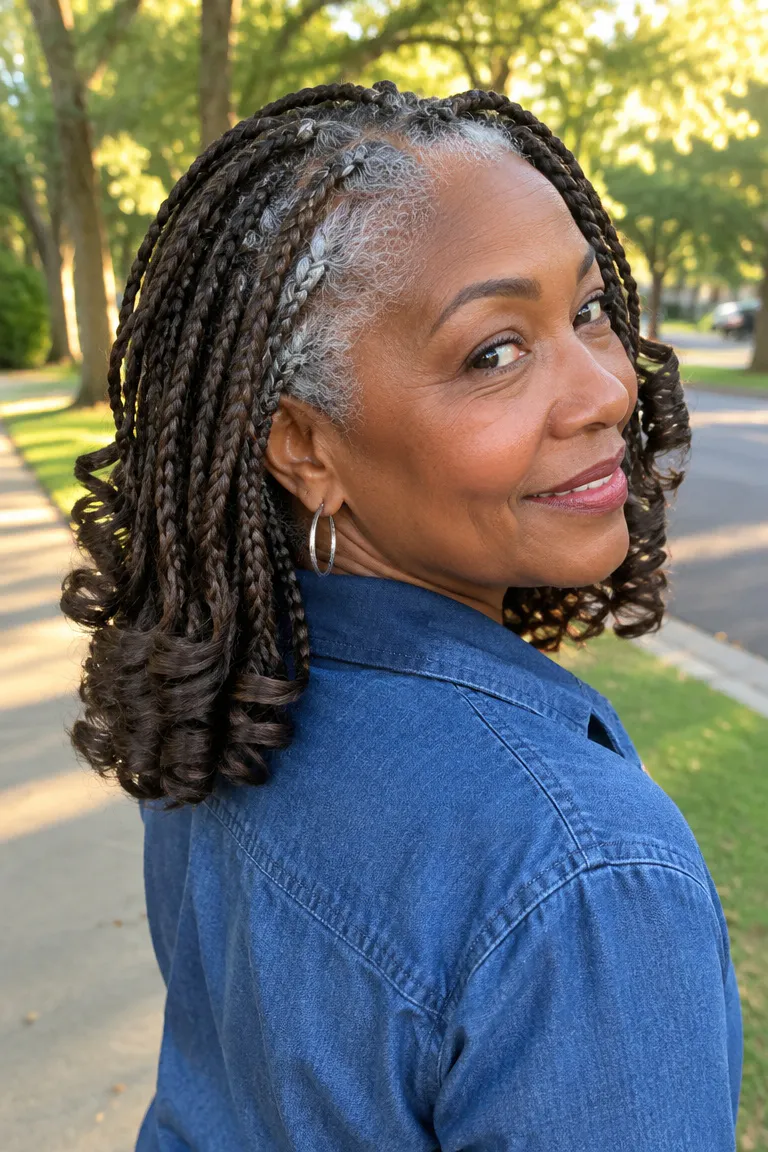
Natural gray shows most at the parts and around the temples. In this style, the braids at the front and temples mirror your own gray, with darker braids elsewhere. The blend should match your gray percentage.
- Bring a few strands of your own gray hair or a clear photo taken in daylight.
- Look at packs in daylight and hold your strands against them to compare tone.
- Choose a blend for the temple braids that matches how much gray you see there, not what you see overall.
- Confirm the brand and pack count with your braider before she starts.
The goal is matching color only. Texture and curl pattern can follow whatever length and part size you already prefer.
13. Dark Brown With Gray Flecks
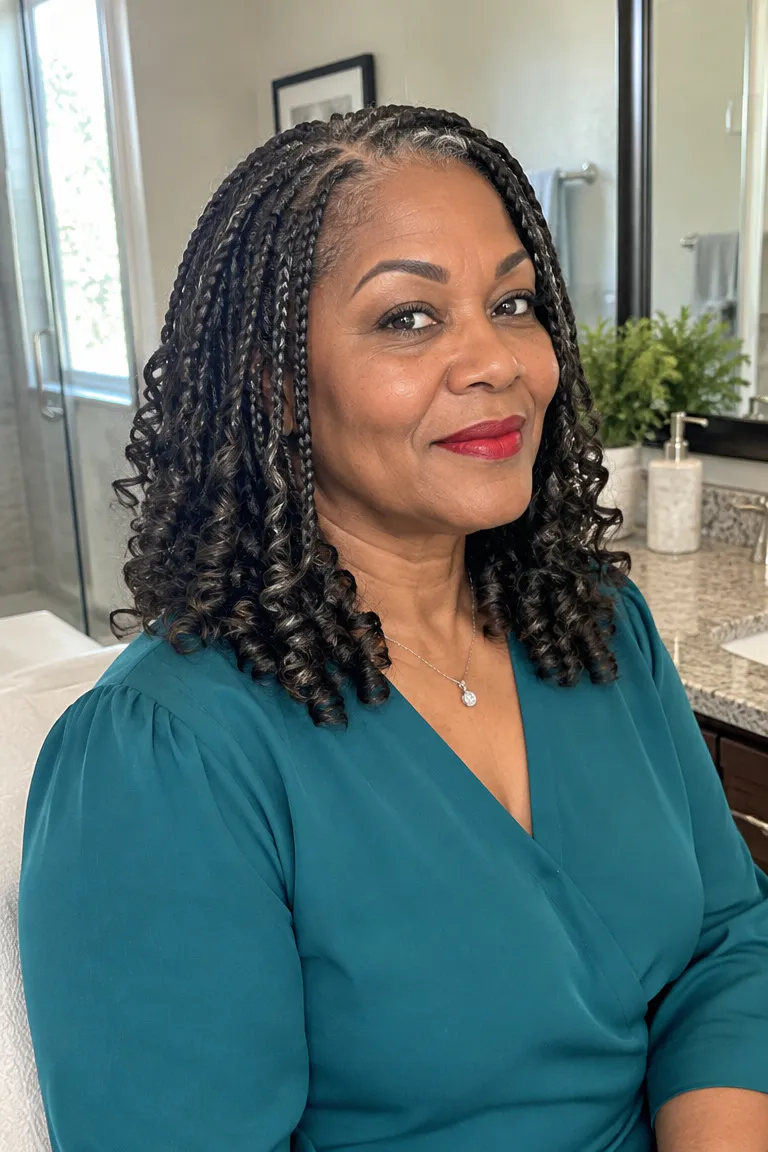
For hair with only some gray, collarbone-length braids stay dark brown-black, with a few thin gray strands mixed into select braids, not every one. The base stays dark while the flecks add dimension.
Ask the braider to blend two or three gray strands into the braid, and only in some of them. For packs, request a dark brown or off-black pack as the base, plus one pack of light gray or salt-and-pepper to pull strands from. You won’t need much of the gray pack.
Skip this if you want the gray to be a visible statement. At this ratio, the flecks read as soft highlights from a few feet away.
14. Tapered Curl Ends
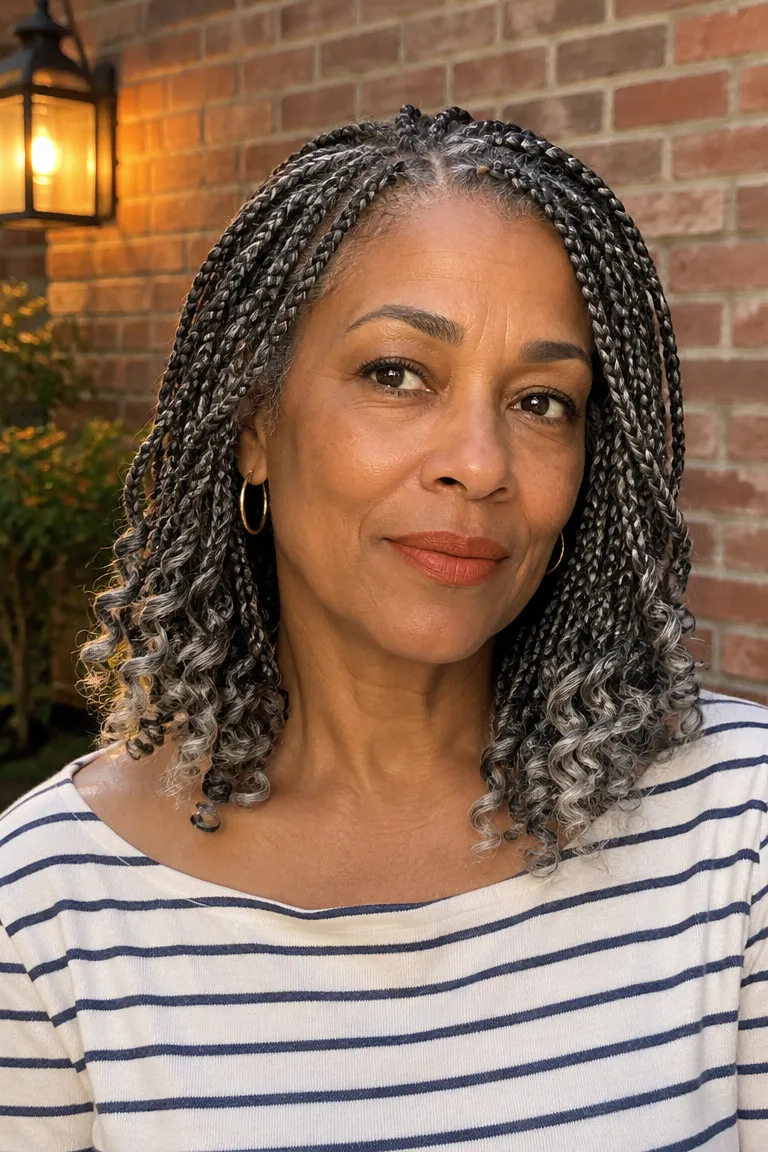
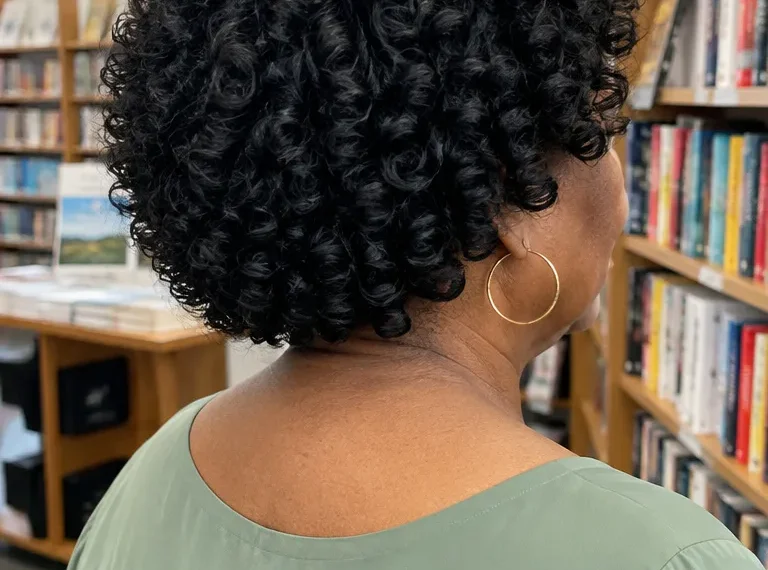
Instead of a thick, bell-shaped finish, the curl fiber is thinned so the ends taper into lighter, wispier curls. Thinning reduces bulk and wind drag, and asking for fewer packs or thinner ends can lighten the feel. It suits shoulder to bra-strap length.
Pair it with a black and gray blend and medium parts. The wispy ends show the gray as a soft fade rather than a dense block of color.
Ask your stylist: Ask how much curl she’ll leave on each braid, and whether she’ll thin the ends after the braids are in or use less fiber to start. Seeing a finished braid in her portfolio will tell you more than a description.
15. Short Crochet-Style Variation
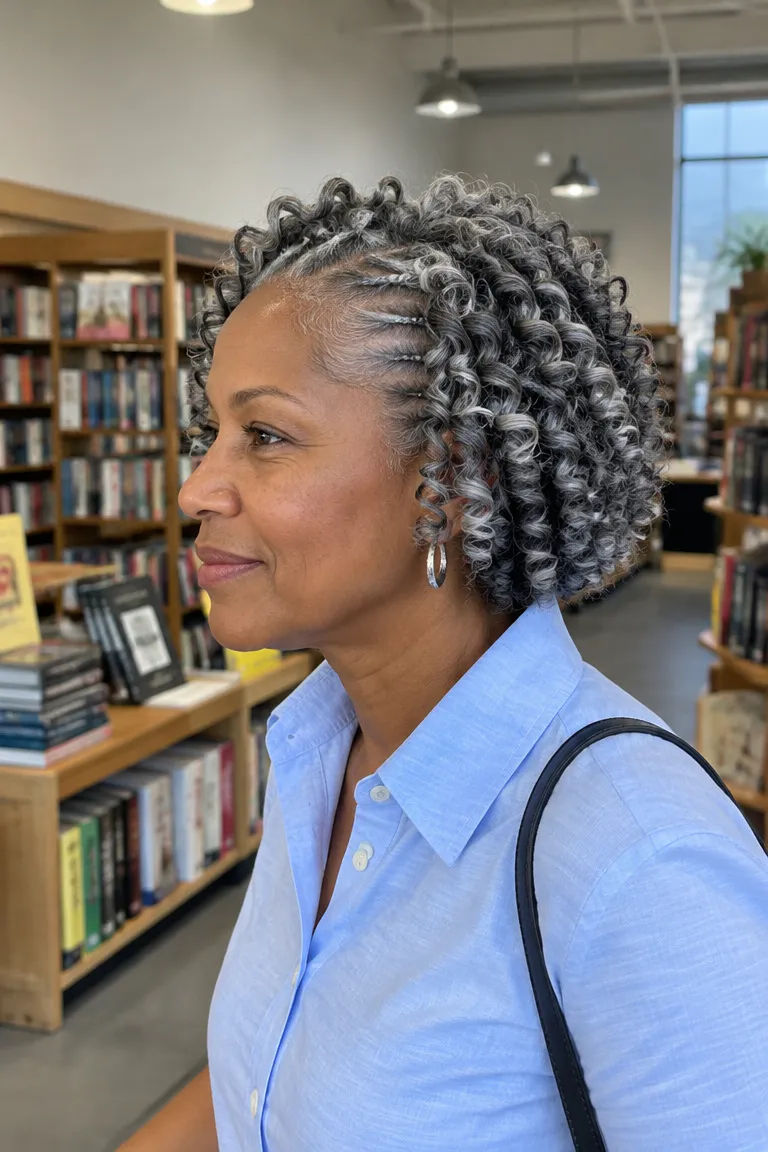
This one is a variation, not a knotless braid. A crochet-style install attaches pre-looped curled pieces to a cornrow-pattern base at chin length, in a salt-and-pepper gray blend.
The method differs from knotless braids because the hair is looped on after the base is braided down, rather than braided in from the root. Installs are often quicker, but I wouldn’t count on it feeling lighter or gentler, so judge it by pack count and base tension. Removal means taking out the loops first, then the braid-down base.
For more short options, see these low-maintenance crochet braids for women over 60.
It suits you if you want a short, quick install. Ask your stylist about three things:
- The braid-down pattern and how much tension it puts at the hairline.
- How much hair she’ll use in total.
- The takedown plan: who does it, how long it takes, and what it costs.
Braider Questions and Takedown Timing
Before you book, ask your braider three things: which hair brand she uses, how many packs your length and part size will take, and how long she recommends wearing the style. Many braiders suggest taking French curl braids down at around six to eight weeks, but get her specific number, because curled ends tangle and need a plan for removal. Pack for the appointment with a few strands of your gray hair or a daylight photo, the gray pack you’ve chosen, and a note of your pack-count range.