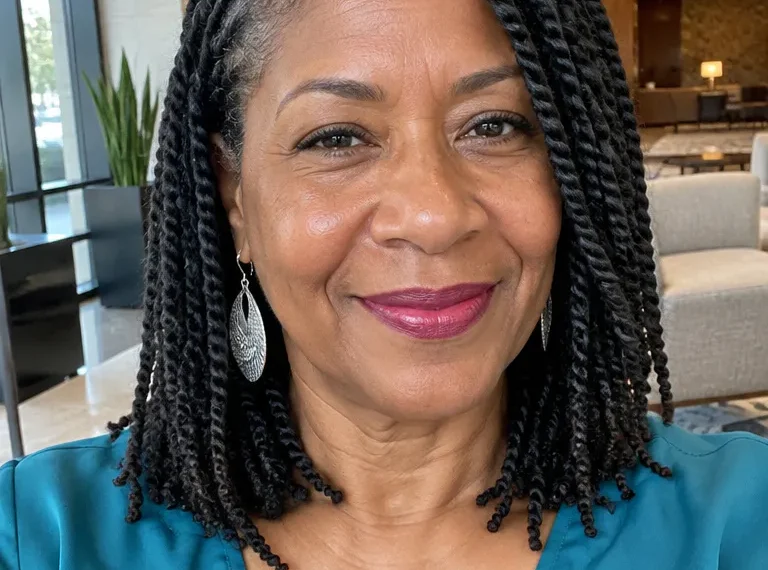
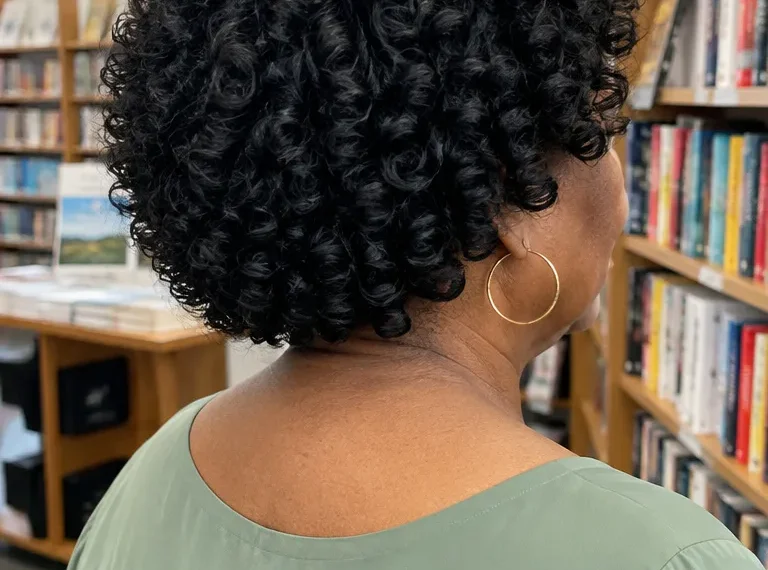
Holiday hair for Christmas, Kwanzaa and New Year’s can feel like a lot to plan: church on the 25th, family photos, a karamu feast on the 31st, and a style that has to feel comfortable through all of it. This list sorts thirteen braided updos by braid type, where they sit on the head, whether they need extensions, and how much pull they put on your edges. Pick from them based on your hair length, how long you need the style to last, and how much time you want to spend in the chair.
Use one simple rule to narrow it down. If your hair reaches your shoulders or longer and you want no added hair, start with the chignon, the twist crown or the Bantu knot cluster. If the style has to last from Dec 25 through Jan 1 and beyond, look at the knotless bun.
For any style here, a braid that tugs when you raise your eyebrows or smile is too tight and should be loosened.
1. Low Braided Chignon
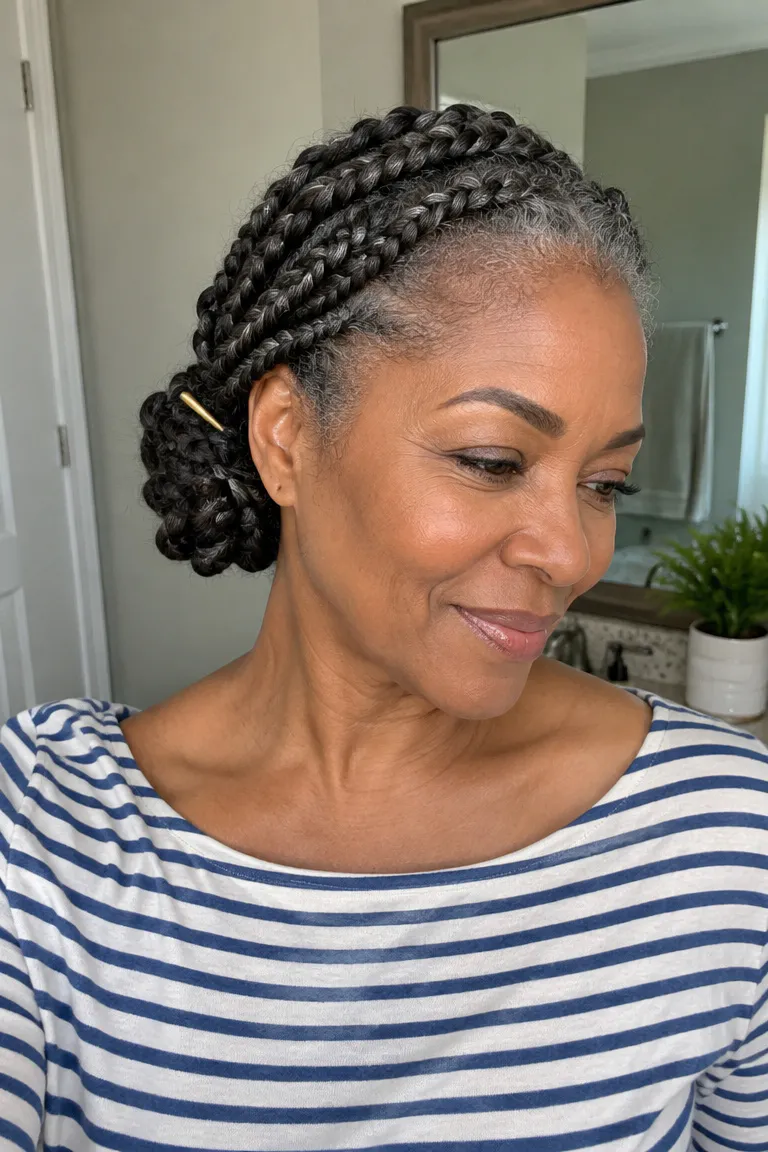
Wear it for: Christmas dinner, church, or any day you want a finished look without a long appointment. Make five to seven plain three-strand braids on natural hair, then coil them together at the nape instead of stacking them high on the crown.
The low placement leaves room behind the ears for earrings and the arms of your glasses, so nothing gets pressed or snagged. Your hairline can stay soft and unslicked, which means no gel and no pulling at the temples.
You don’t need extensions if your hair is long enough to coil at least once around. Add a few extra bobby pins at the base, crossed in an X, so the chignon holds through a long dinner and the drive home.
2. Crown Braid With Ribbon
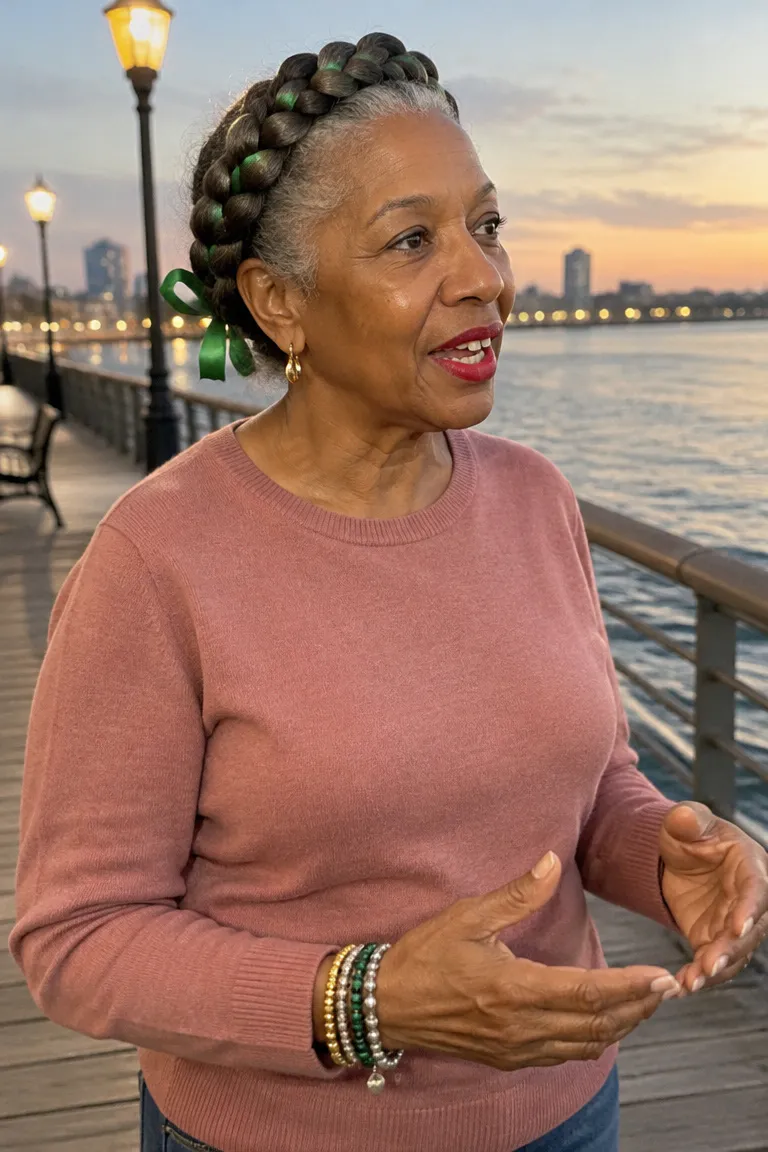
A single braid circling the head like a halo keeps hair off your forehead and puts your earrings and glasses in full view. That makes it a strong pick for Christmas photos and quieter Kwanzaa evenings at home.
A satin ribbon in red, black or green is an optional accent, not a Kwanzaa rule, and the style looks finished without it. Choose a narrow ribbon, about 3/8 inch wide, and add it one of two ways:
- Weave it in as a third strand: fold it around the start of the braid and let it travel with the hair all the way around.
- Tie it at the back: finish the braid, tie a small flat bow where the ends meet, and tuck the ribbon tails under the braid.
For low tension, braid loosely along the temples and let the front hair lie naturally. Pulling it back tightly is what makes crown braids feel sore by evening.
3. Side-Swept Cornrows Into Bun
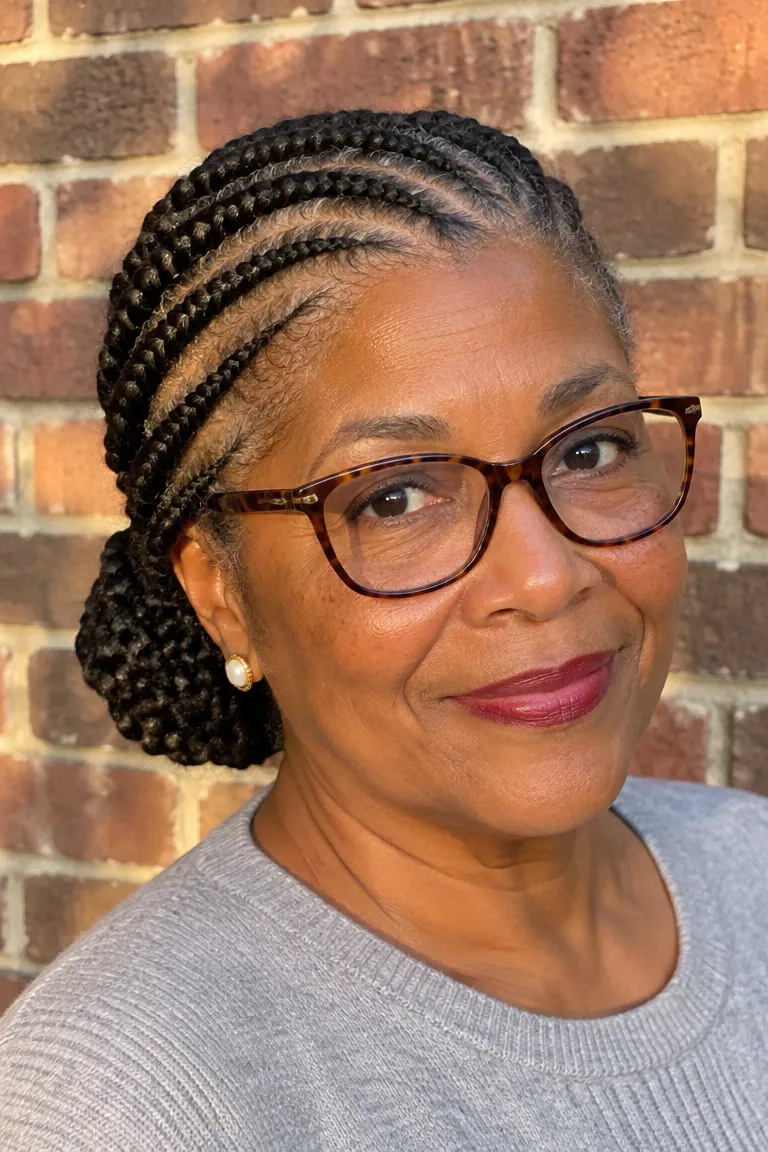
Cornrows run on a diagonal from the forehead toward one side, then gather into a low side bun at the nape. This suits someone who wants a neat, flat base without extensions and likes a clean line across the front.
Ask for medium-width rows rather than tiny ones. Larger, looser rows put less pull on the hairline, and the braided ends can wrap around the bun base to hide the join.
Comfort check: Cornrows should feel snug, not sore. If your scalp feels tight when you raise your eyebrows, ask your braider to loosen the front rows before you leave the chair.
By day 4 or 5, smooth flyaways with a soft brush and move the bun slightly so it isn’t resting in the same spot. Re-wrap your hair at night to keep the rows neat.
4. Knotless Braids In Twisted Bun
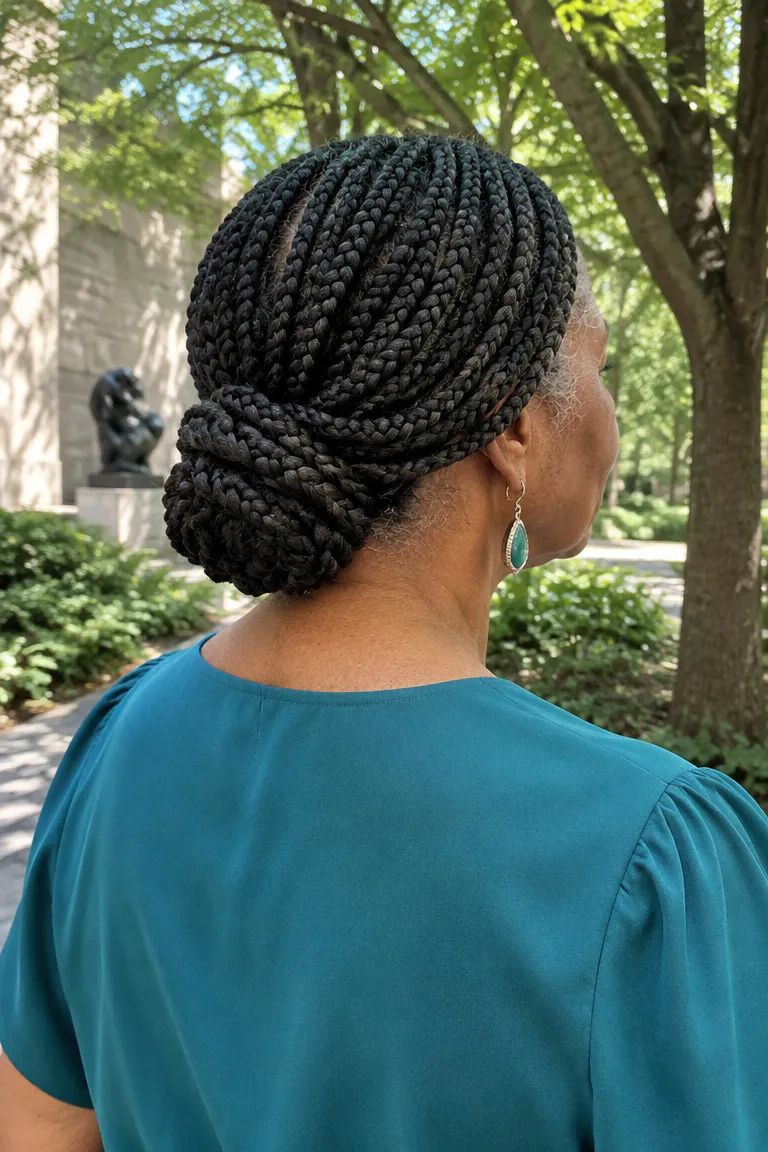
This is the longest-lasting option here, and it uses extension hair. Medium knotless braids, roughly pencil-width, are gathered at the nape, twisted into a rope and coiled into a low bun with the ends tucked under. If you need one style to carry you from Dec 25 through Jan 1 and past it, this is the one to book.
Ask your stylist: Before you sit down, ask four things: what braid size will she use, how much extension hair per braid (only what your natural hair can support), how snug the parting and base will be, and on what date the style should come out. Ask how long to rest your hair before the next install.
Pain, bumps or noticeable thinning around the edges are reasons to ask your braider to loosen the braids or take them out. A dermatologist is the right next call if the discomfort or thinning continues after the braids are out.
5. Goddess Braids Loose Updo
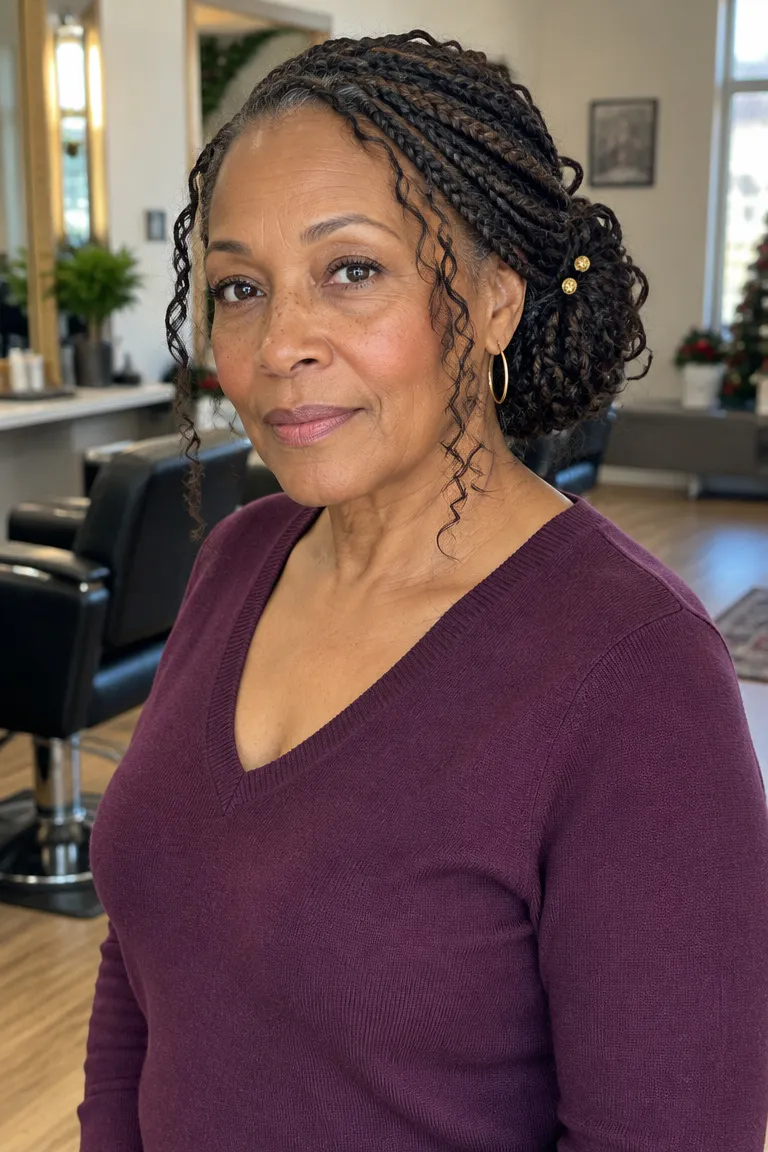
The look comes from contrast: neat braids at the root, soft curly or wavy ends left free, then everything pinned up into a looser updo. It usually needs extensions or curly braiding hair, since natural ends rarely give the same defined curl.
Weight matters here. Keep the braids on the lighter side, and pin the updo low at the back of the head so your roots aren’t carrying the whole style.
Wear it for: the karamu feast on Dec 31 or any dressier gathering. Keep the accent small, such as a couple of gold pins tucked into the base, so the curls stay the focus.
6. Fishtail Braid Low Bun
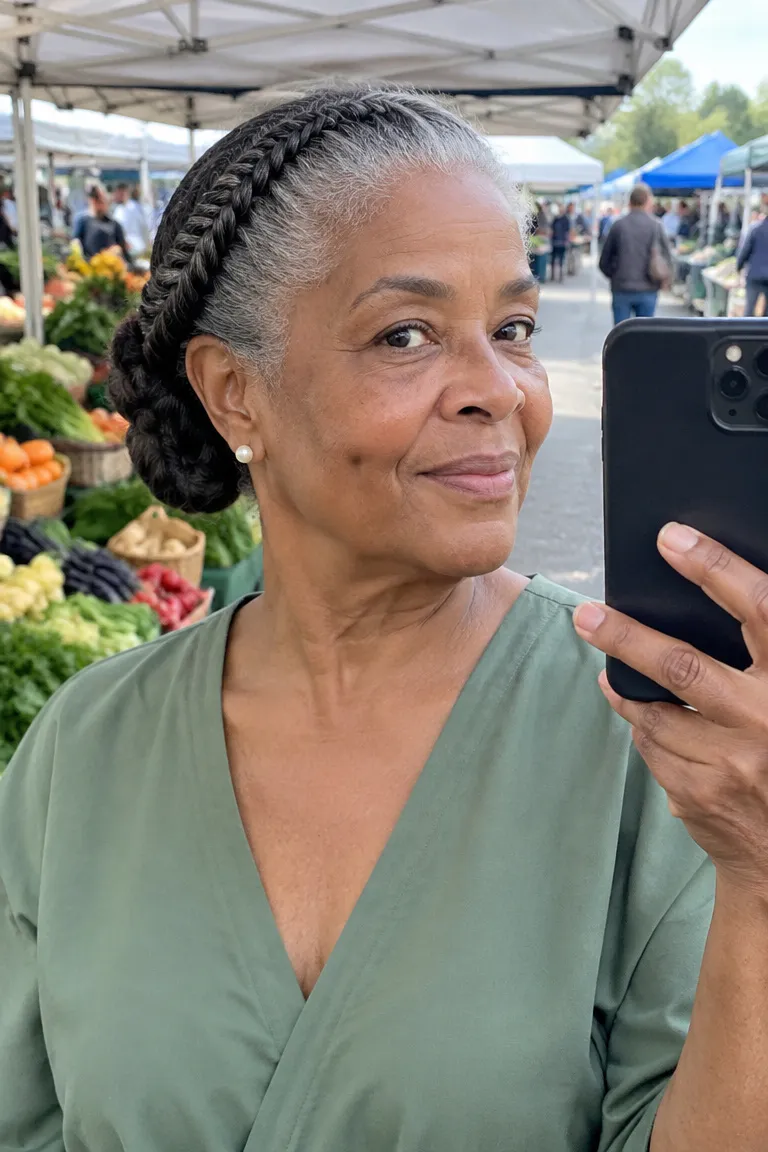
A fishtail braid has a fine, woven pattern that looks more intricate than a standard braid, yet it’s still just one braid. It suits medium-length natural hair, or shorter hair with a small amount of added hair for length.
Coil it into a neat bun at the nape and pin it. Fishtail takes more time than a three-strand braid, especially on your own head, so plan for a stylist or a patient helper.
Upkeep is minimal: a gentle brush over the surface smooths flyaways.
7. Two-Strand Twist Crown
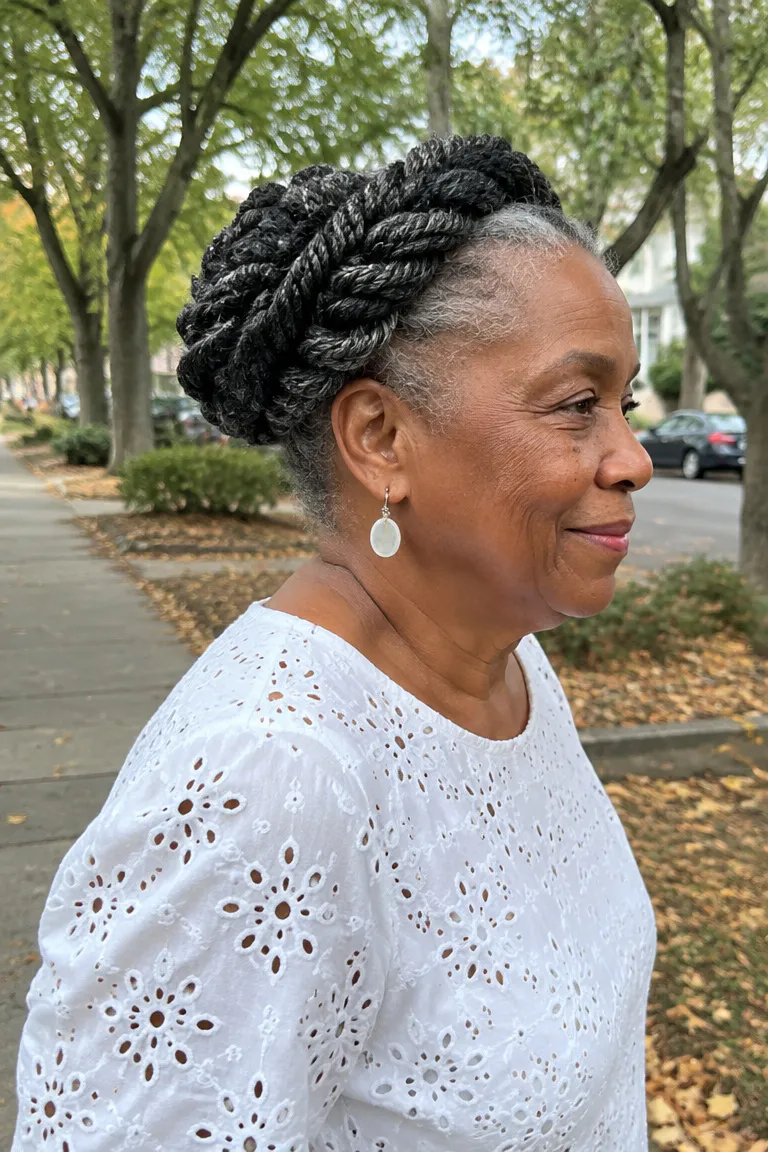
Two-strand twists wrapped around the head are lighter on the scalp than a braided crown made with extensions, which makes them a good fit for fine or thinner hair. They’re also worth choosing if braids tend to feel heavy on you. For more ways to keep weight off your roots, see these lightweight braids that feel comfortable all day.
You can do this on natural hair with no added hair:
- Part your hair into a few wide sections, wider than you’d use for braids.
- Twist each section loosely from root to end.
- Lay the twists across the top and wrap them around the head.
- Tuck the ends under and pin them flat.
Keep the twisting loose and leave the hairline soft instead of smoothing it back. Wider sections also mean fewer pins and less pressure in any one spot.
8. Wrapped Updo With Headwrap
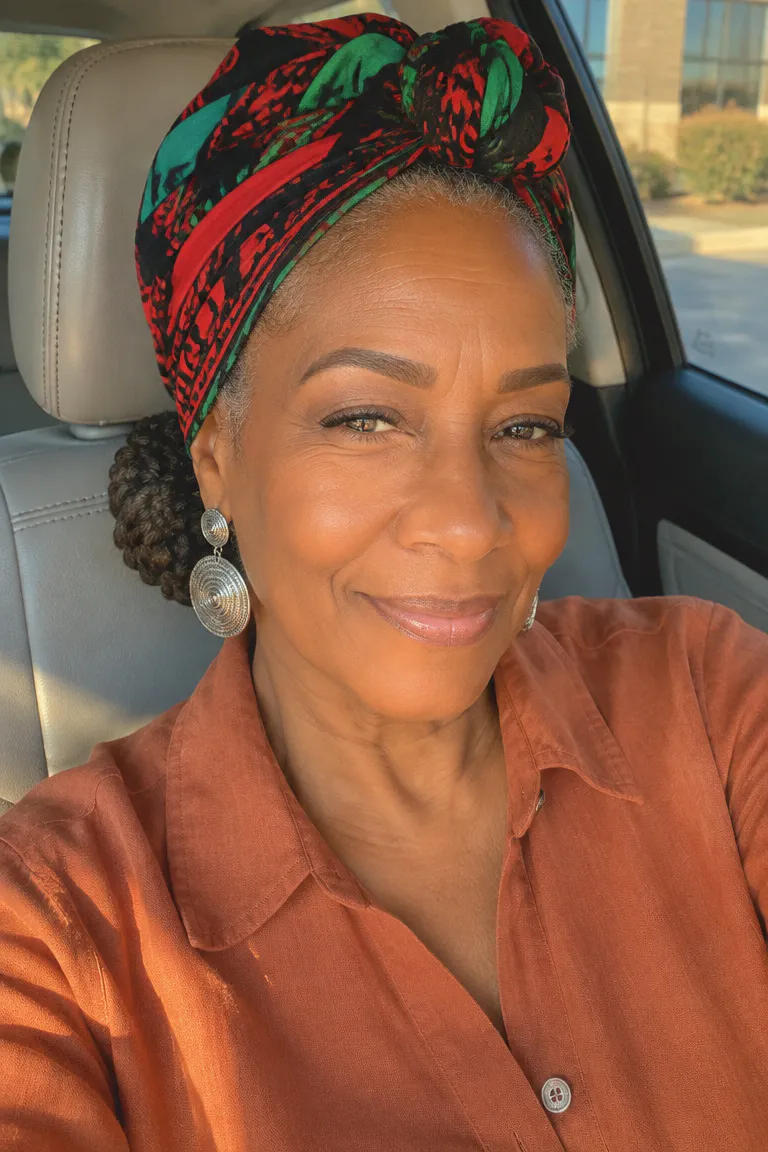
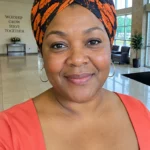
Start with a low braided bun, then add a folded headwrap or scarf tied around the base of the bun or across the crown. The fabric should sit behind the hairline, not on it, and be tied at the back or side with the ends tucked in. Secure it with one bobby pin so it doesn’t slide when you turn your head.
Red, black or green fabric is an optional accent. A neutral or patterned wrap works just as well for the same placement.
Maintenance tip: Take the wrap off at bedtime and switch to a satin or silk bonnet or pillowcase. Cotton pulls moisture and creates friction, and the smoother surface helps braids stay neat for the full week.
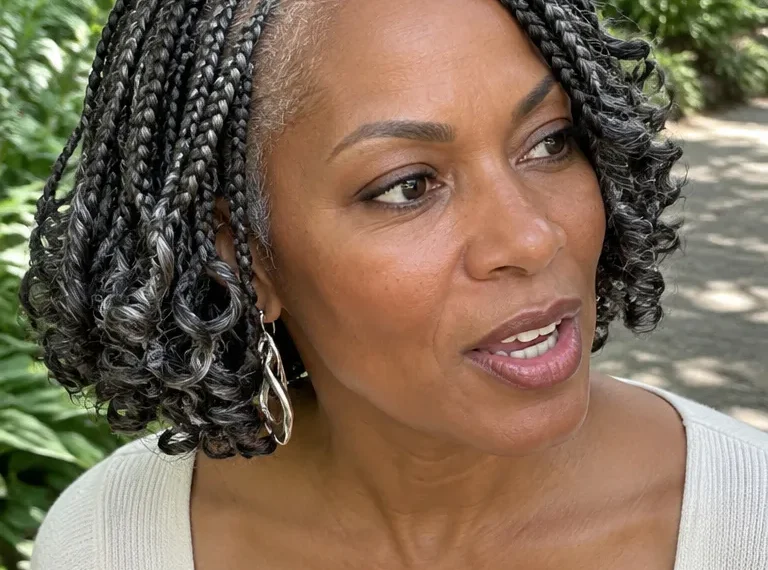
9. Silver And Black Blended Braids
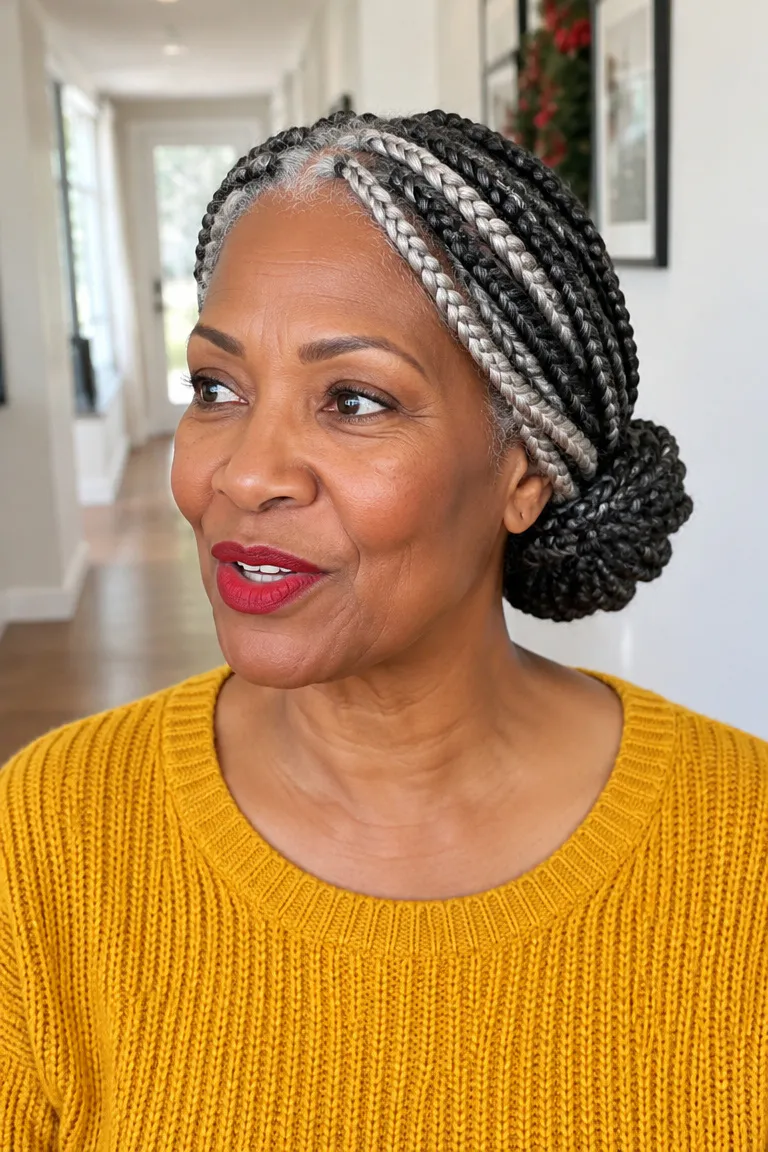
If you’re growing in gray or already have it, this style works with the color instead of covering it. There are three ways to do it:
- Blend silver braiding hair into dark braids, with the silver braids at the front for face framing.
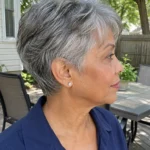
- Leave your natural silver at the crown and braid dark or blended hair from the mid-lengths down.
- Use salt-and-pepper braids, mixing both colors in each braid for an even speckle.
The blend tends to look softer around the face than a solid color. Matching extension gray to your own takes a bit of shade testing, so hold strands next to your hair near a window before you buy.
Keep the updo low and loose. For more gray-friendly sizing and parting, browse these low-tension gray braids that protect thin edges.
10. Braided Half-Up With Headband
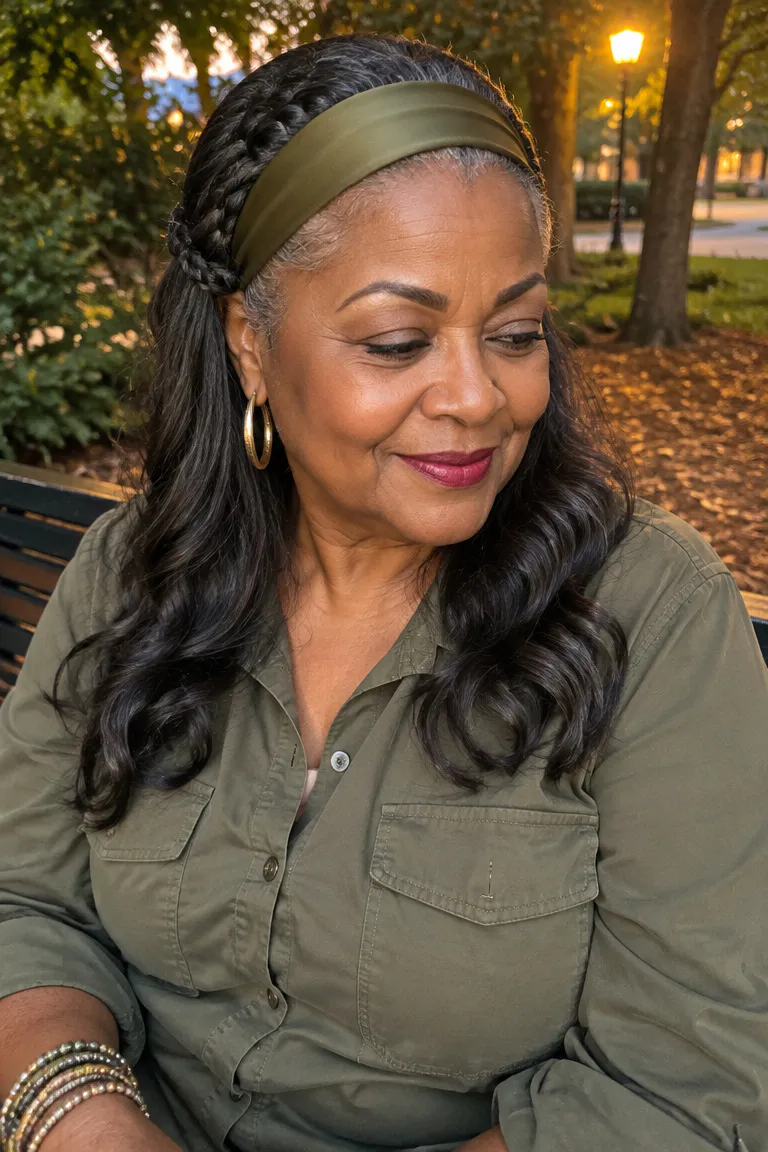
Two thin braids are pinned at the back and the rest of your hair stays down in soft waves. A soft headband or embellished band across the front hairline covers sparse edges, so you don’t need gel or pulling to smooth them. If thinning edges are your main concern, these low-tension holiday braids for thinning edges cover more options.
Comfort check: The band should sit loosely, with no tugging at the temples. If it leaves a line or a dull ache after an hour, move it back slightly or switch to a wider, softer band.
Skip heavy edge gel under the band, since it adds buildup and can make the hairline stiff. Take the band off before sleeping.
11. Pancaked Braid Bun
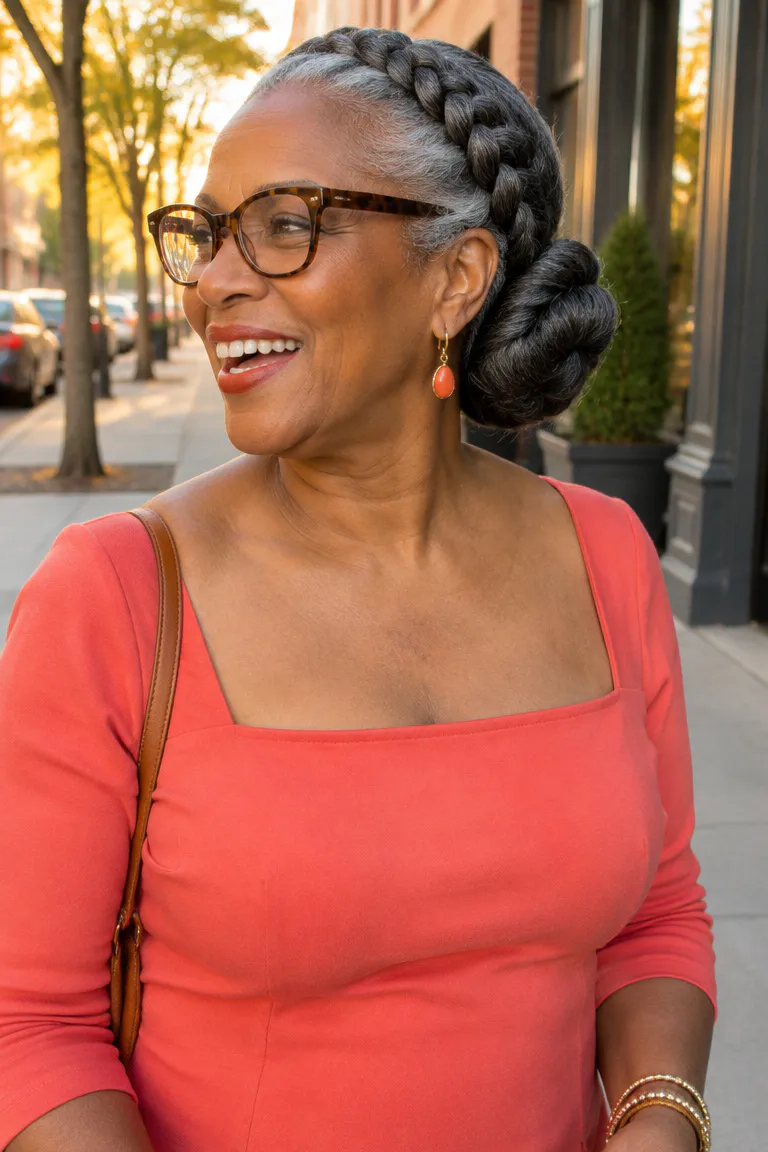
Pancaking makes a thin braid look wider and fuller without adding extensions. Start from the bottom of a finished braid and gently tug each link outward at the edges, loosening a little at a time. Stop before the braid frays or loses its pattern.
Coil it into a full bun at the lower back of the head. Sitting low is more comfortable and keeps the weight of the bun off your crown.
Maintenance tip: Pancaked braids often flatten by day 4. Re-pancake by pulling the links out again, then repin the bun.
12. Braided Bantu Knot Cluster
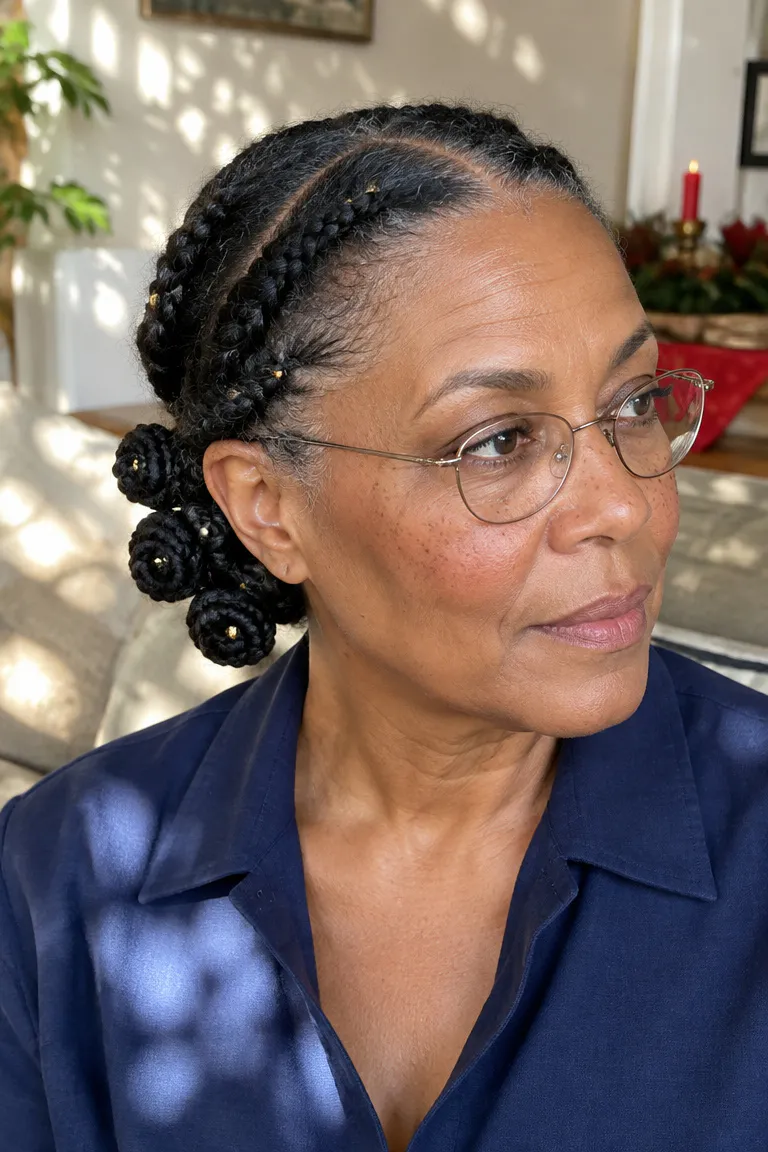
Small sections of braids or twists are coiled into Bantu knots and grouped in a low cluster at the nape. The result has a sculptural shape, and it works on natural hair with no extensions. Five or six knots usually make a full cluster.
Because the cluster sits low, it presses less against a pillow. Keep the knots loose, since looser knots are easier on edges and don’t pull at the root.
For sleeping, lie on your side or back with a satin bonnet on and pin the cluster flat first. That keeps the knots in place without crushing them.
13. Cowrie And Gold Pin Accents
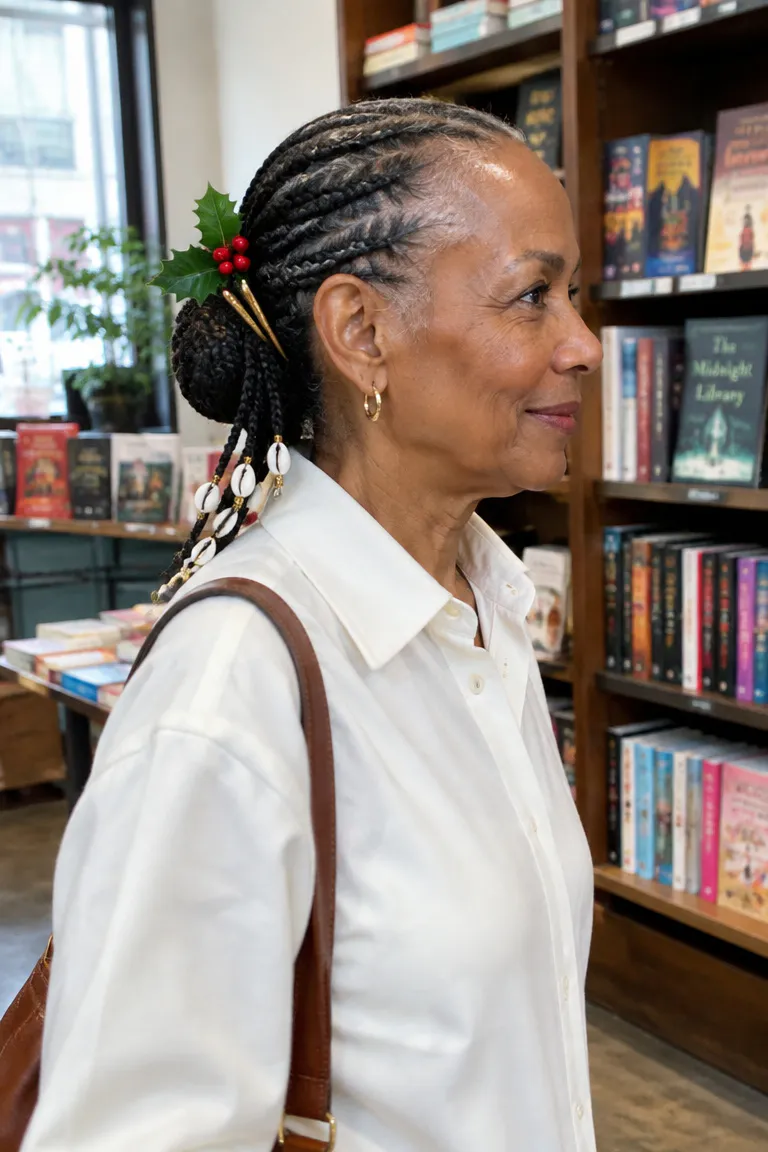
Accents work best on a finished low braided bun, and every one of them is optional. Place them according to taste, and stop when the bun still looks like the focus.
- Gold or brass pins: set two at the base of the bun, where they also help hold it.
- Cowrie or wooden beads: thread one to three onto braid ends and tuck the beads into the bun.
- Holiday sprig: pin a small piece of holly or evergreen just above the bun, on one side.
This finish suits the karamu feast on Dec 31 as a dressier touch. Before bed, remove the beads and sprig first, then the pins, so nothing catches on the braids or digs into your scalp overnight.
Before You Book Your Braider
Bring a photo of the braid size and placement you want, the date you plan to take the style out, and any accent pieces in a small pouch so your stylist can position them before you leave. If you’re doing it yourself, choose a no-extension style like the chignon, twist crown or Bantu knot cluster, and keep extra pins and a satin bonnet within reach.