Gray coily hair rarely sets the same way front to back. The silver at the temples is often finer and softer than the wiry crown, so a twist-out that looks full on day one can turn uneven by day three. Picking the right size of twist, and the right amount of product, solves most of that.
These 13 styles are sorted by length, effort, and how much your hands can take. Use this rule to narrow them down: under 3 inches, go chunky. From chin to shoulder, start with the classic or a flat-twist hybrid.
Past the shoulders, choose a banded set or a pineapple for sleeping. If your wrists tire quickly, stay with styles that need 10 sections or fewer.
1. Classic Two-Strand Twist-Out
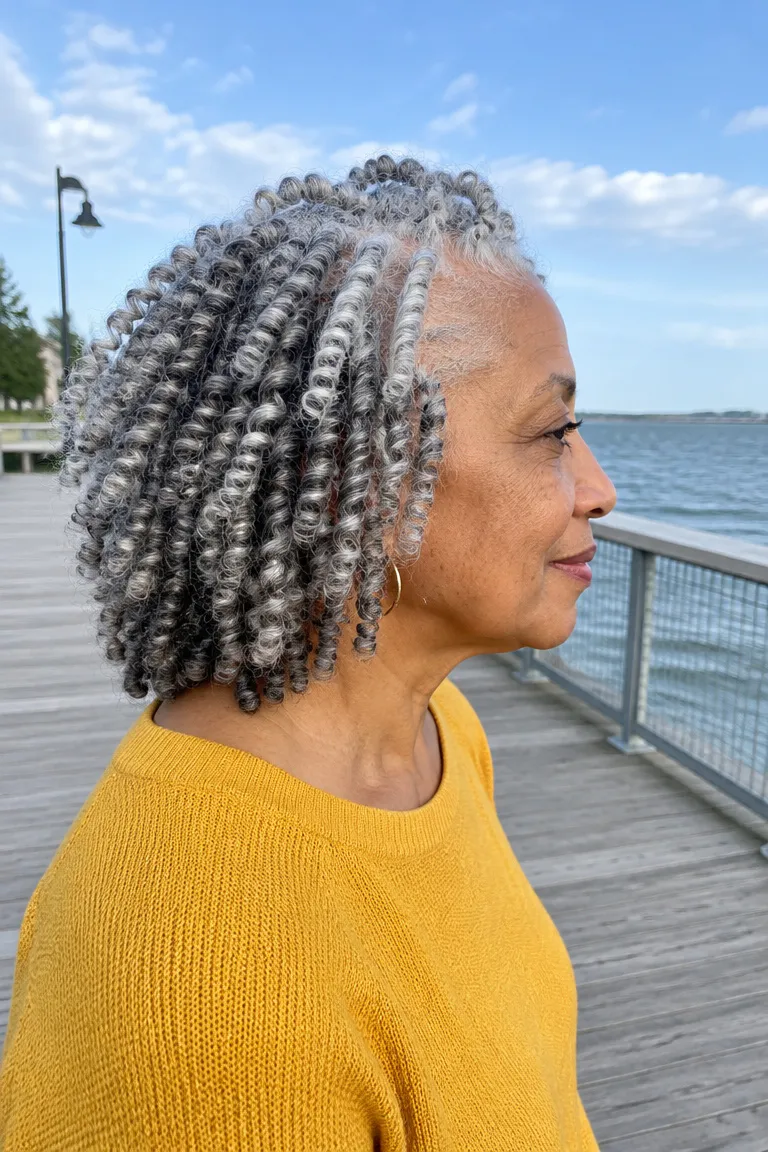
This is the baseline for chin-to-shoulder gray hair, and most of the other styles here are variations on it. Start with clean hair that’s damp, not dripping. Soaking-wet hair takes much longer to dry and can leave the centers of the twists damp.
Stretch the hair first, either with a loose braid-out or a low-heat blow-dry, so each twist begins from a longer length. Part into roughly 12 to 16 sections. Work a quarter-size dollop of cream or butter through each one, then add a light pass of gel.
- Water-based leave-in for the first layer of moisture
- A butter or pudding for slip and softness
- A light-hold gel for definition
- A wide-tooth comb and a pick
Wiry gray strands usually need that cream or butter underneath, because gel alone tends to leave them stiff instead of defined. Let the twists dry overnight, or for several hours if you set them in the morning. With a satin bonnet at night, the set usually lasts a few days.
The most common mistake is unraveling too early. Twists that are still damp in the center frizz out and lose their spiral. Press the center of a twist with a dry fingertip before you separate it.
2. Chunky Twist-Out on a TWA

Comfort check: Six to ten twists means far fewer hand movements than a classic set. Rest your elbows on a table while you twist, and pause after every third section if your fingers cramp. If gripping a small section hurts, make the chunks bigger rather than pushing through.
On a 1 to 3 inch TWA, divide the hair into 6 to 10 sections. With so few parts, the whole install can take under an hour, though that’s an estimate and depends on your density. The result is a looser, fluffier shape with large spiral clumps instead of tight curls.
Fine or wiry hair sometimes slips out of a thick twist. If a chunk won’t hold, split it into two and twist each half. Use a dime-size amount of gel per section at most, because too much shows up as white flakes against silver.
Dry time runs from a few hours to overnight. Expect the shape to last about 2 to 4 days before the crown starts to flatten.
3. Mini Twist-Out for Thick Hair

Dense gray 4c hair can show the most definition with mini twists. Depending on density, you may need 40 or more, and that means hours of work. Split the install into two sessions, or section the hair into quadrants and finish one per sitting.
Use smaller parts on coarse or wiry patches, since those strands resist curling in bigger sections. Put a richer cream on the ends, where gray hair tends to feel driest. Let the set dry overnight or longer before taking it down.
- Pro: tighter, springier, fuller curls with a uniform pattern
- Pro: lasts up to about a week with careful refreshing
- Trade-off: shrinks more, so the finished length looks shorter
- Trade-off: takes hours to install and longer to dry
Keep the roots relaxed. Twisting too tightly at the scalp pulls on the hairline and makes the base look bumpy once the set fluffs. If that much sitting isn’t realistic for you, low-maintenance gray braided styles for natural hair offer a small-parts look with less daily styling.
4. Flat-Twist Front, Twist-Out Back
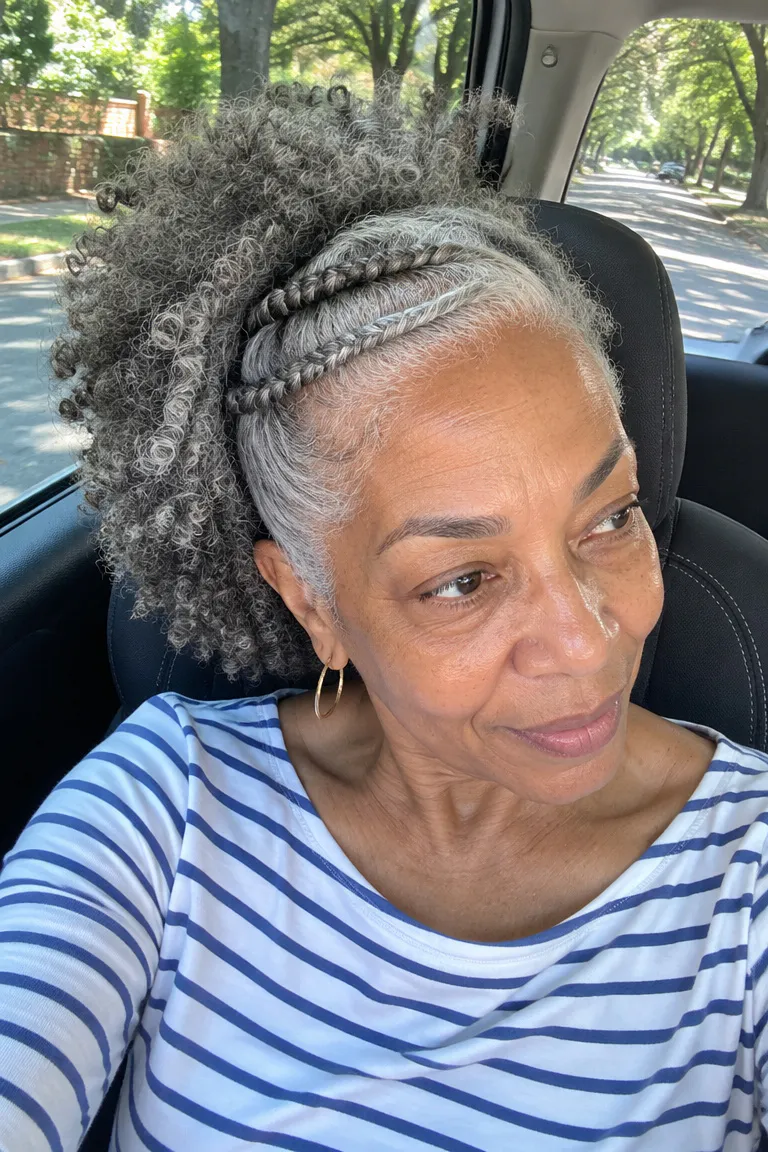
This hybrid suits medium-length hair. Three to five flat twists run from the front hairline back across the top, and the rest of the hair is set in regular two-strand twists. The front stays tidy while the back frizzes into volume, which helps most on days 3 to 5.
Ask your stylist: 1) "Flat twists that travel straight back from the hairline, each about a finger-width wide." 2) "Leave the sides loose, or tuck them behind my ears. I’ll tell you which." 3) "Keep the tension light at the hairline, with no pulling at the temples."
Flat twists need fewer parts than a full mini set, so the appointment is shorter and the style is easier to redo yourself. Expect it to last 3 to 5 days. The mistake to avoid is pulling flat twists snug against the hairline, which makes thinner edges sore and can leave them looking stressed.
5. Jumbo Side-Twist Bang

One large twist from a deep side part frames the face without twisting the whole head. It works best on short to medium hair with at least 3 inches at the front. Held loose, a jumbo twist also covers thinner edges without pulling on them, and low-tension gray braids that protect thin edges show more ways to do the same.
Pin it back or across the forehead with flat, light clips, and keep pins away from the hairline. Adding the twist takes only a few extra minutes, and it dries on the same schedule as the rest of the style.
- Rounder face: sweep the twist up and back at a diagonal for a lifted line
- Longer face: let it cross the forehead lower to shorten the look of the face
Pinning too tightly is the one mistake that matters here. If the clip leaves a dent or you can feel it at the temple, move it back an inch.
6. Side Part with Tucked Sides
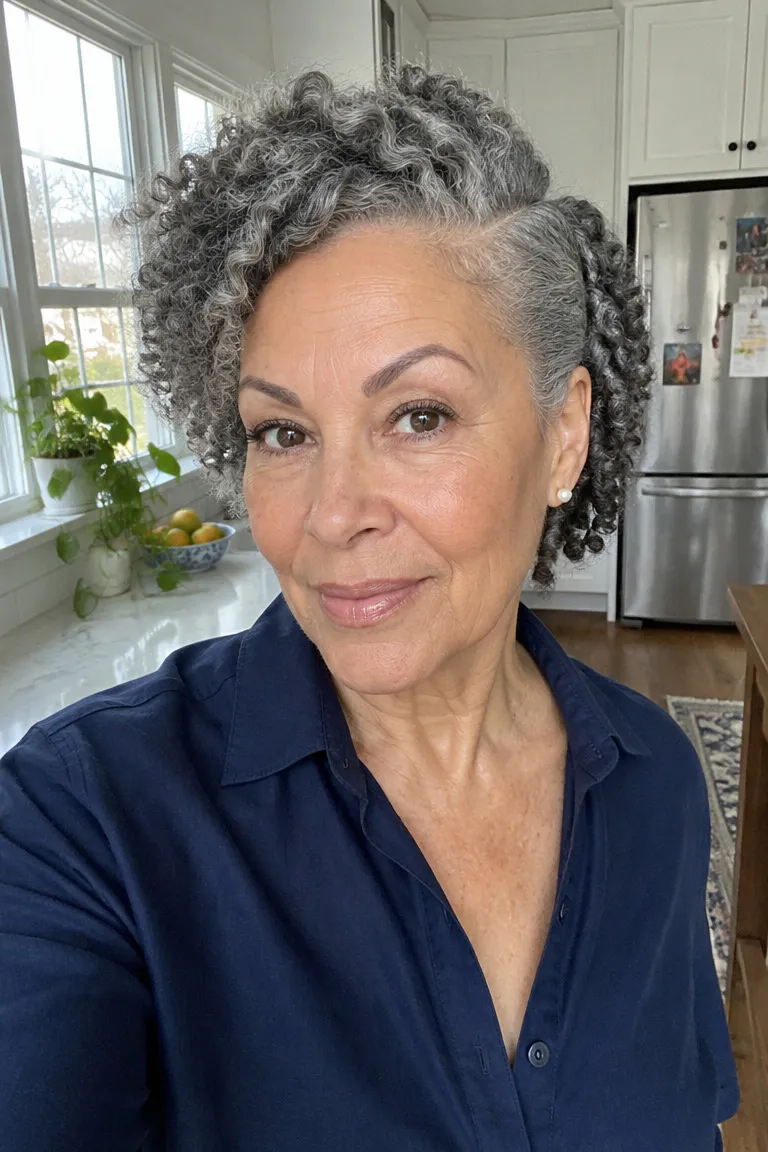
If you have a church service, reunion, or dinner coming up, this gives a twist-out a neat outline. The top keeps full, defined curl clumps while the sides are smoothed behind the ears. Stretch the hair before you twist so the clumps look long and open, then let the set dry completely.
- Draw the side part with a tail comb and rub a pea-size amount of firmer gel along the part and the perimeter only.
- Smooth each side back with your palm and tuck it behind the ear.
- Wait until the gel is dry before you touch it. On humid days, give it extra time and use a bit more hold.
- Lift the top at the roots with a soft pick, working from underneath so the curls stay defined.
Kept smooth, the look lasts 2 to 3 days. Skip gel over the whole head. On silver hair it can leave a cloudy film that dulls the shine.
7. Low Flat-Twist Pigtails
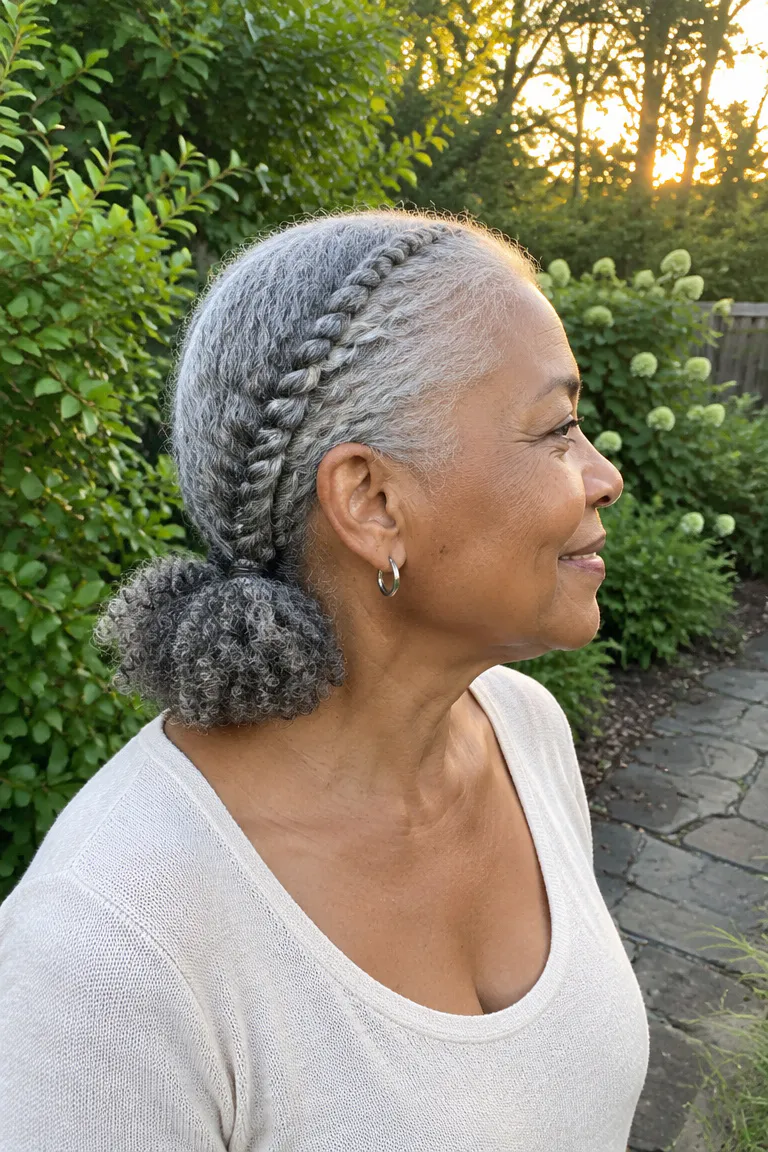
Comfort check: Use soft cloth-covered elastics, or none at all if the twist ends hold on their own. Tight bands pull at the sides, so leave enough slack to slide a finger under any elastic.
For shoulder-length hair, make 2 to 3 flat twists on each side that finish in loose twist-out puffs low at the nape. The style keeps hair off the face and neck on a warm day. It also uses fewer parts than a full twist-out, so it takes about 30 to 45 minutes, which is an estimate.
Leave the ends fluffy rather than combing them smooth, and seal them with a light butter or oil, since they’re the driest part. Expect the style to last 3 to 4 days. The common mistake is tight bands that tug at the sides of the head.
8. Twist-Out Pineapple
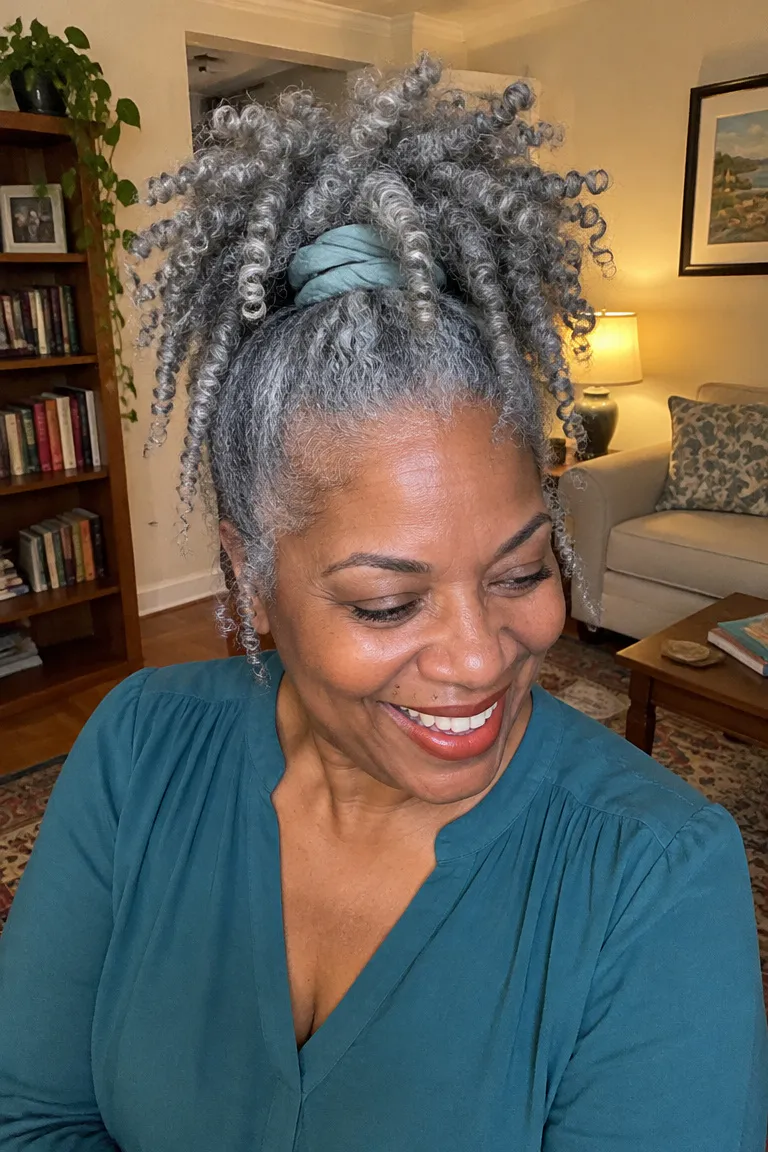
Maintenance tip: At night, gather the twist-out into a loose pineapple on top and cover it with a satin scarf or bonnet. That’s practical advice, not a cure-all: the loose hold keeps the curls from flattening against a pillow. It also keeps pressure off the hairline.
You need shoulder-length hair or longer. Gather the hair at the crown with a soft cloth-covered tie, wrapped loosely enough that the puff moves when you tilt your head.
In the morning, take the tie out and fluff with your fingers instead of a comb. A comb pulls apart the clumps you worked to define. Days 2 and 3 usually keep the best spirals.
If the tie slips, use a larger, softer one or loop it once more. Tightening the elastic to stop slipping is the mistake that stresses the hairline.
9. Scarf-Front Twist-Out
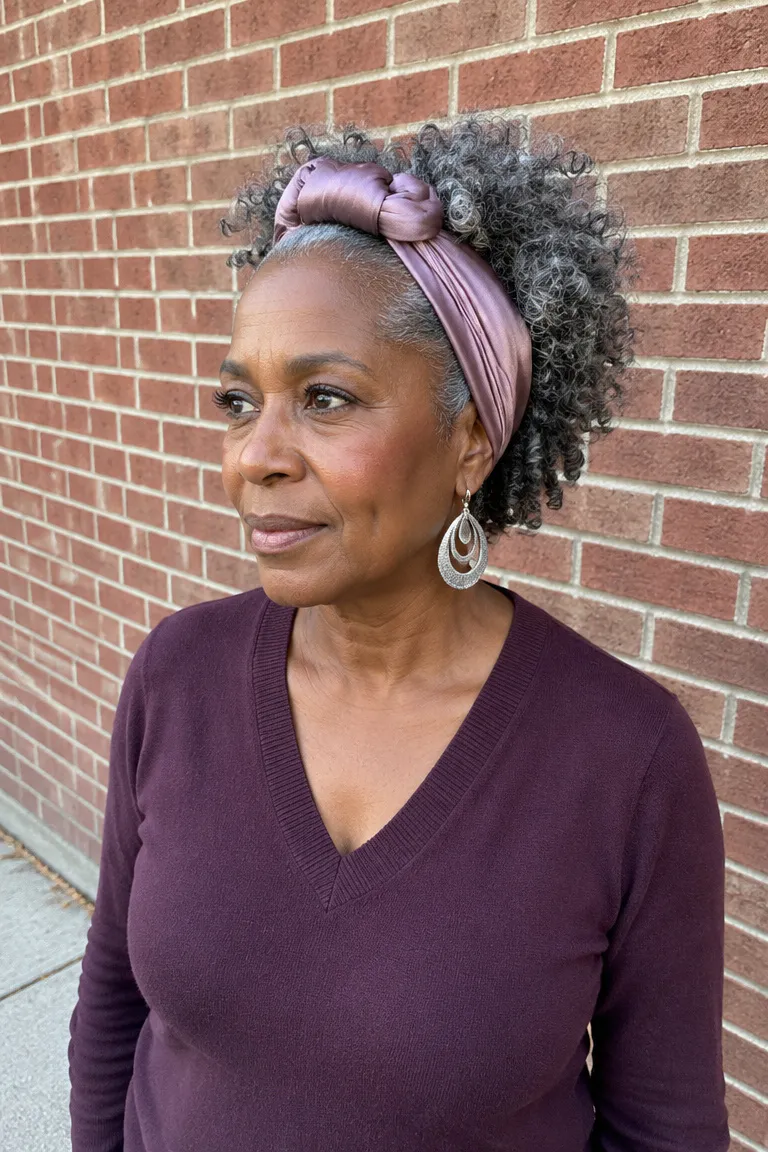
On day 3 to 5, the front of a twist-out often frizzes first. Fold a light silk or satin scarf into a strip 2 to 3 inches wide and sit it behind the hairline, not on it. The front looks finished while the back stays full.
Pick a smooth, lightweight fabric that won’t grab your curls. Tie it loosely enough that you can slide a finger underneath. It works with any hair at least chin length, and it needs no extra drying time.
- Knot at the top, centered, with the tails tucked into the curls
- Knot to one side, just behind the temple
- Knot at the nape, under the curls, so only the band shows in front
Don’t tie it tight across the forehead. That pulls at the edges and flattens the curls underneath.
10. Flat-Twist Halo
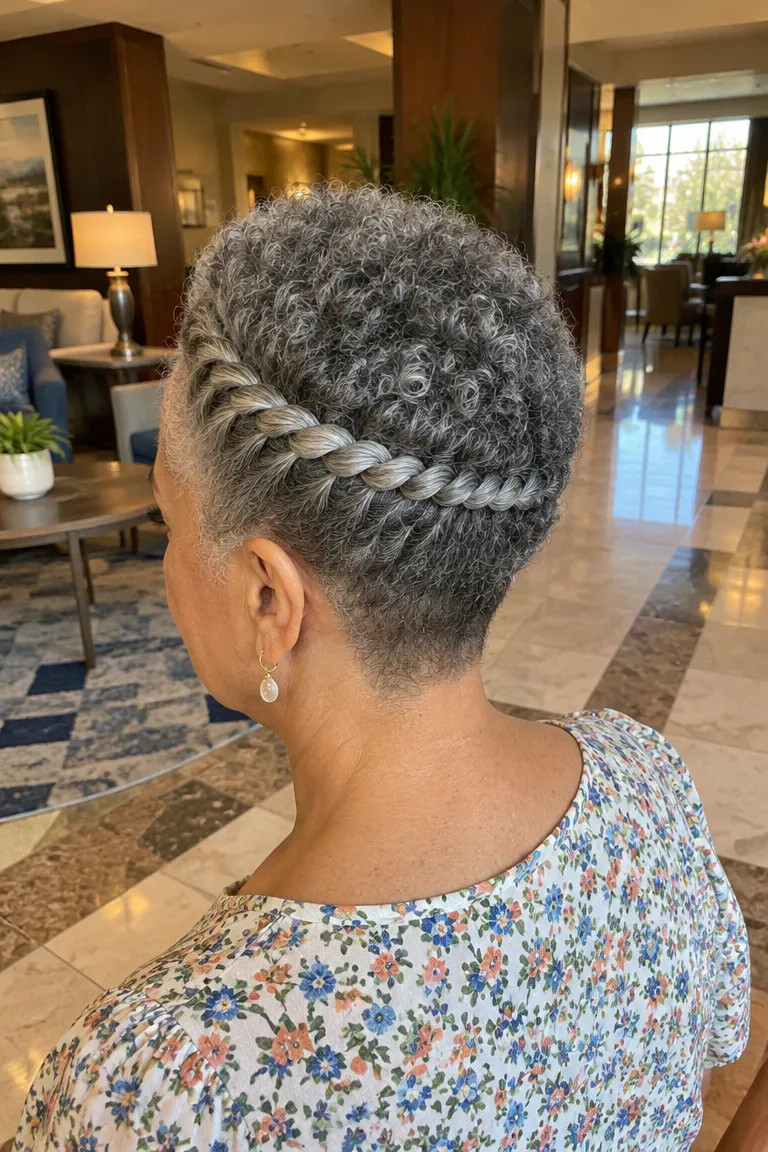
On a tapered gray cut, one or two flat twists can curve around the crown with the ends pinned flat. You can make one thin twist, or a larger one on each side. On short hair, do a partial halo that only covers the back half.
It keeps hair off the neck in a hot kitchen.
- Start on damp hair, not dry. Dry hair makes the twists puffy and loose.
- Part from just above one ear and flat-twist along the curve of the crown.
- Finish the end with a two-strand twist and pin it flat with a few light pins, not heavy ones.
- Repeat on the other side, or tuck the second twist beneath the first.
Plan on about 45 minutes to an hour, which is an estimate. The set lasts 3 to 5 days. Use as few pins as you need so the scalp doesn’t feel pressure.
11. Tapered Cut with Twist-Out

Clipped or tapered sides and nape blend coarse and soft gray textures into one tidy outline. The twist-out on top then has fewer parts to deal with, which saves time. You need at least 3 inches on top to twist at all.
For more taper ideas, see short tapered cuts for gray coily hair, which include wording for the barber.
Ask your stylist: Ask which clipper guard length they’ll use on the sides and nape, and whether it fades up gradually. Say how much length to keep on top: at least 3 inches. Ask whether to leave the front longer, so a twist or side part is possible.
Book a trim every 4 to 8 weeks, which is an estimate. The right interval depends on how quickly the taper grows out and how crisp you want it. The mistake to avoid is leaving the top too short to twist.
12. Banded Twist-Out for Length
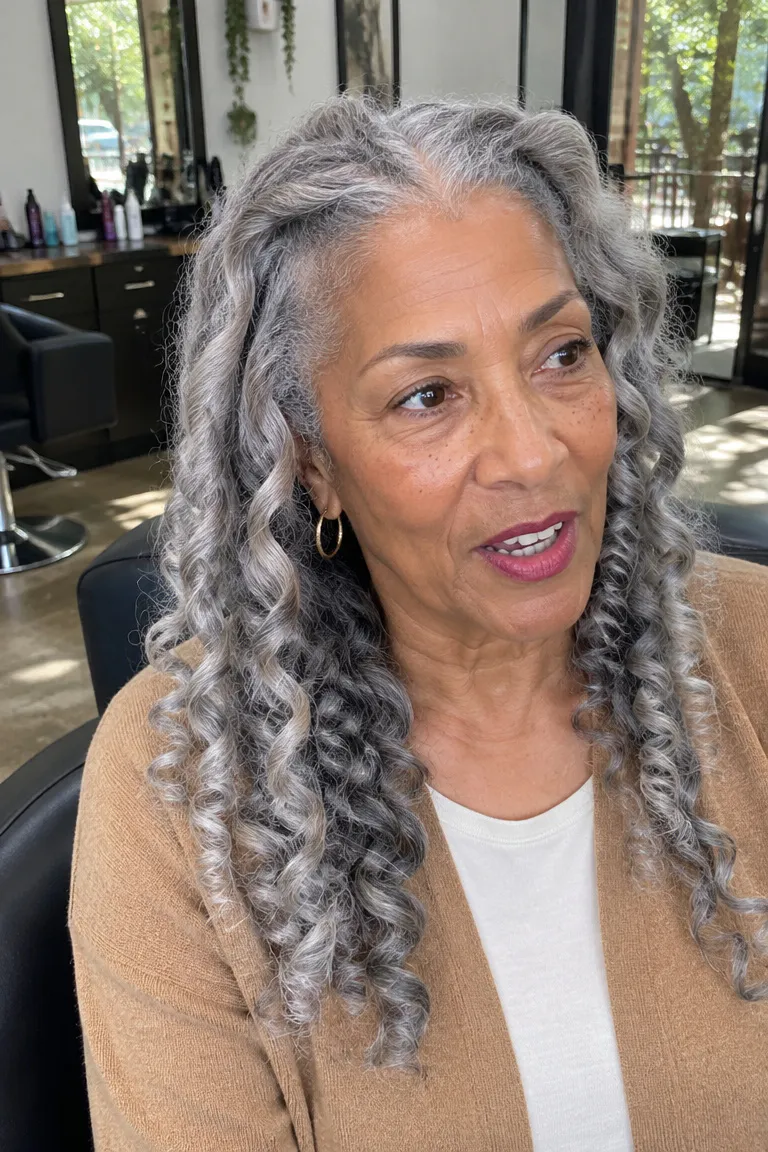
For hair past the shoulders, banding gives a smoother, more stretched look. Wrap a soft elastic around each twisted section at intervals to reduce shrinkage as it dries. It takes longer to dry, so plan on overnight or more.
Go looser at the hairline and over any thin spots. Remove all the bands before you untwist, or they’ll snag and break strands. It’s mainly a detail for hair longer than shoulder length, and the finished set lasts 3 to 5 days.
- Do use soft, snag-free elastics
- Do place bands loosely near the edges and thin areas
- Don’t leave bands on after the twists are dry
- Don’t pull the elastic snug to squeeze out more stretch
13. Day-5 Refresh Twist-Out
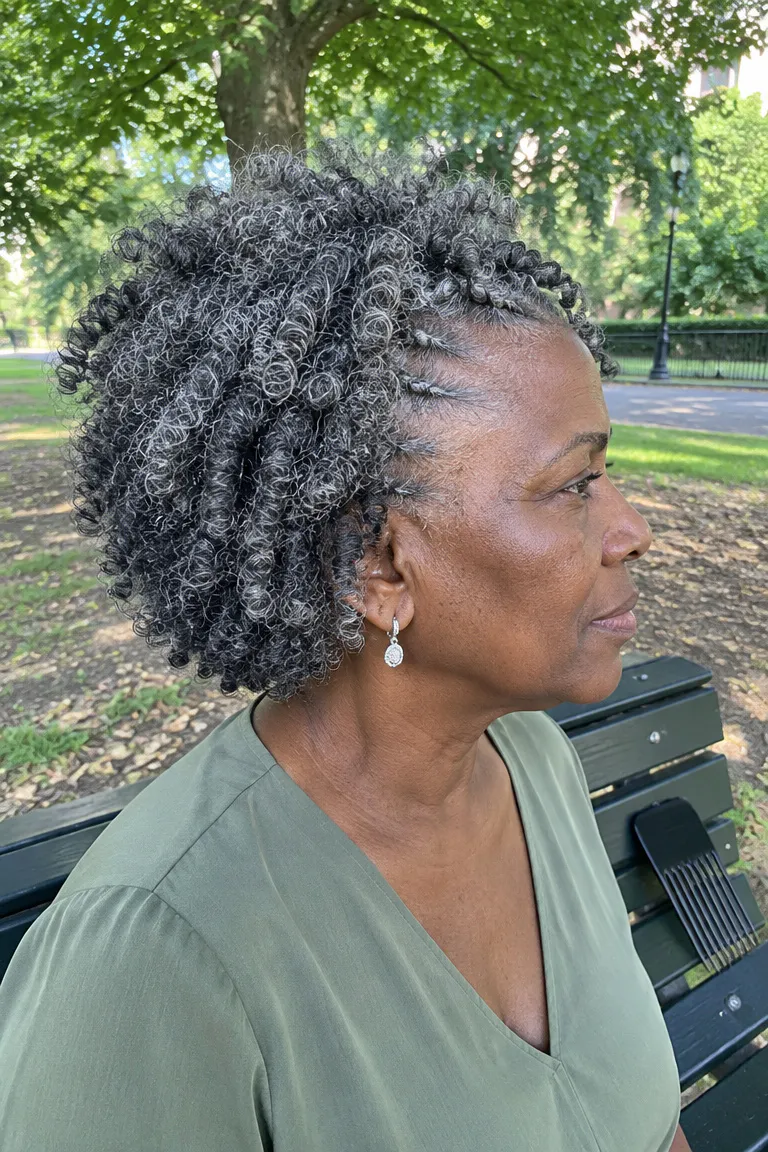
Maintenance tip: Re-twist only the front and crown. Mist lightly rather than re-wetting the whole head, then seal with a small amount of butter. Once dry, fluff with your fingers and a pick.
This is a repair routine, not a new style, and it takes 15 to 20 minutes (an estimate). It can extend the set by 2 or 3 days. A full re-wet restarts the whole drying process, which is why a light mist works better.
Sometimes washing makes more sense, especially if the hair looks dull or feels coated. Product buildup can dull gray hair. A clarifying wash is an option, as long as you follow the label.
- Mist only the front and crown, just until slightly damp
- Re-twist those sections and add a pea-size amount of butter to each
- Let them dry completely before you separate them
- Fluff with fingers first, then use a pick only at the roots
The mistake here is separating damp twists, which brings back frizz you were trying to cover.
Pick One Style by Hair Length
Choose by length first: a chunky twist-out under 3 inches, a classic or flat-twist hybrid from chin to shoulder, and a banded set or pineapple past the shoulders. Keep a satin scarf and a wide-tooth pick in your bag for day 3 to 5.