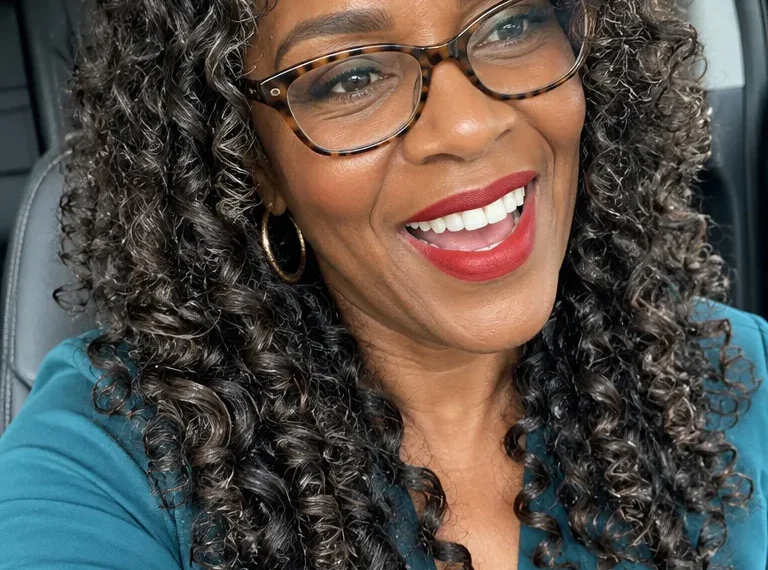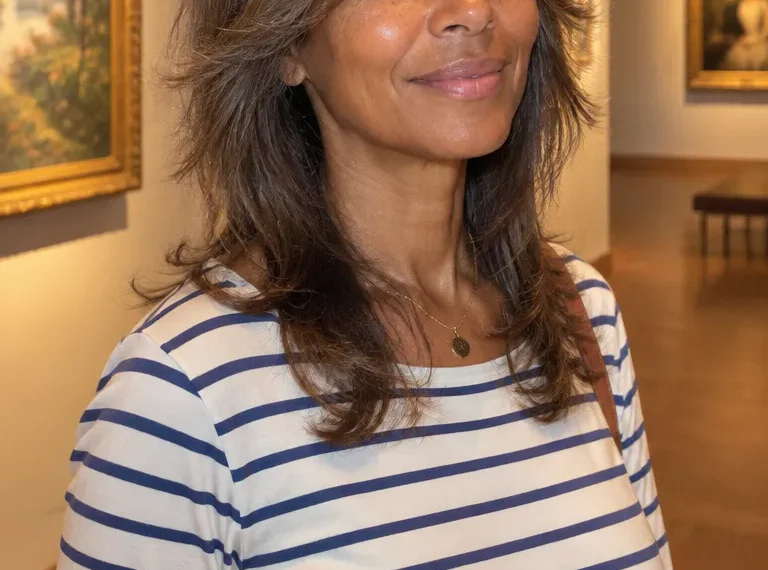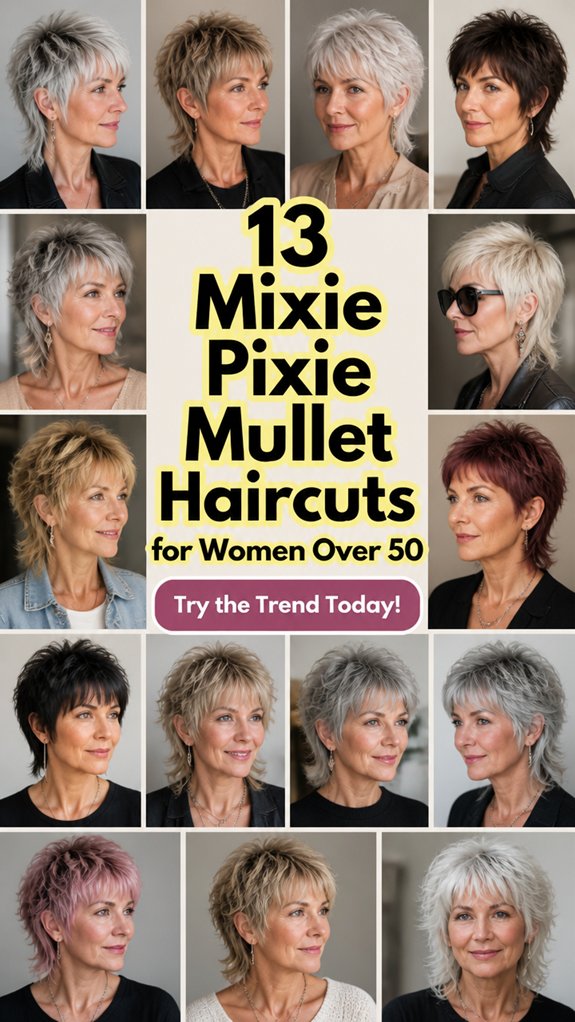
You’ll love how a mixie pixie mullet works for women over 50, because you can tailor length for back movement and front coverage, face-frame with cheek-jaw-chin layers, and keep it airy at the crown for lift. Ask for choppy, softly blended texture, plus a jaw-skimming front with a longer tapered nape. For volume, go shorter up top and build roots, for thicker hair request point-cut thinning-friendly layers, and for waves use a textured blend. Want 13 smart ideas, keep going so you’ll uncover more.
Find the Right Mixie Pixie Mullet Length
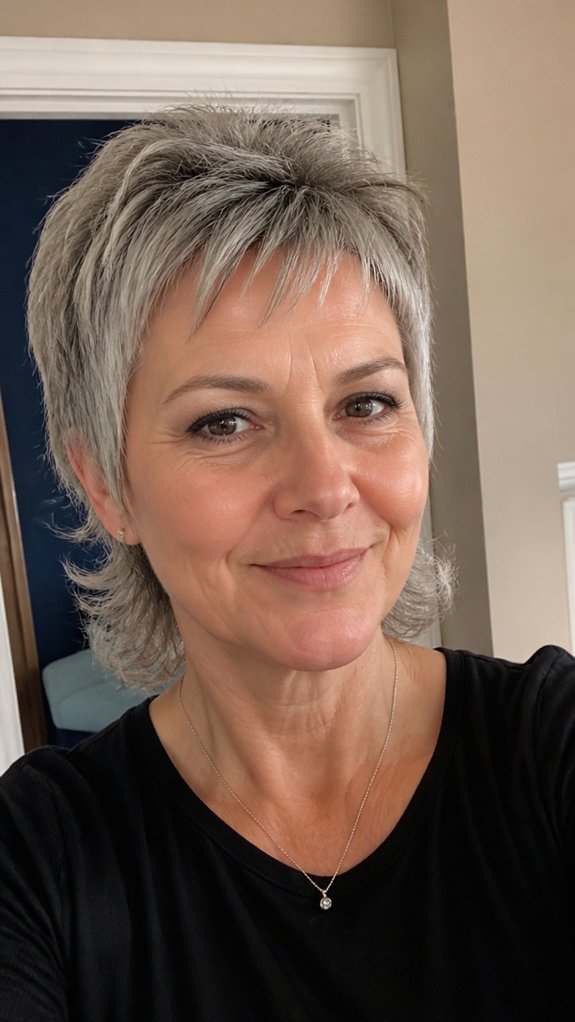
Choosing your Mixie Pixie mullet length comes down to how much movement you want in the back, and how much coverage or lift you want in the front.
For your face length, you can go slightly longer behind to add softness, without overwhelming your features. If you love a playful, swishy finish, choose a longer nape section, and keep the top airy for an easy, feminine frame.
If you want extra security, ask for more scalp coverage at the crown, and a shorter mullet for tidy thickness. You’ll feel confident the moment you style it, and it will suit your everyday rhythm.
Choose Face-Framing Layers for Over 50
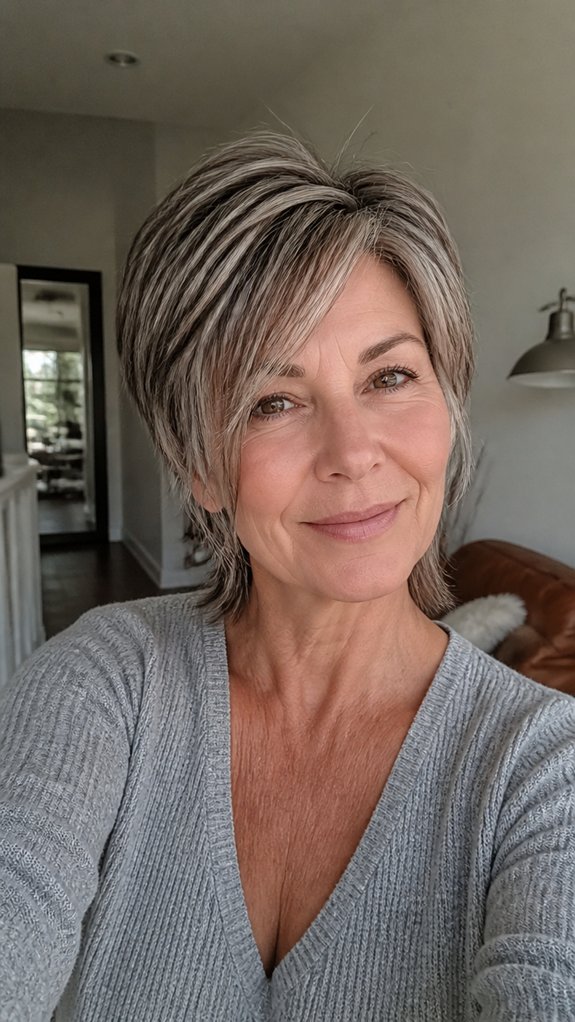
Face-framing layers do the heavy lifting, they lift your look without needing a drastic change. When you choose face framing, ask your stylist for layers that sit just around your cheeks, jaw, and chin, you’ll feel instantly more polished.
These softening features work especially well with a layered fringe, because the fringe blends into the layers and draws attention upward. For cheek definition, keep the longest pieces near your cheekbone, then let shorter bits taper toward the jaw. You’ll get movement, easier styling, and a flattering outline that feels like you.
Pick Choppy Texture That Still Looks Polished
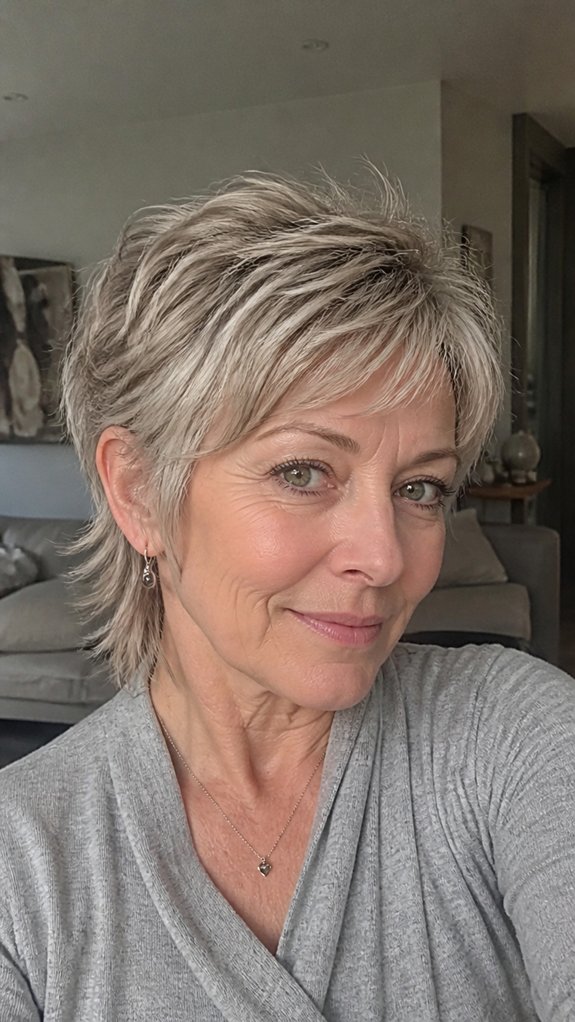
Pick choppy texture that still looks polished, and you’ll get the fun “mixie pixie” vibe without looking messy.
Start by asking your stylist for short, uneven pieces, then connect them with soft blending at the crown and sides.
You’ll want “chic grit,” so the texture shows in daylight, but you keep control with a smooth finish.
Ask for a light, flexible styling product, and work it in with your fingertips, scrunching lightly as you go.
Finish with a quick mist of hairspray, just enough to hold. That gives you a confident, polished edge, every day.
Go Short With Crown Volume Mixie Pixie Mullet
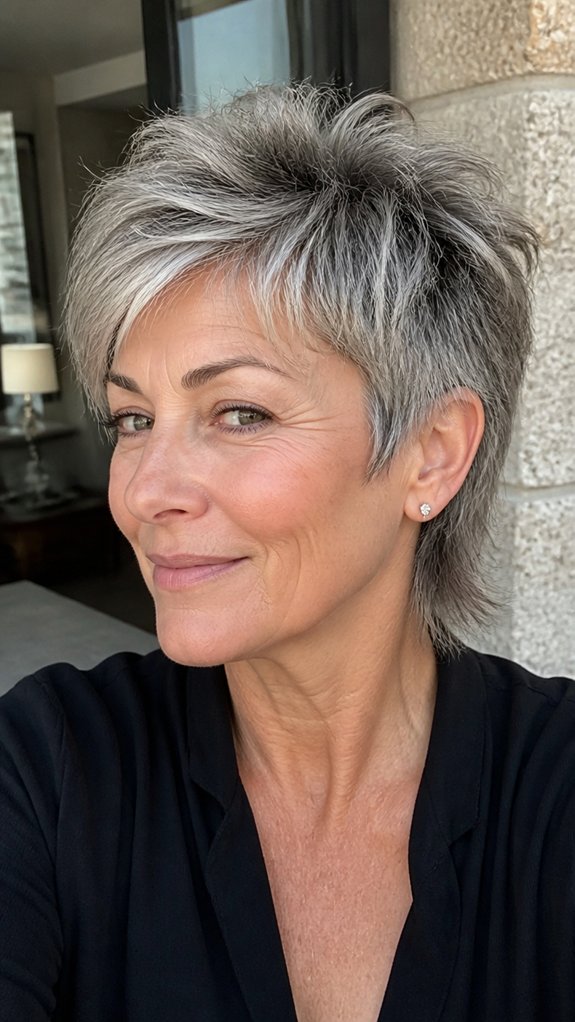
Go short with a mixie pixie mullet by building crown volume first, and you’ll instantly get that lift without losing control.
You start at the roots, teasing gently or using a round brush while blow-drying upward, so your short crown looks lifted, not flat.
Then you keep the sides light, and let the back fall softly, for a balanced mix that feels touchable near your neck.
Finish with a light hold spray, and scrunch just a bit, so you keep a voluminous crown all day.
You’ll look refreshed, like you stepped into your best version.
Try a Jaw-Skimming Cut With Soft Mullet Taper
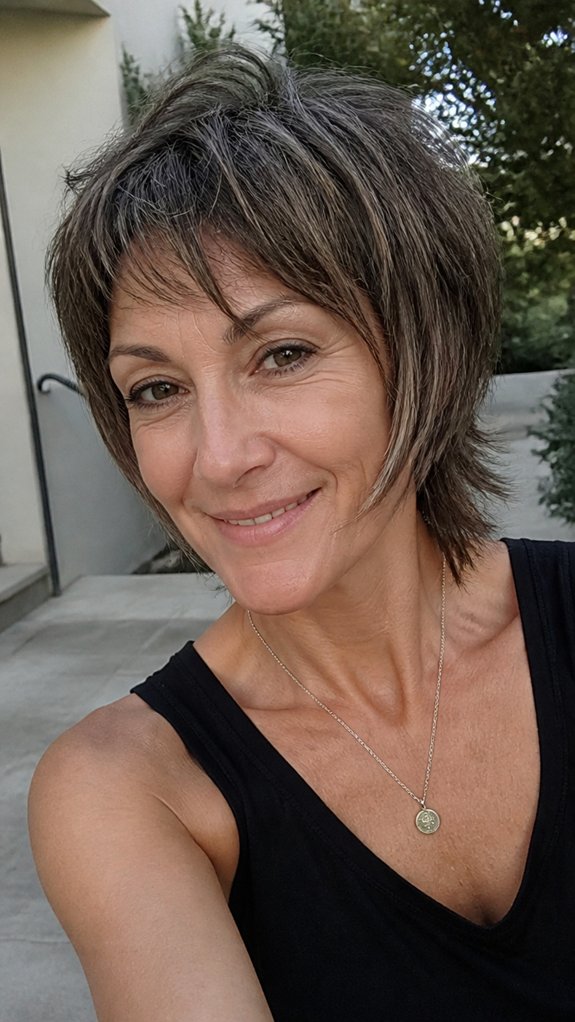
You can nail a jaw-skimming cut with a soft mullet taper by keeping the front and sides slightly shorter, then letting the back grow longer in a gentle, blended way.
You’ll love how it frames your face, it skims right at the jawline, and it moves beautifully when you turn your head.
Ask your stylist for a soft undercut near the sides, but keep it subtle, so it doesn’t feel harsh.
Then request a tapered nape, with the shortest point sitting low, and the ends graduating upward.
This balance makes your hair look fuller, and it feels easy to wear daily.
Add Wispy Bangs for a Lighter Mixie Pixie Mullet
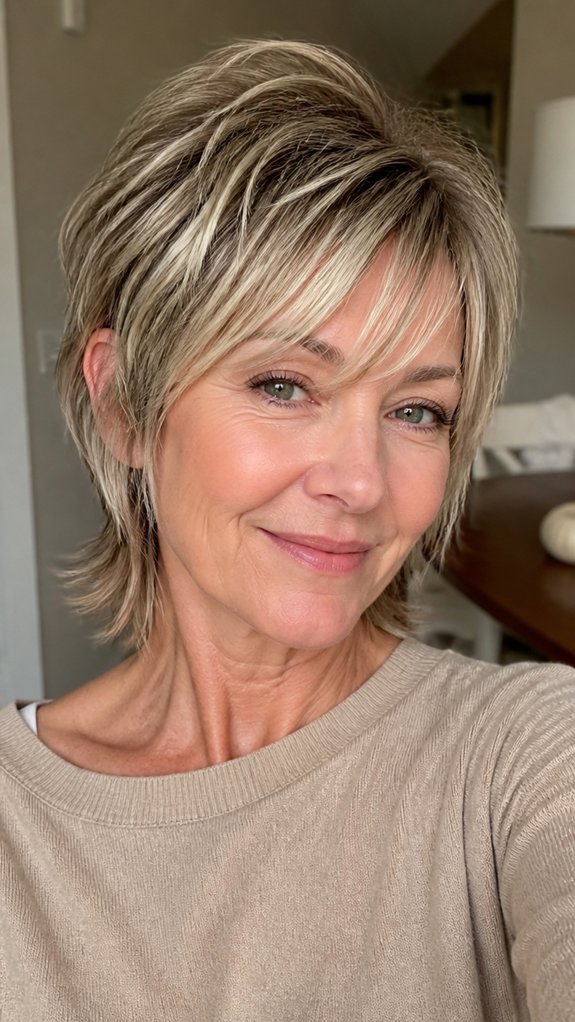
Wispy bangs work like an instant “lightener” for a mixie pixie mullet, and they often flatter women over 50 right away.
You’ll soften your forehead, frame your eyes, and keep the look breezy, not heavy. Ask your stylist for airy micro bangs, cut a bit shorter in the center and slightly longer at the sides. Then request soft feathering where the bangs meet the top, so they blend into the pixie crown and mullet texture.
When you style, use a light mousse, blow-dry forward, and let a few strands fall naturally. You’ll feel refreshed, every day.
Pick Side-Swept Layers for Everyday Wear
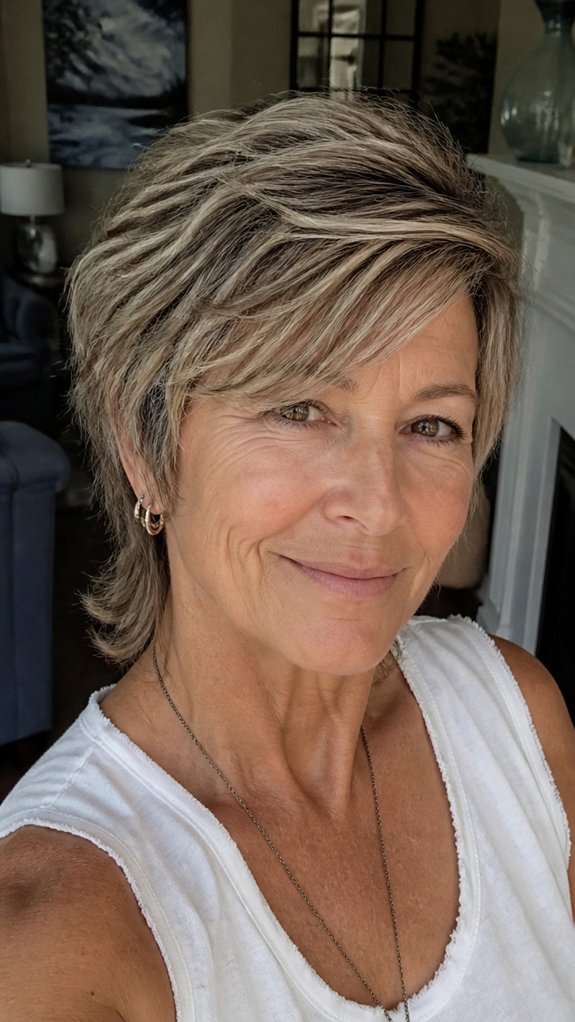
Side-swept layers work every day, because they add movement without demanding extra styling time.
When you choose a mixie pixie mullet with side-swept layers, you get face-framing softness that falls naturally, even when you’re busy.
For everyday versatility, part your hair slightly off-center, then let the longer pieces skim your cheekbone and neck. You’ll love how quick it feels, because you can smooth with your fingers, or use a light blow-dry for 2 minutes.
Keep up side swept maintenance by trimming every 6 to 8 weeks, and misting ends with a moisturizing spray.
Style a Modern Back-Swept Pixie Mullet Shape
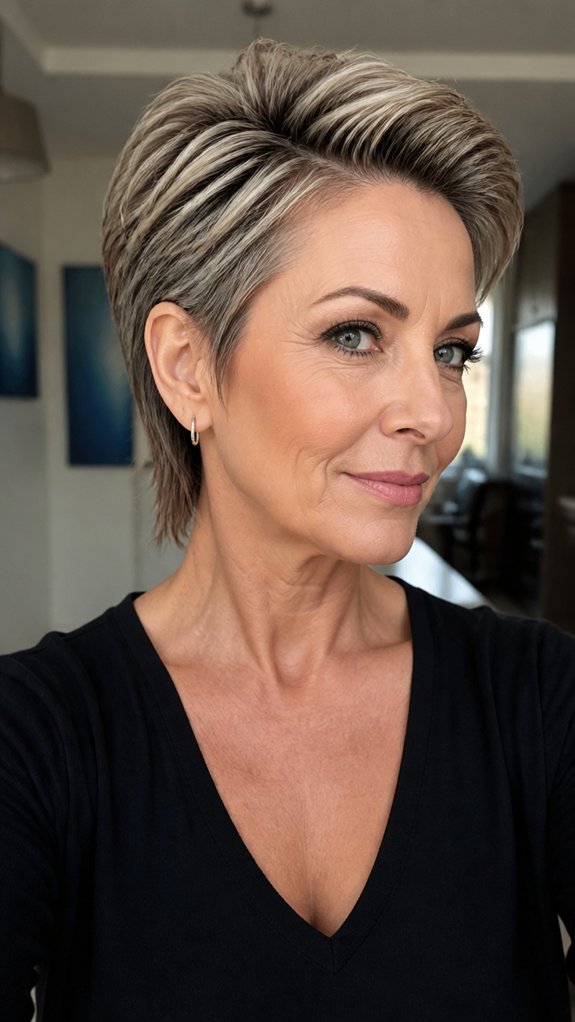
To make a modern back-swept pixie mullet shape look polished, focus on the back first, then blend it into the sides for a smooth silhouette.
Start with damp hair, and use a modern comb through to remove tangles, then lift the crown slightly.
Create an asymmetric parting, and keep it soft, so your hair falls naturally. Tuck the sides behind your ears, then sweep the back upward and slightly toward your neck.
Add a light styling cream, then finish with a flexible spray. You’ll feel confident, elegant, and effortlessly “you” all day.
Work With Fine Hair Using Lifted Mullet Layers
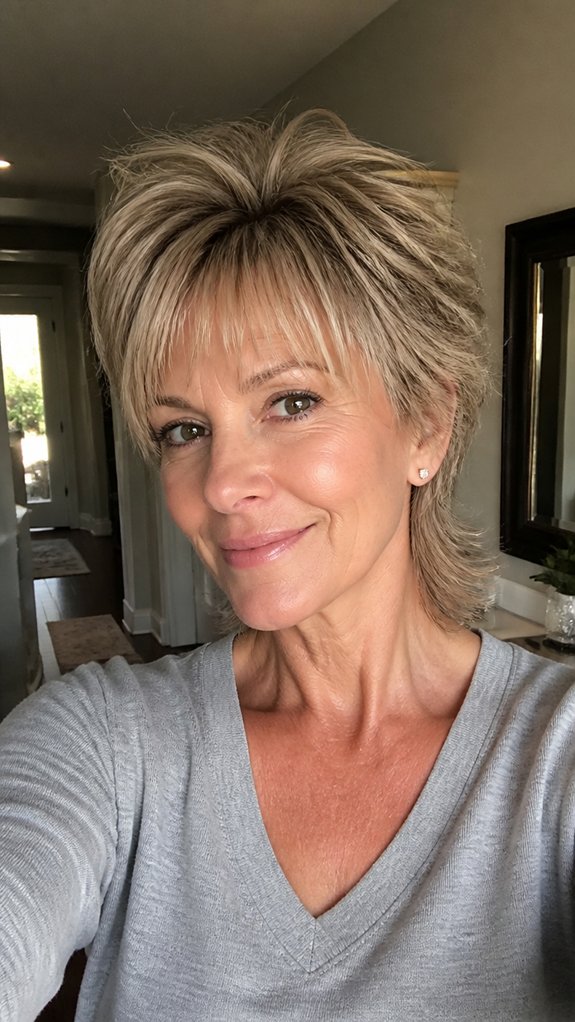
Lifted mullet layers are a smart way to work with fine hair, because they add height where you want it most. You can ask your stylist for lifted layers at the crown and around the back, this gives volume boosting without heavy weight.
Focus on root texturizing, so your roots feel fuller, and your hair won’t lie flat. Then request subtle feathering through the sides, it softens the shape and lets strands move naturally.
Style with a light mousse, lift at the roots, and blow-dry upward, you’ll feel the difference fast, and you’ll love how effortless it looks.
Enhance Thick Hair With Thinning-Friendly Texture
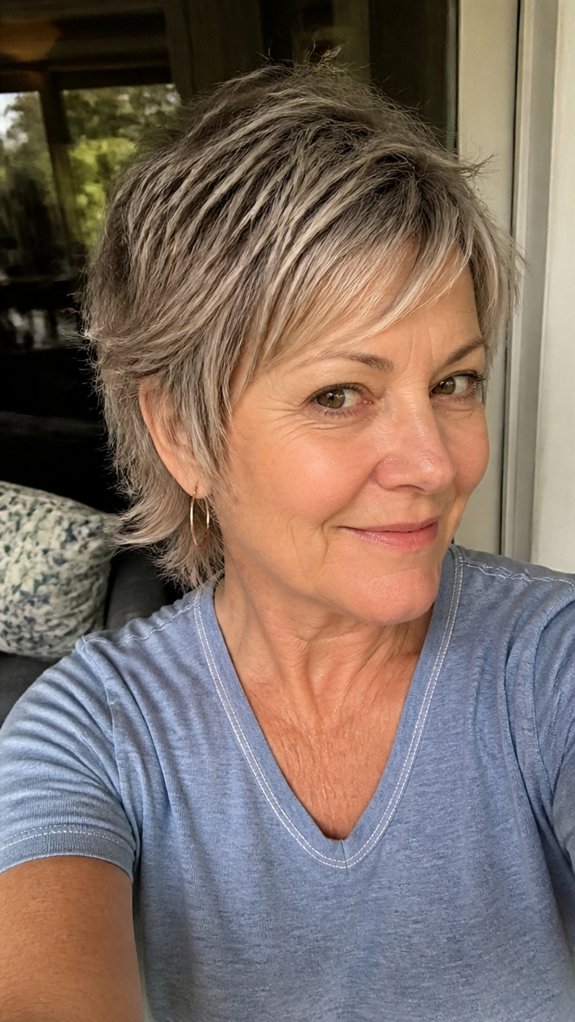
If you have thick hair, you can still keep your mixie pixie mullet looking light, moveable, and flattering, by using thinning-friendly texture. You’ll love how it feels when you style without heaviness.
Start by asking your stylist for soft, point-cut layers in the crown and around the mullet’s back, so bulk breaks up naturally. Then choose thinning friendly products, like lightweight mousse or airy cream, and apply them from mid-lengths to ends, not the roots.
Finish with scalp friendly styling, using gentle heat, and scrunching for shape. You’ll get bounce, not stiffness, and a smoother silhouette.
Go Curly or Wavy With a Textured Mullet Blend

A textured mixie pixie mullet looks amazing when you go curly or wavy, because the shape already helps hold movement, even as your hair grows out.
You’ll love how a curly definition frames your face, while the airy back layers give your silhouette softness.
To bring out your natural pattern, scrunch a light curl cream, then let it set without touching.
If humidity care matters, you spritz a gentle anti-frizz mist, or use a small amount of gel on just the crown.
Finish with a satin scarf at night, and you’ll wake up touchably defined.
Tapered Clipper Sides, Longer Top
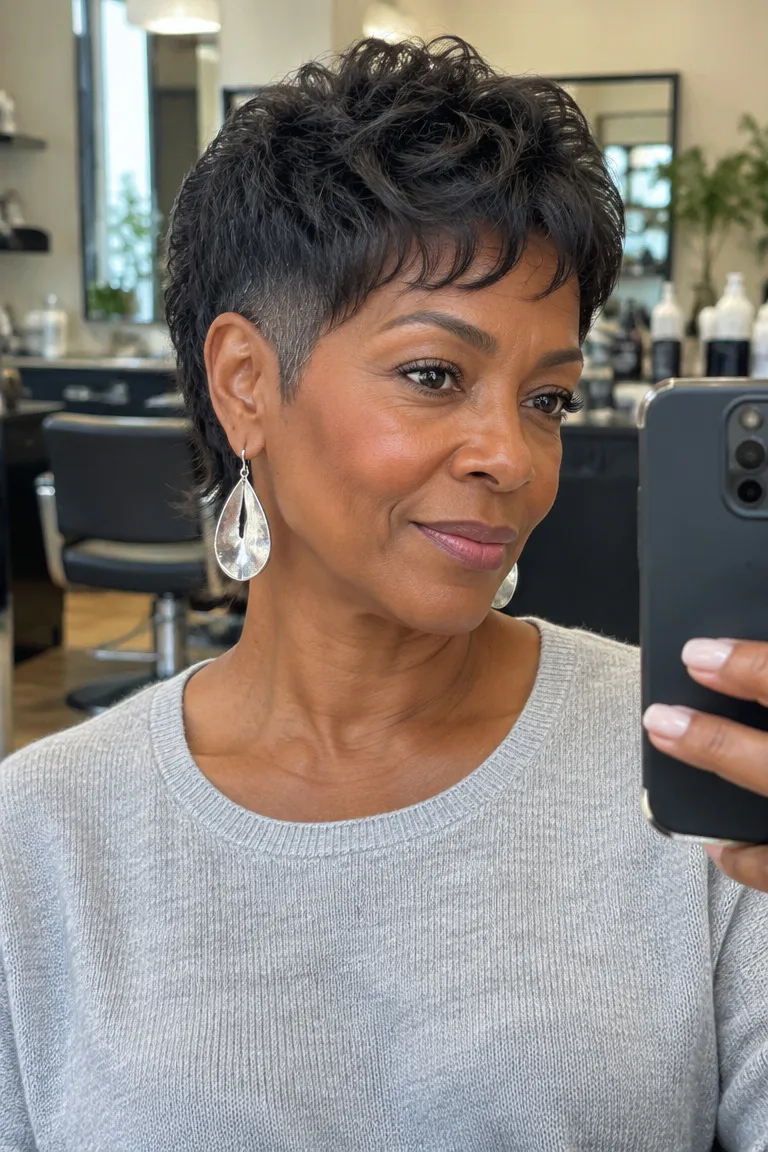
Clipper-tapered sides keep the ears and temples neat while the top stays long enough to move. Request a #3 or #4 guard (about 3/8 to 1/2 inch) at the sides, and leave the top around 2 to 3 inches.
Plan on a taper refresh every 4 to 5 weeks, because clipper work turns fuzzy faster than scissor cuts. Skip this one if your hair is sparse at the temples, since a close taper shows more scalp.
Ask your stylist: Ask for the taper to be scissor-blended into the nape, so the tail flows out of the sides instead of sitting on them like a box.
Micro Fringe Mixie Pixie Mullet

A micro fringe sits just above the brows, with the tail left longer behind. It suits a high forehead because the short length breaks up the open space without covering it.
Choose a blunt edge if your hair is thick and straight, since it gives a graphic line. Pick a point-cut edge if your hair is fine or wavy, because the broken ends look softer and hide uneven regrowth.
Warm a pea-size dab of paste between your fingers, then press it through the fringe, not the roots.
Maintenance tip: Book a fringe trim every 3 to 4 weeks. Ask if your salon does quick fringe-only visits between full cuts.
Center-Parted Curtain Fringe Mixie
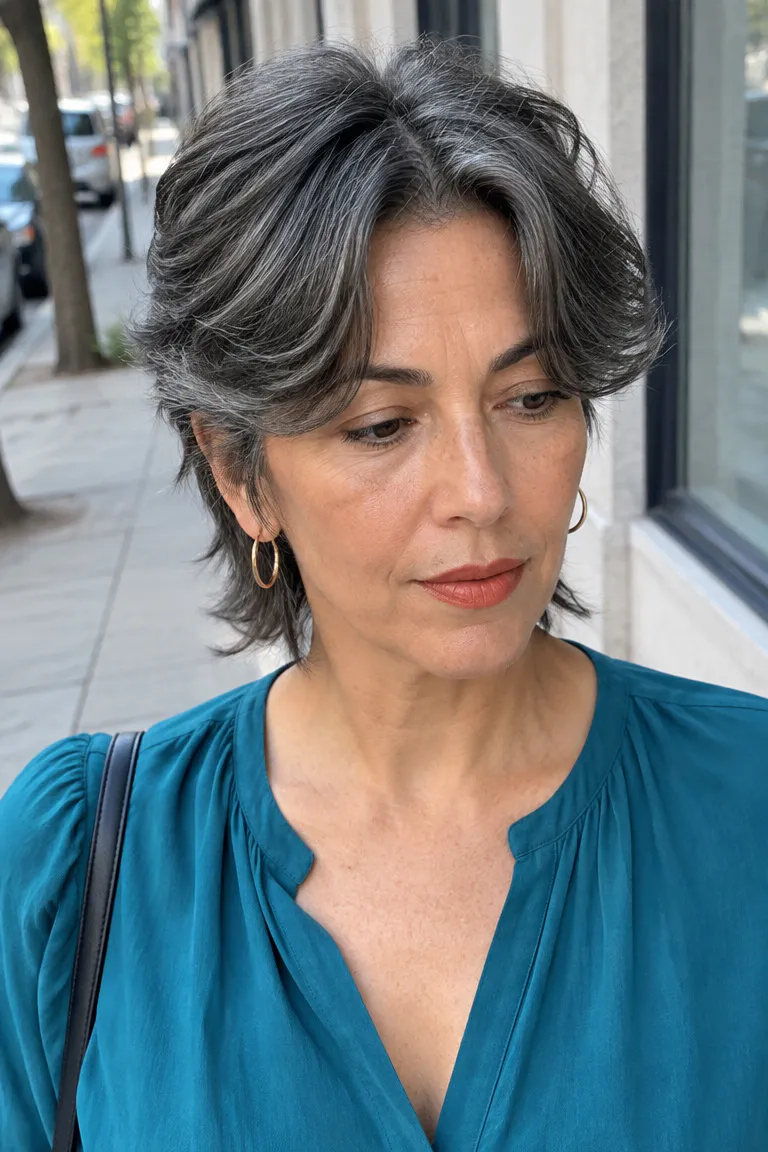
A center part splits a long fringe into two curtains that soften the top of a mullet. Have them cut to graze the cheekbones, then blend into short layered sides.
To set the curve, dry each side over a round brush, rolling away from your face. Finish with a blast of cool air, which locks the bend in place.
Straight to slightly wavy hair holds a center part best. Strong front cowlicks or tight curls tend to push the part off center.
Comfort check: Shake your head and see whether the fringe falls into your eyes. If it does, ask for a little more length removed near the brow.
Asymmetrical Mixie With One Longer Side
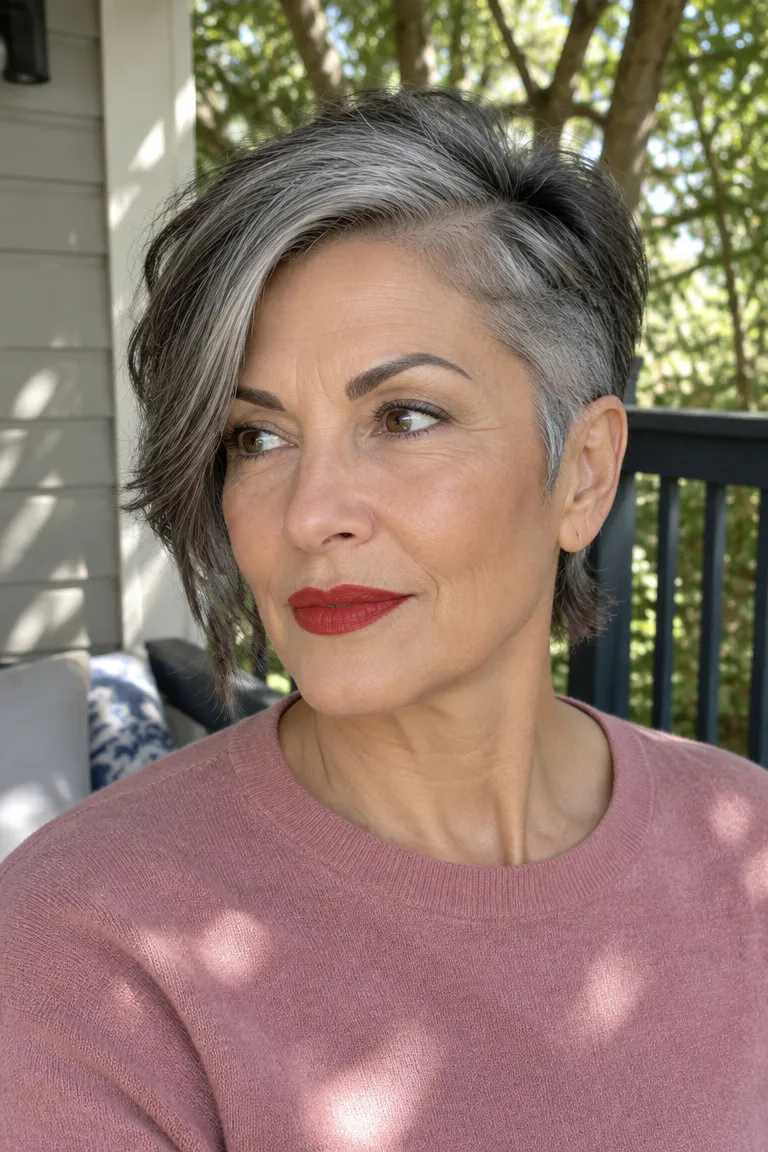
Leaving one side longer, usually over the ear, adds shape without adding length overall. The opposite side stays short and tapered, so the cut reads as planned.
Lengthen the side your hair already falls toward. Check your natural part after a wash, then keep the longer side on the heavier side of that part.
As it grows out, the long side reaches the jaw first and starts to look like a bob. A trim every 5 to 6 weeks keeps the tail in balance.
Ask your stylist: Ask for about an inch to an inch and a half of difference between the two sides, so the tail doesn’t tilt.
Mini Wolf Cut Mixie Hybrid

A mini wolf cut packs heavy interior layers into the top, leaving a shaggy crown and a small tail. A standard mullet keeps cleaner lines, while this version has choppy layers that stand away from the head.
Wavy hair and thick straight hair give the best shape, since both support the shag. Very fine, flat hair can look stringy unless the layers stay short.
Rough-dry with your fingers, then spray a salt-free texture spray at the roots and mid-lengths. Salt-free formulas keep the ends from feeling stiff.
Maintenance tip: Reshape every 6 to 8 weeks. The layers lose their lift once the top grows past the crown.
Glasses-Friendly Ear-Cut Mixie
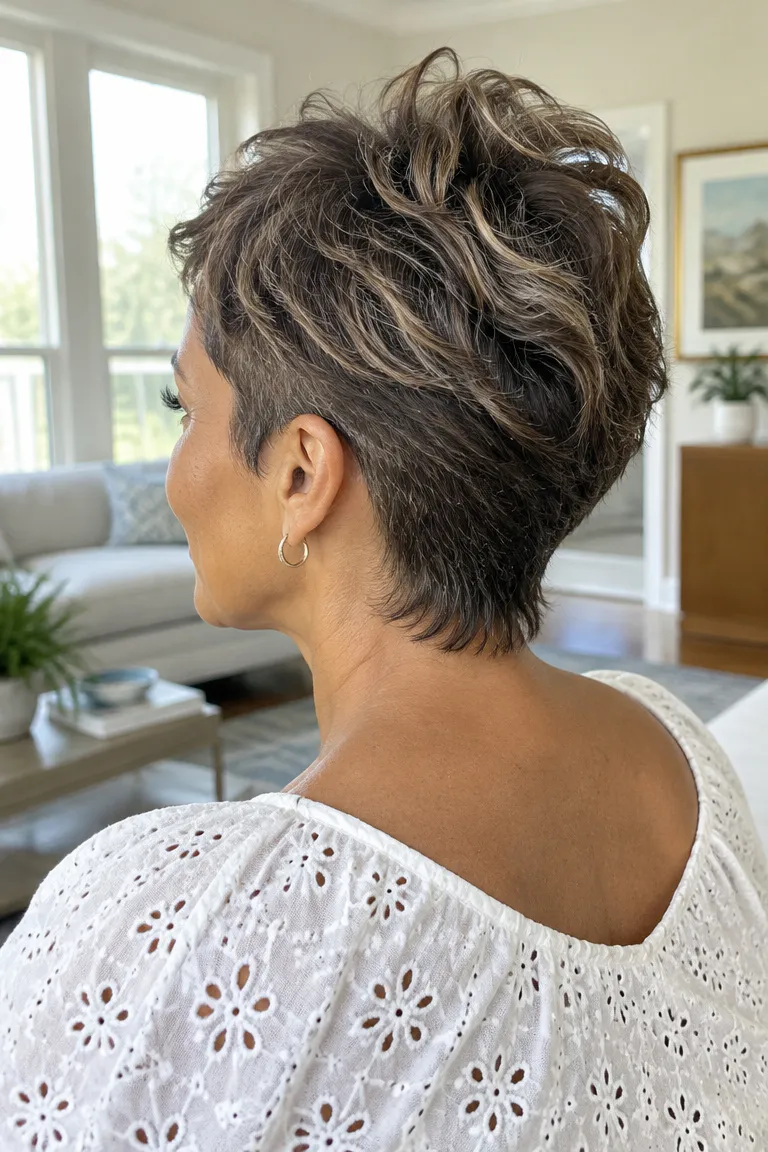
Cut the sides close around the ears and temples, and frames sit flat with no hair bunching under the arms. Ask for a taper that starts just above the ear and runs down to the nape.
Keep about half an inch to an inch of length above the ear, which looks soft but still clears the arms. Have the tail cut short and tapered so it doesn’t nudge the frames outward behind the ear.
Ask your stylist: Bring your frames and wear them in the chair. Ask your stylist to cut around the arms while they’re on.
Cowlick-Friendly Mixie Pixie Mullet
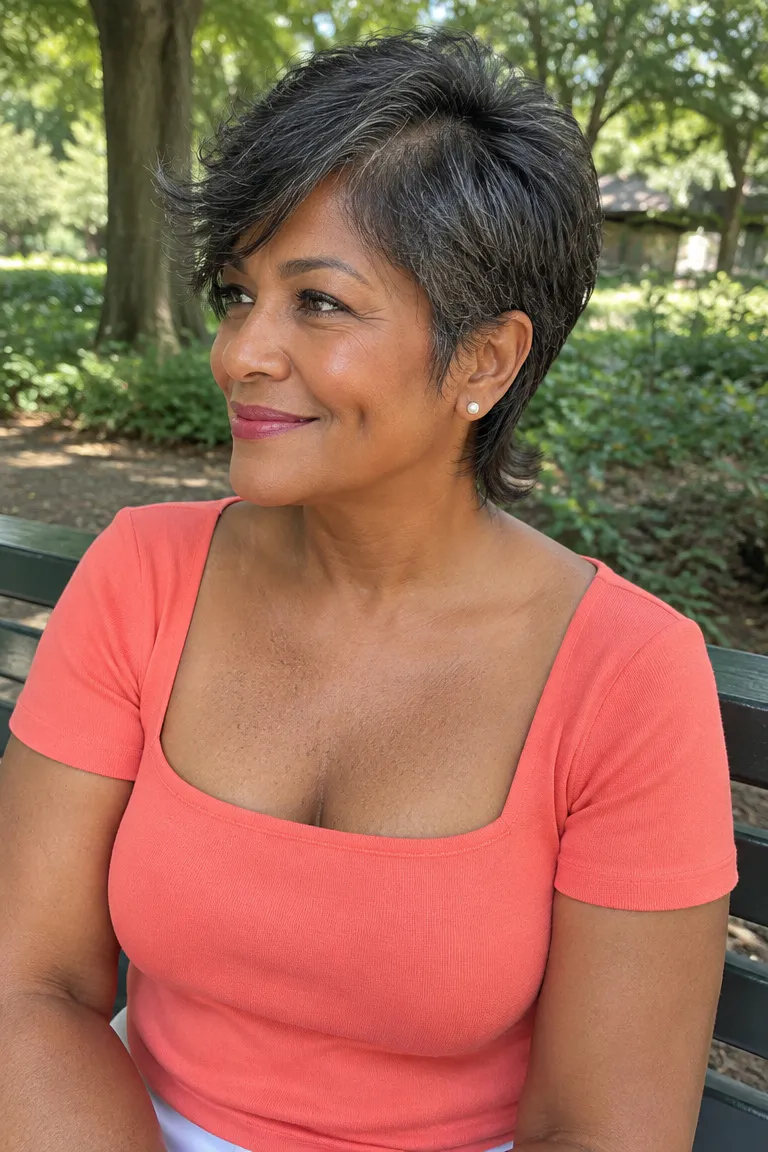
Cutting around a crown whorl works better than fighting it. Leave an extra half inch to an inch of length over the spot, because the added weight helps hair lie down instead of springing up.
Have the top layers cut to fall in the direction the cowlick already grows. A front cowlick often does well with a side-swept fringe.
At home, dampen the crown and blow-dry it in your chosen direction with a flat brush. Set it with cool air before you add any product.
Ask your stylist: Ask them to check the cowlick on dry hair, since wet hair hides how it actually sits.
V-Shaped Nape With Soft Point
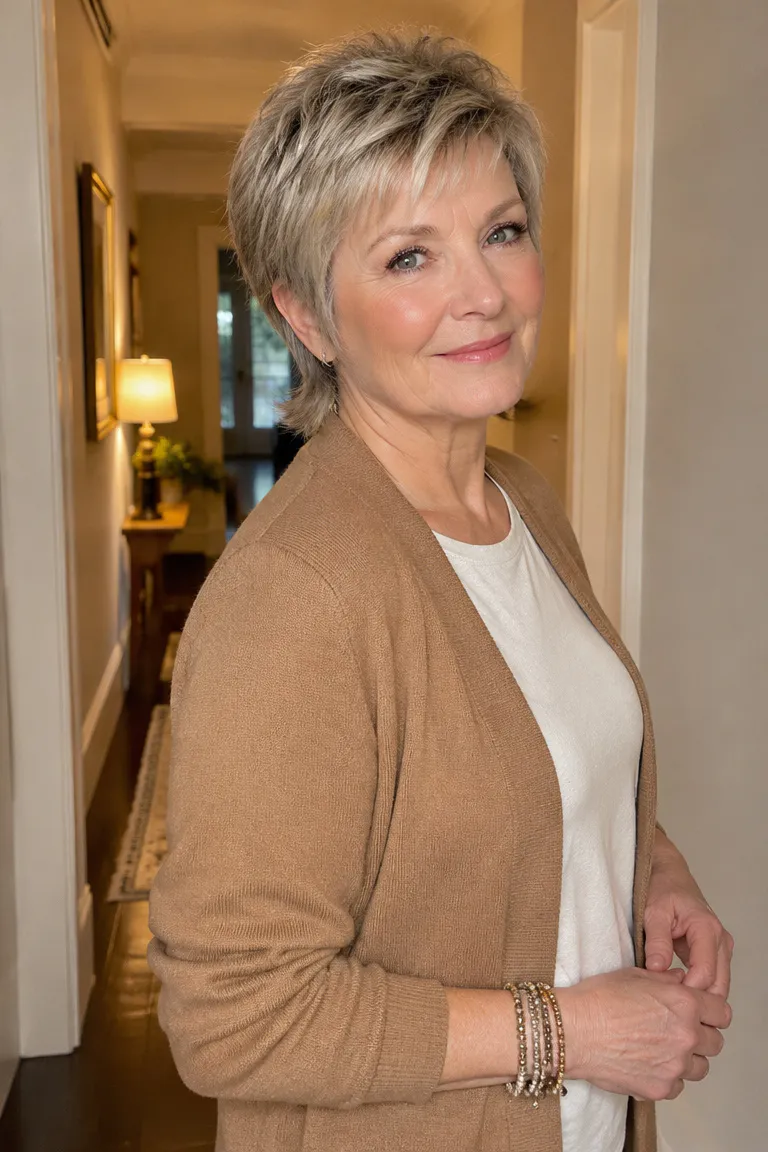
A V-shaped nape cuts the tail into a gentle point, with the longest strands at the center. Keep the point only about half an inch longer than the edges, or it turns stringy.
This shape works best on straight to slightly wavy hair, where the point lies flat. Tighter curls tend to bunch it into a puff.
Expect the V to soften within 3 to 4 weeks, as the sides grow in around it.
Maintenance tip: Book a quick nape tidy between full cuts. It takes only a few minutes and keeps the point crisp.
Reshape a Grown-Out Pixie
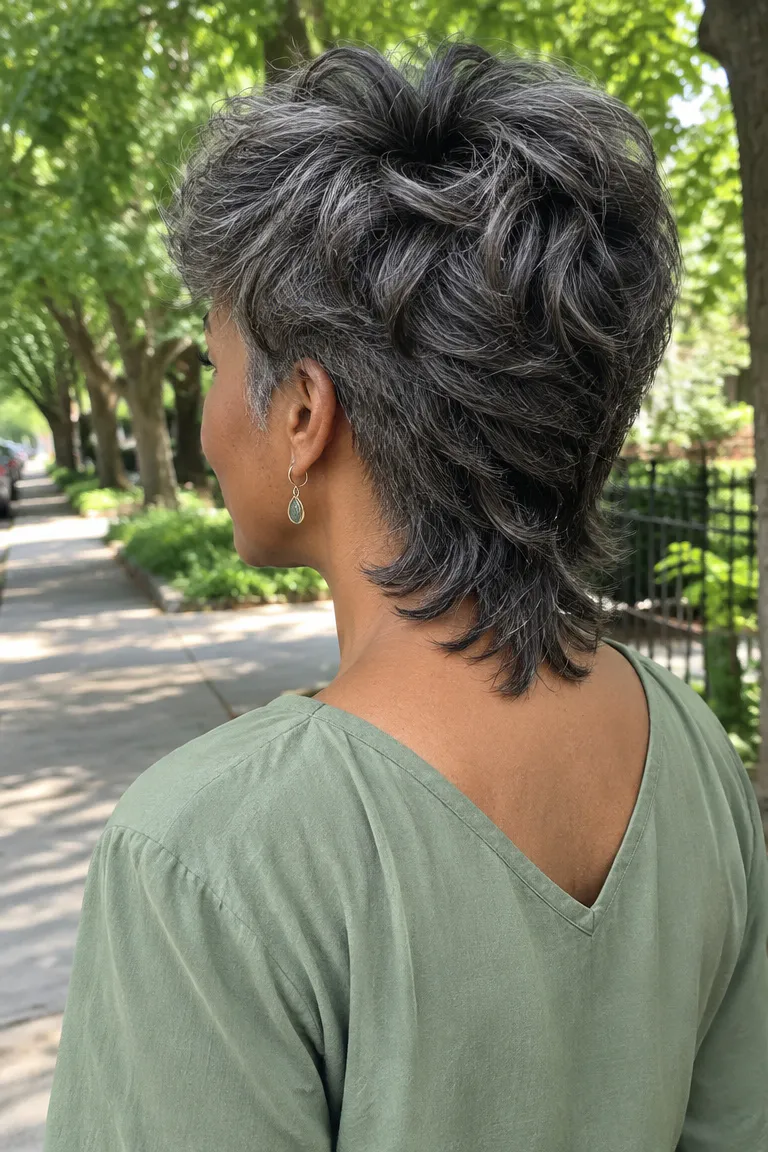
A grown-out pixie already has what a mixie mullet needs: length in the back. Keep it, then cut new layers into the top and sides.
Wait until the back reaches the base of your neck, around 2 to 3 inches. Tell your stylist you want shorter tapered sides, a layered top with feathered ends, and the tail left intact.
To avoid a mushroom shape, have layers cut through the crown and the sides tapered close enough that hair doesn’t puff around the ears.
Ask your stylist: Ask them to remove weight around the ears first, then check the shape from the side and back before finishing the top.
Pointed Sideburns With a Soft Tail
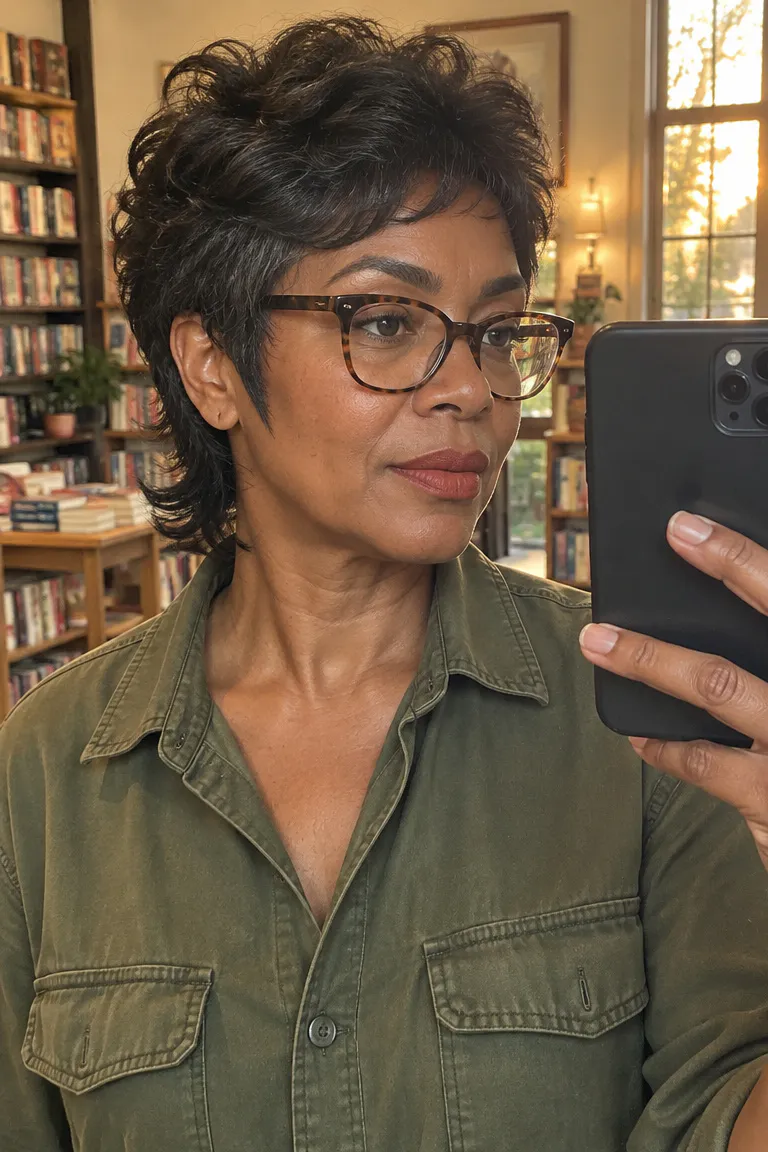
Narrow pointed sideburns angle toward the cheekbone and give a short cut a defined edge. Leave them about an inch long, ending in a small point near the top of the cheek.
Round and square faces tend to do well with them, since the angle adds line near the cheek. Heart-shaped or very narrow faces usually look better with shorter points.
Pair them with a soft feathered tail so the sharp edge has something gentle to balance it.
Comfort check: Press the points against your cheeks. They should lie flat, and if they curl out, ask for them cut slightly shorter.
Maintain Your Mixie Pixie Mullet With Simple Trims
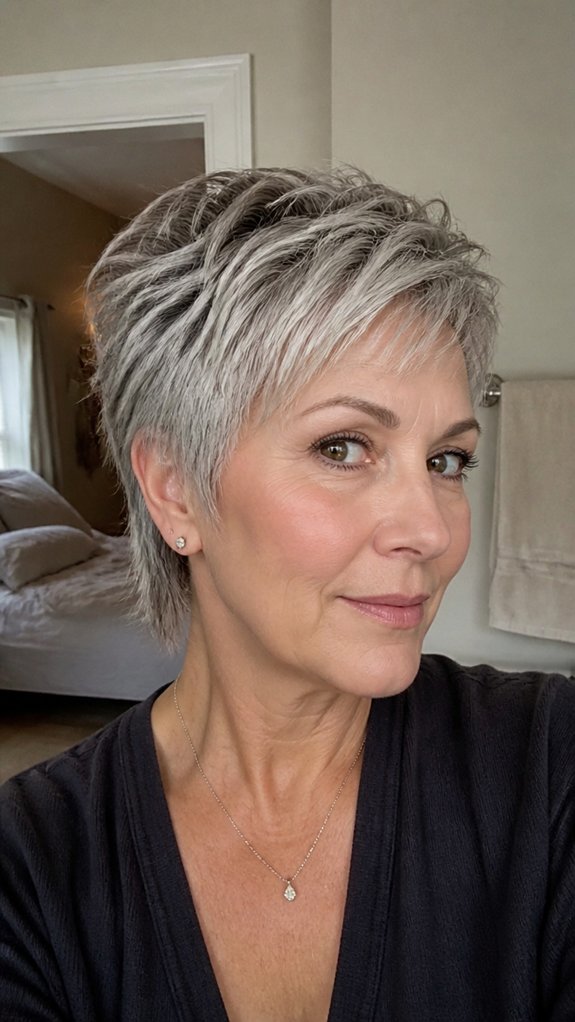
You’ll keep your mixie pixie mullet looking fresh with simple, regular trims, ideally every 4 to 8 weeks.
When you book your visit, ask for tidying at the neckline, around the ears, and on the back taper, so the shape stays crisp.
You can also maintain volume at the crown, by removing just a little weight at the right spots.
Stick to your maintenance schedule, and touch up flyaways with a small amount of styling cream, then smooth with your fingers.
If you notice longer fringe or uneven layers, don’t wait—go in early, and you’ll feel confident every time.
Match Your Hair Color to Make the Mullet Pop
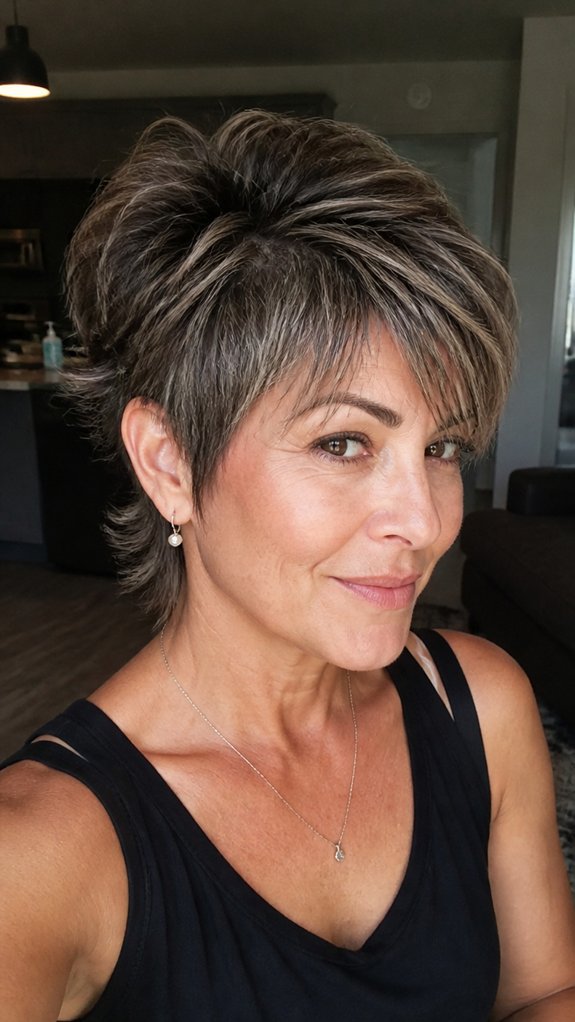
Color can do a lot for your mixie pixie mullet, so once your trims keep the shape crisp, it’s time to make the style pop with the right shade.
You’ll want golden highlights near the top, because they brighten your face and spotlight the movement. If you’ve gone lighter, ask for ash lowlights underneath, so the darker tones anchor the mullet and prevent flatness.
For graying hair, blend ash lowlights softly, then add golden highlights in thin pieces around the crown. When your color melts together, your mullet looks intentional, not accidental.
Go in with photos, and trust your stylist’s color plan.